One of the more interesting Pinterest projects we’ve come across recently is the DIY french manicure. We were so intrigued because french manicures are something we would never, ever try outside of a salon. We’d never even given a do-it-yourself french manicure a thought- it’s just not something you try at home. Where would you even start? This is where the combined minds of Pinterest were more creative than ours.
There are two schools of thought when it comes to at-home french manicures: the french manicure with bandaids and the french manicure with hole reinforcers. We decided to stage a little experiment to see which one actually worked better.
We like french manicures because they look so professional and classy. They just make for a polished, clean look- there’s not really an occasion for which they’re inappropriate. Specifically, they make me think of my grandmother, who always had a french (and was classy as all get out), and cruises. That one’s a little far off, I’ll give you that. But the very first time I ever got a french manicure was when I was in 6th grade and my family was about to go on a cruise. And it made me feel like a PRINCESS. No joke, I walked around that Carnival cruise ship like I was the king of the world (and as a 12-year-old, if you feel that way, you pretty much are). So whether it makes you feel like a lady who lunches or a cruise princess, have at it!
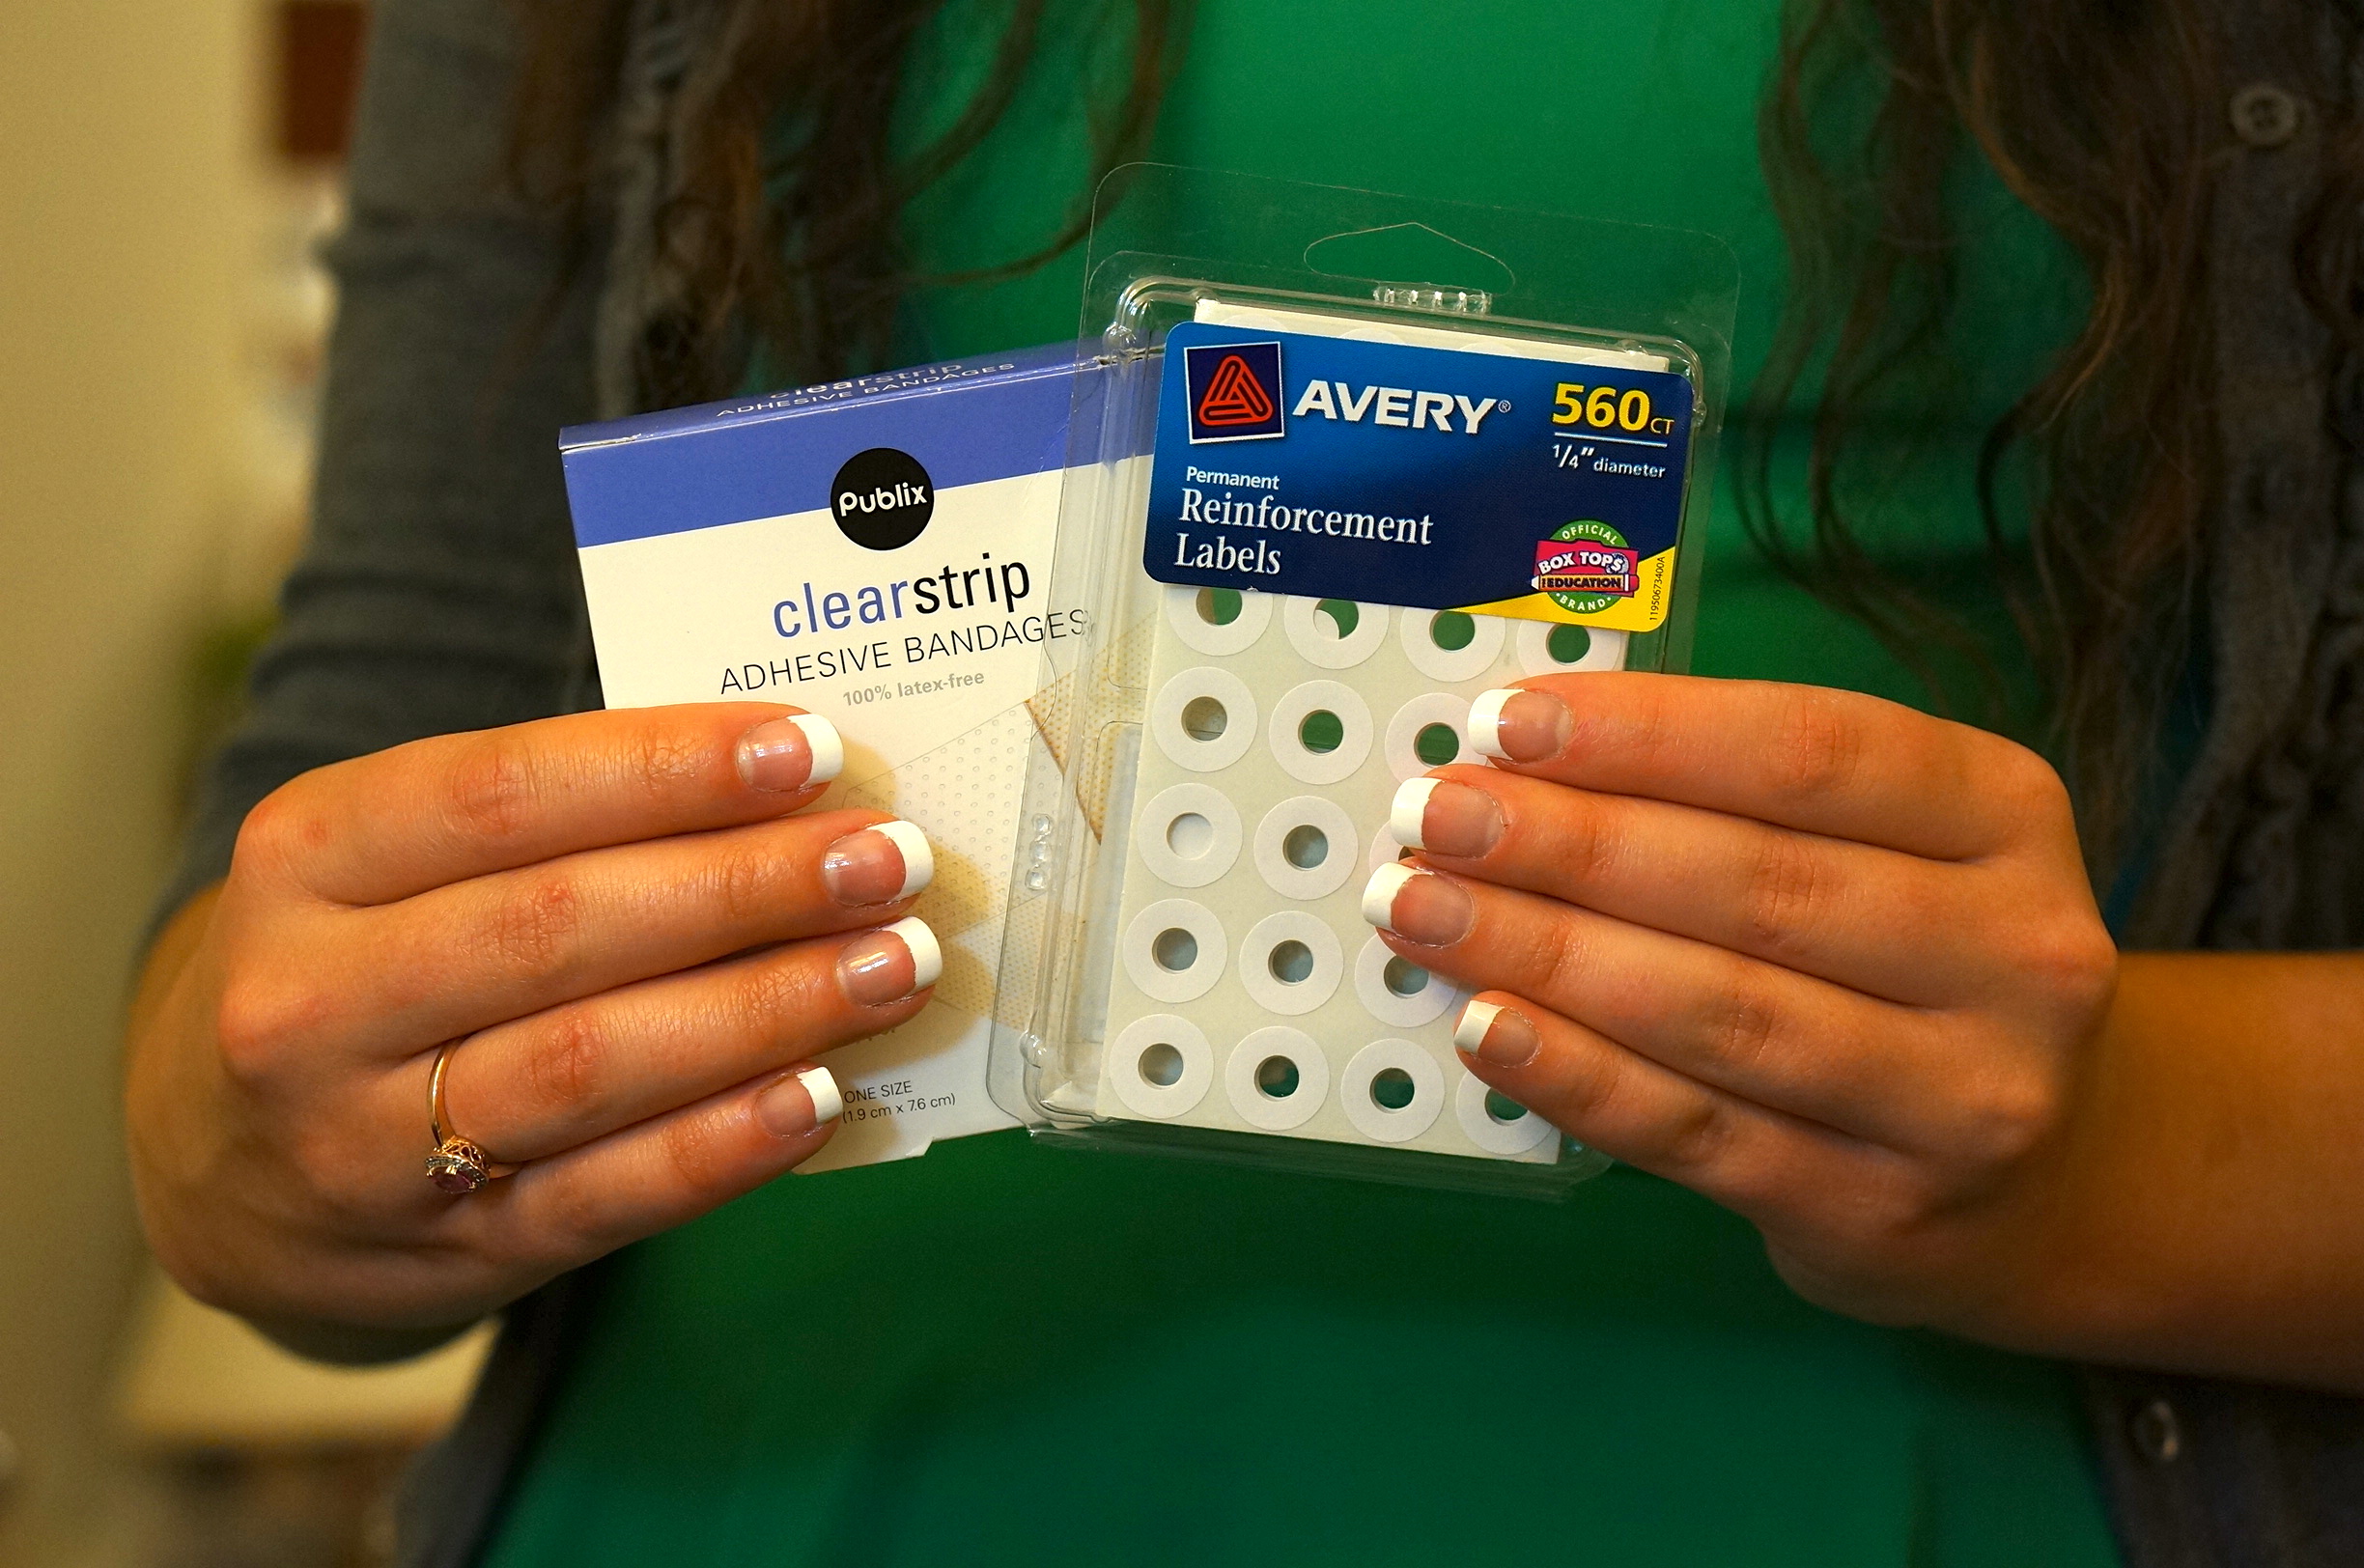
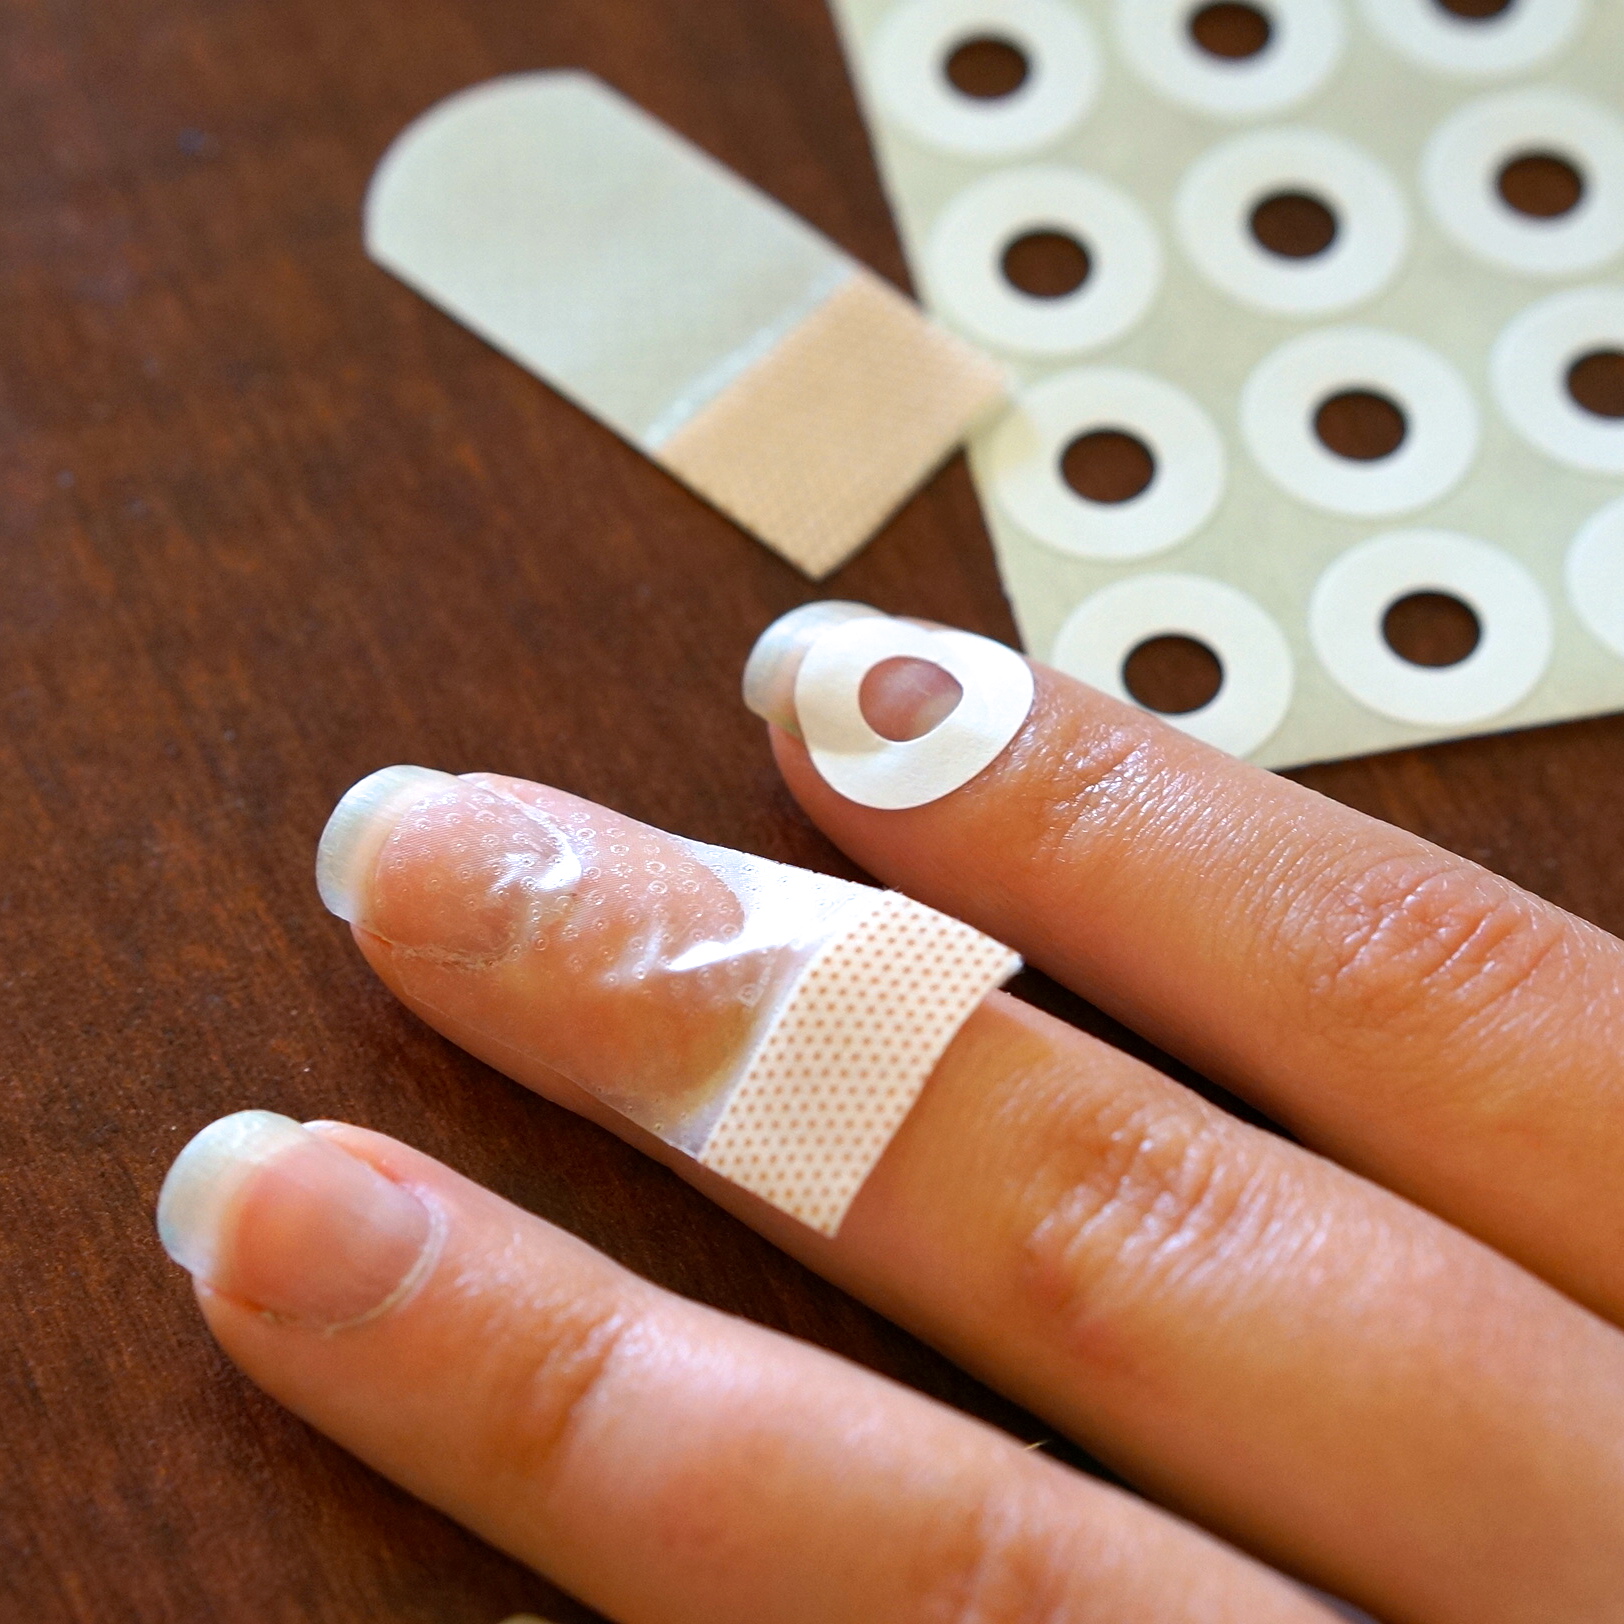
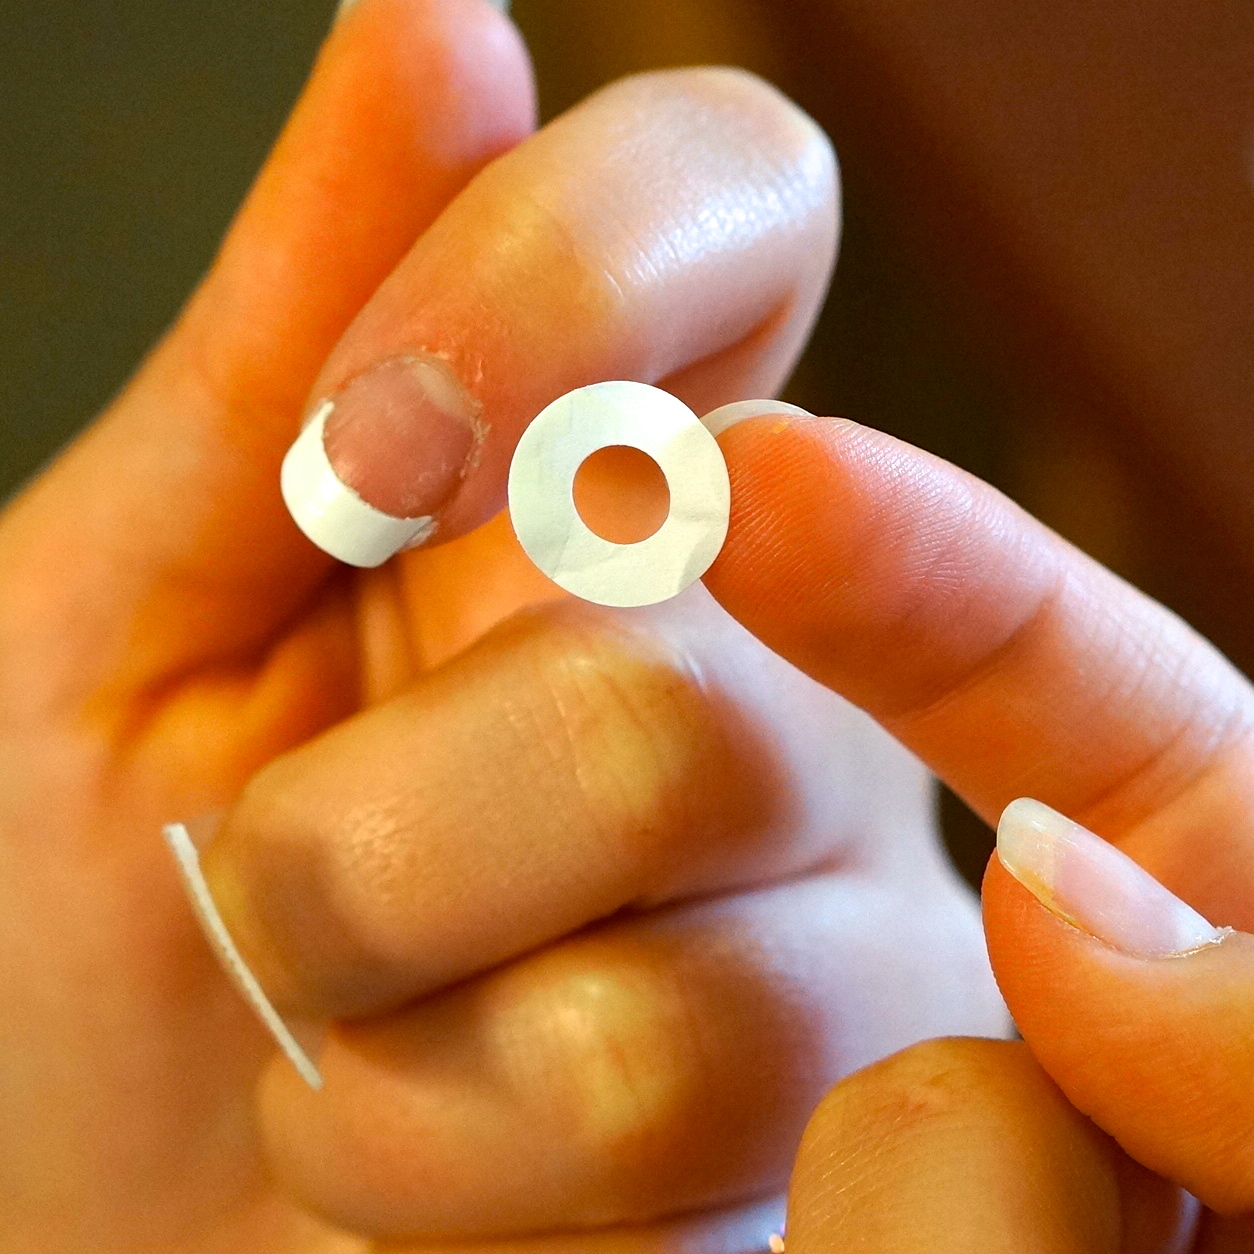
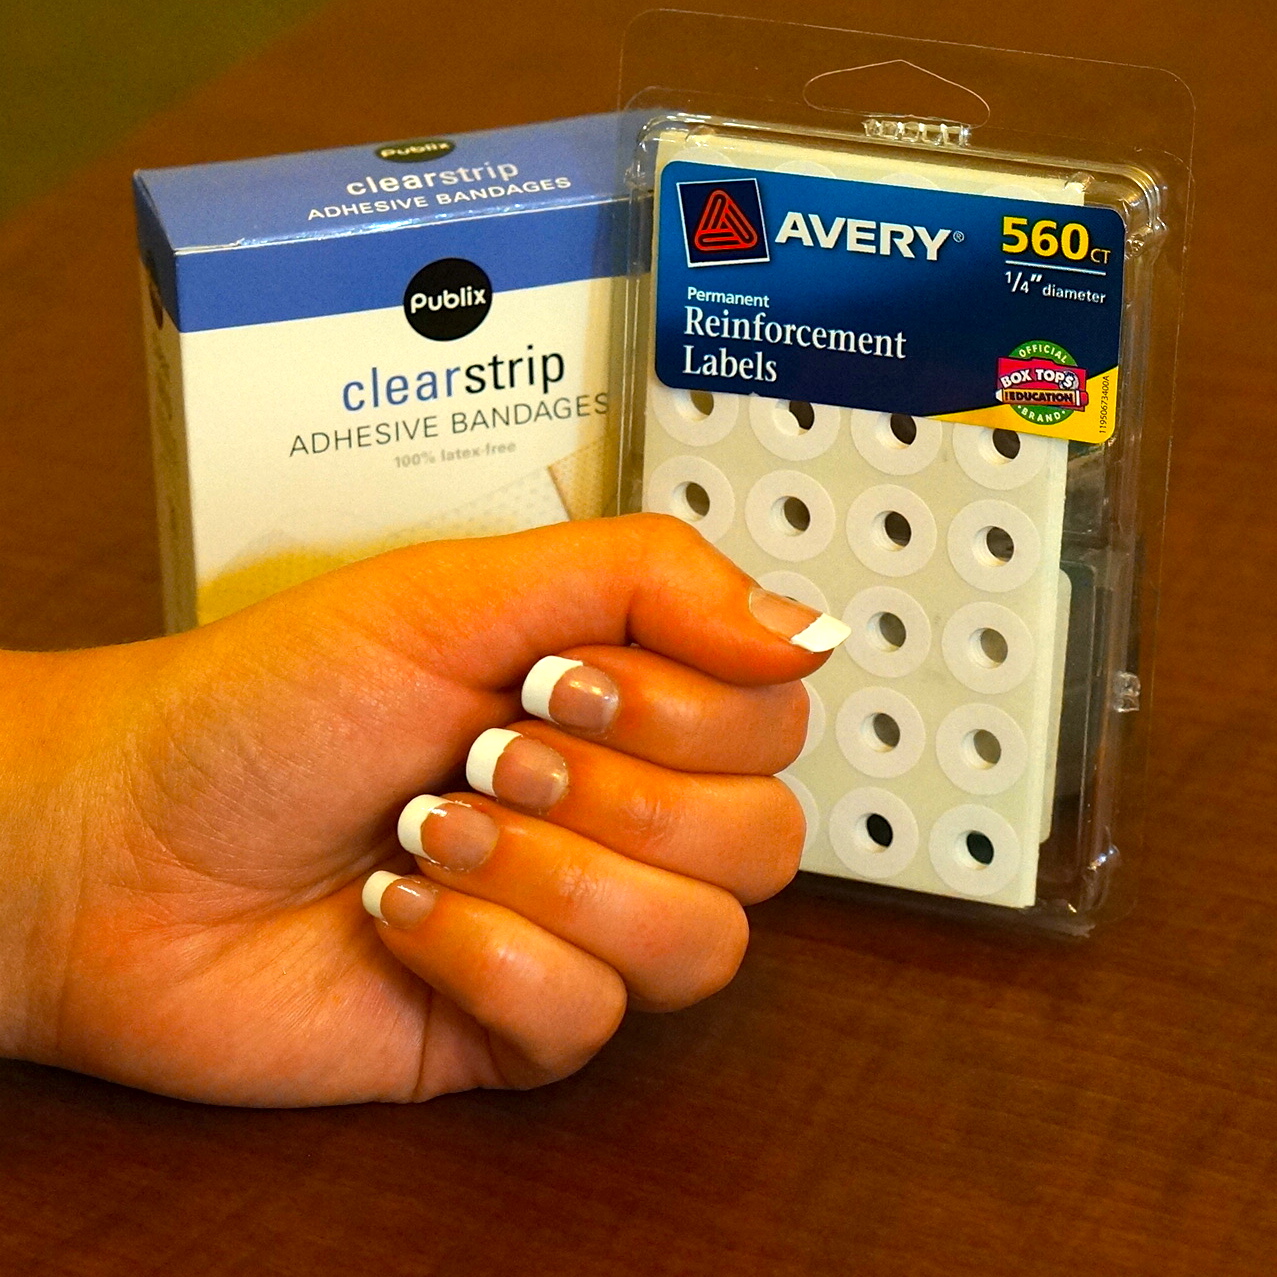
For this shenanigan you’ll need a pack of hole reinforcers and a pack of clear bandaids.
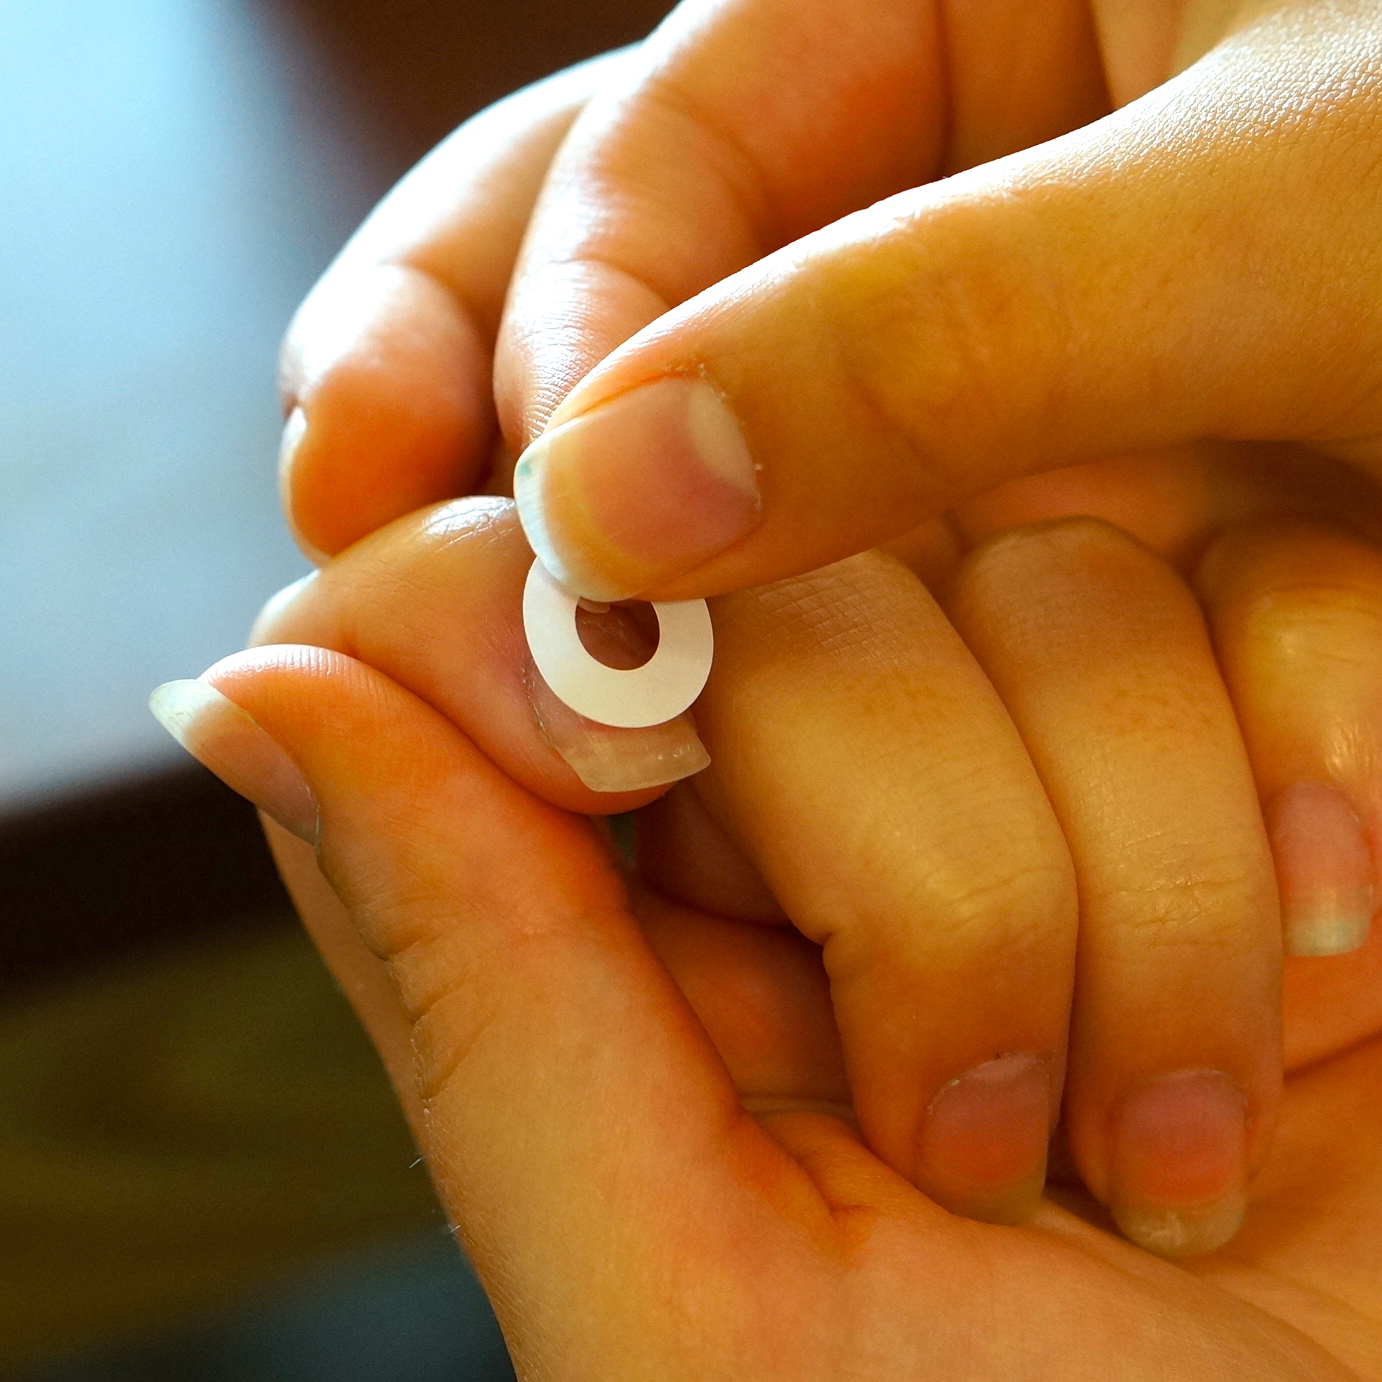
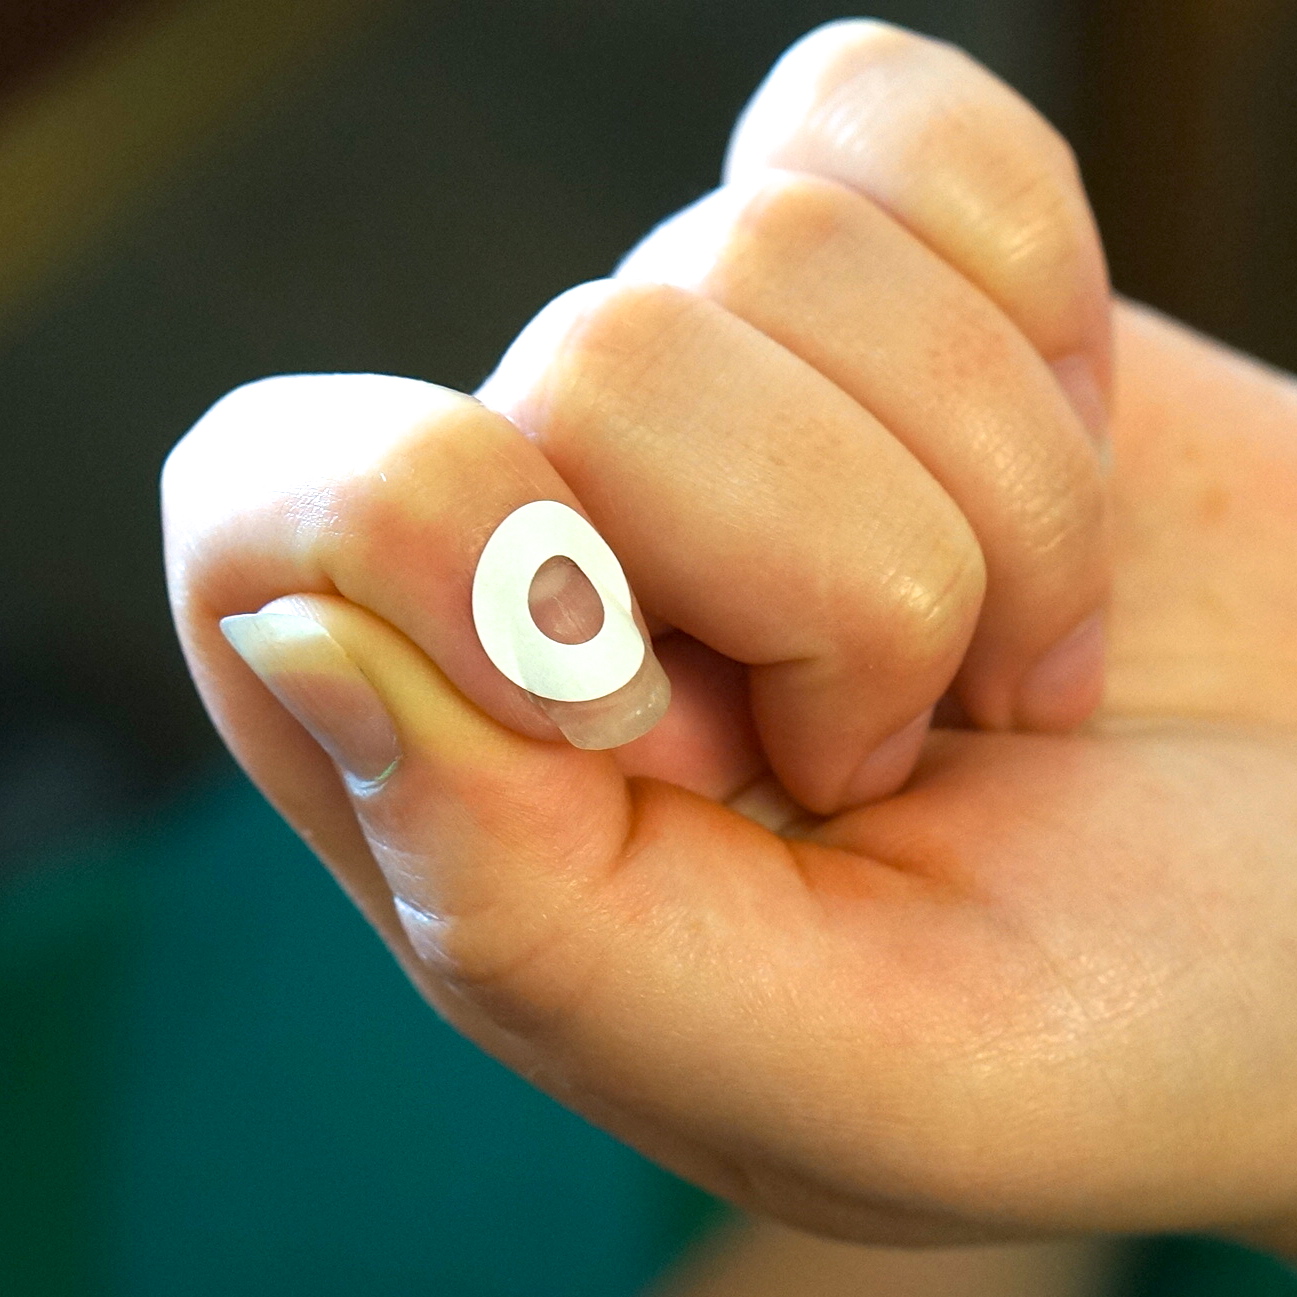
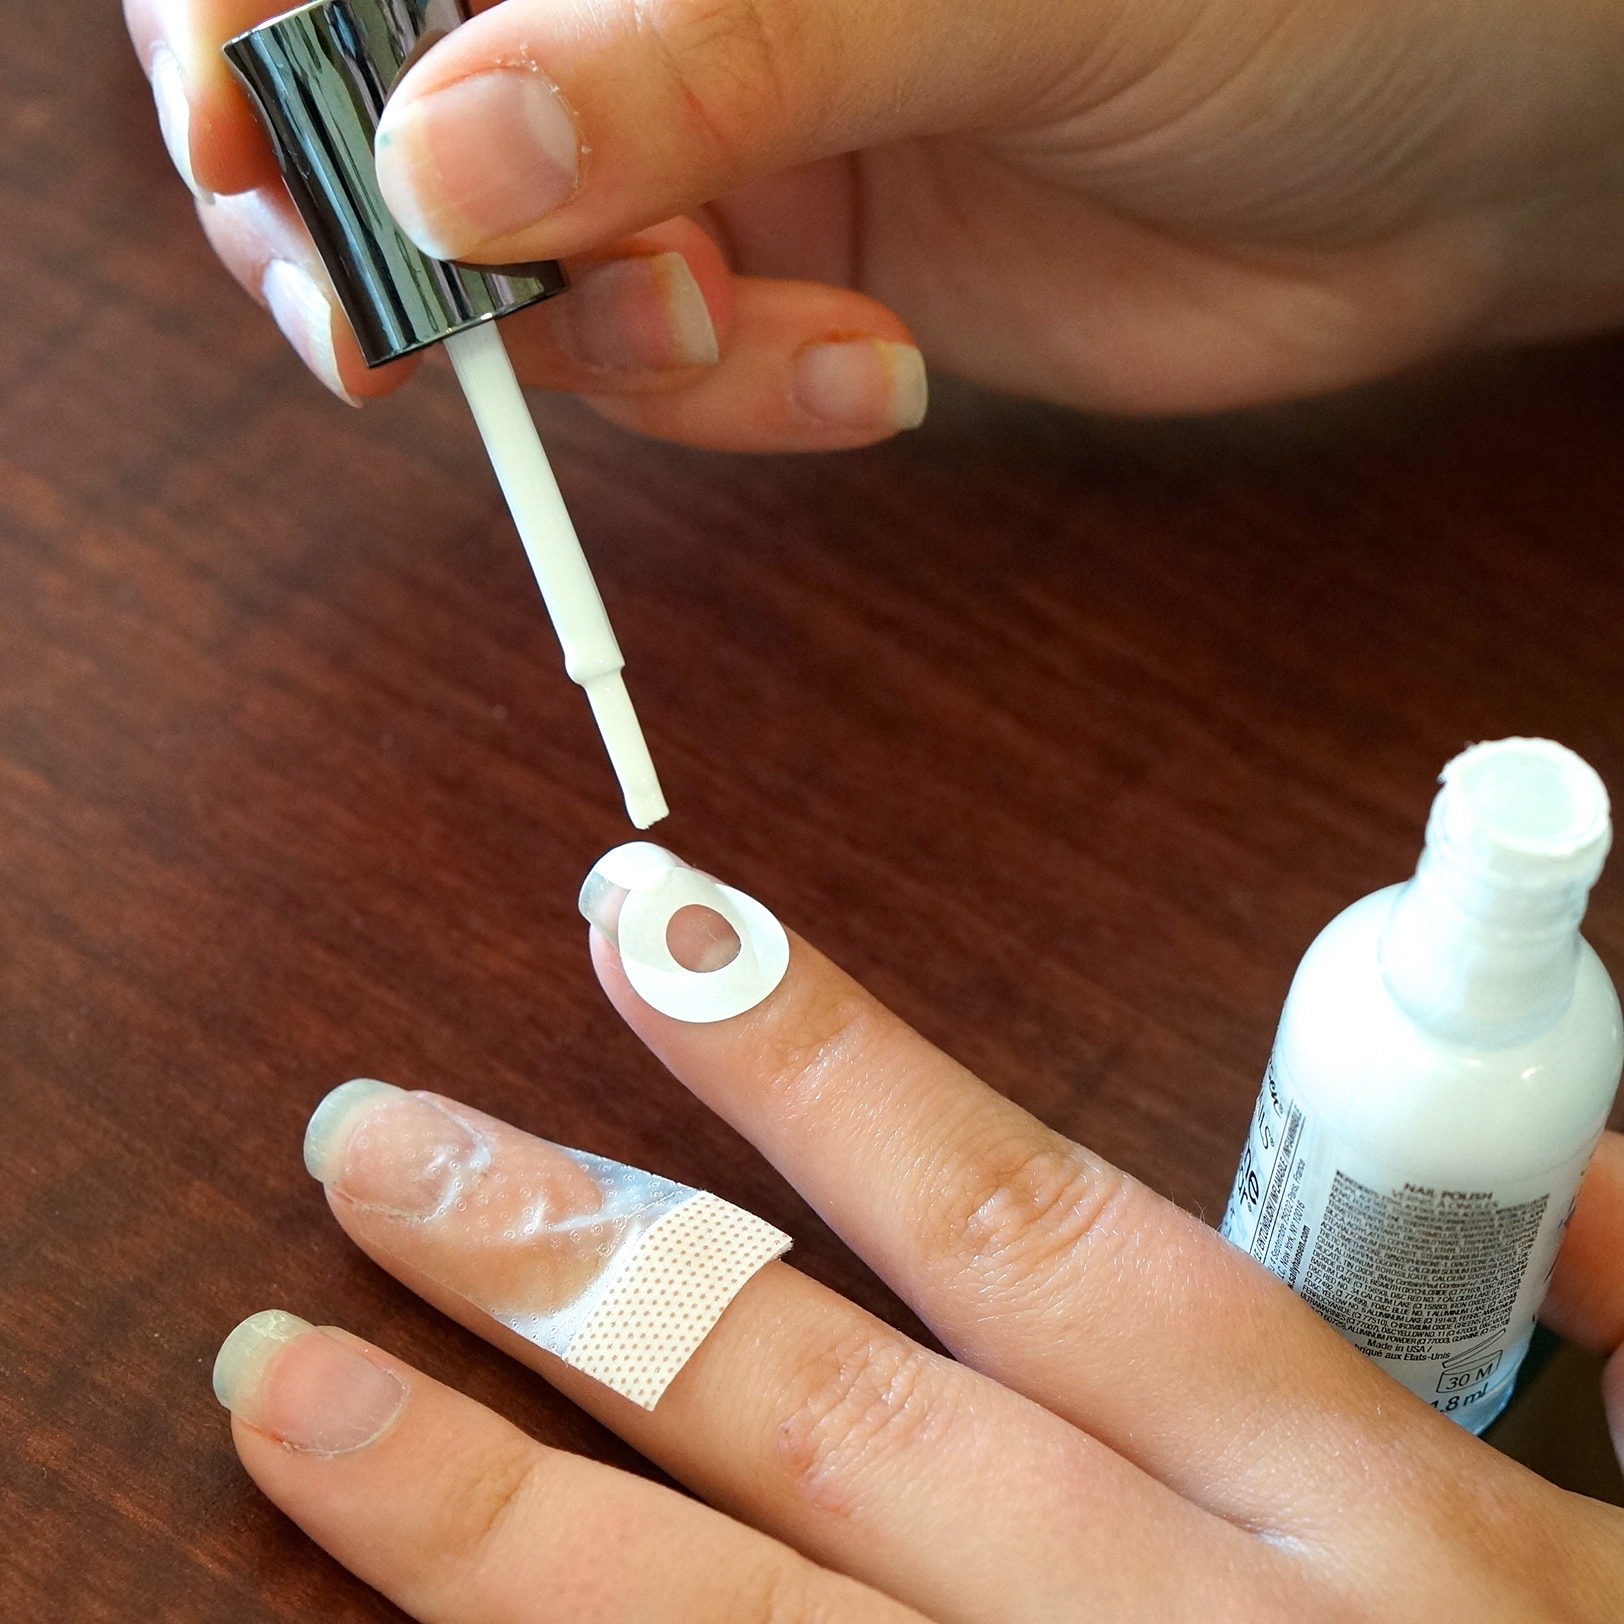
We started with the hole reinforcer. First we peeled one off of its backing and stuck it on the nail. The curve of the reinforcer lined up with where the nail starts being attached to the finger, leaving the white of the nail exposed.
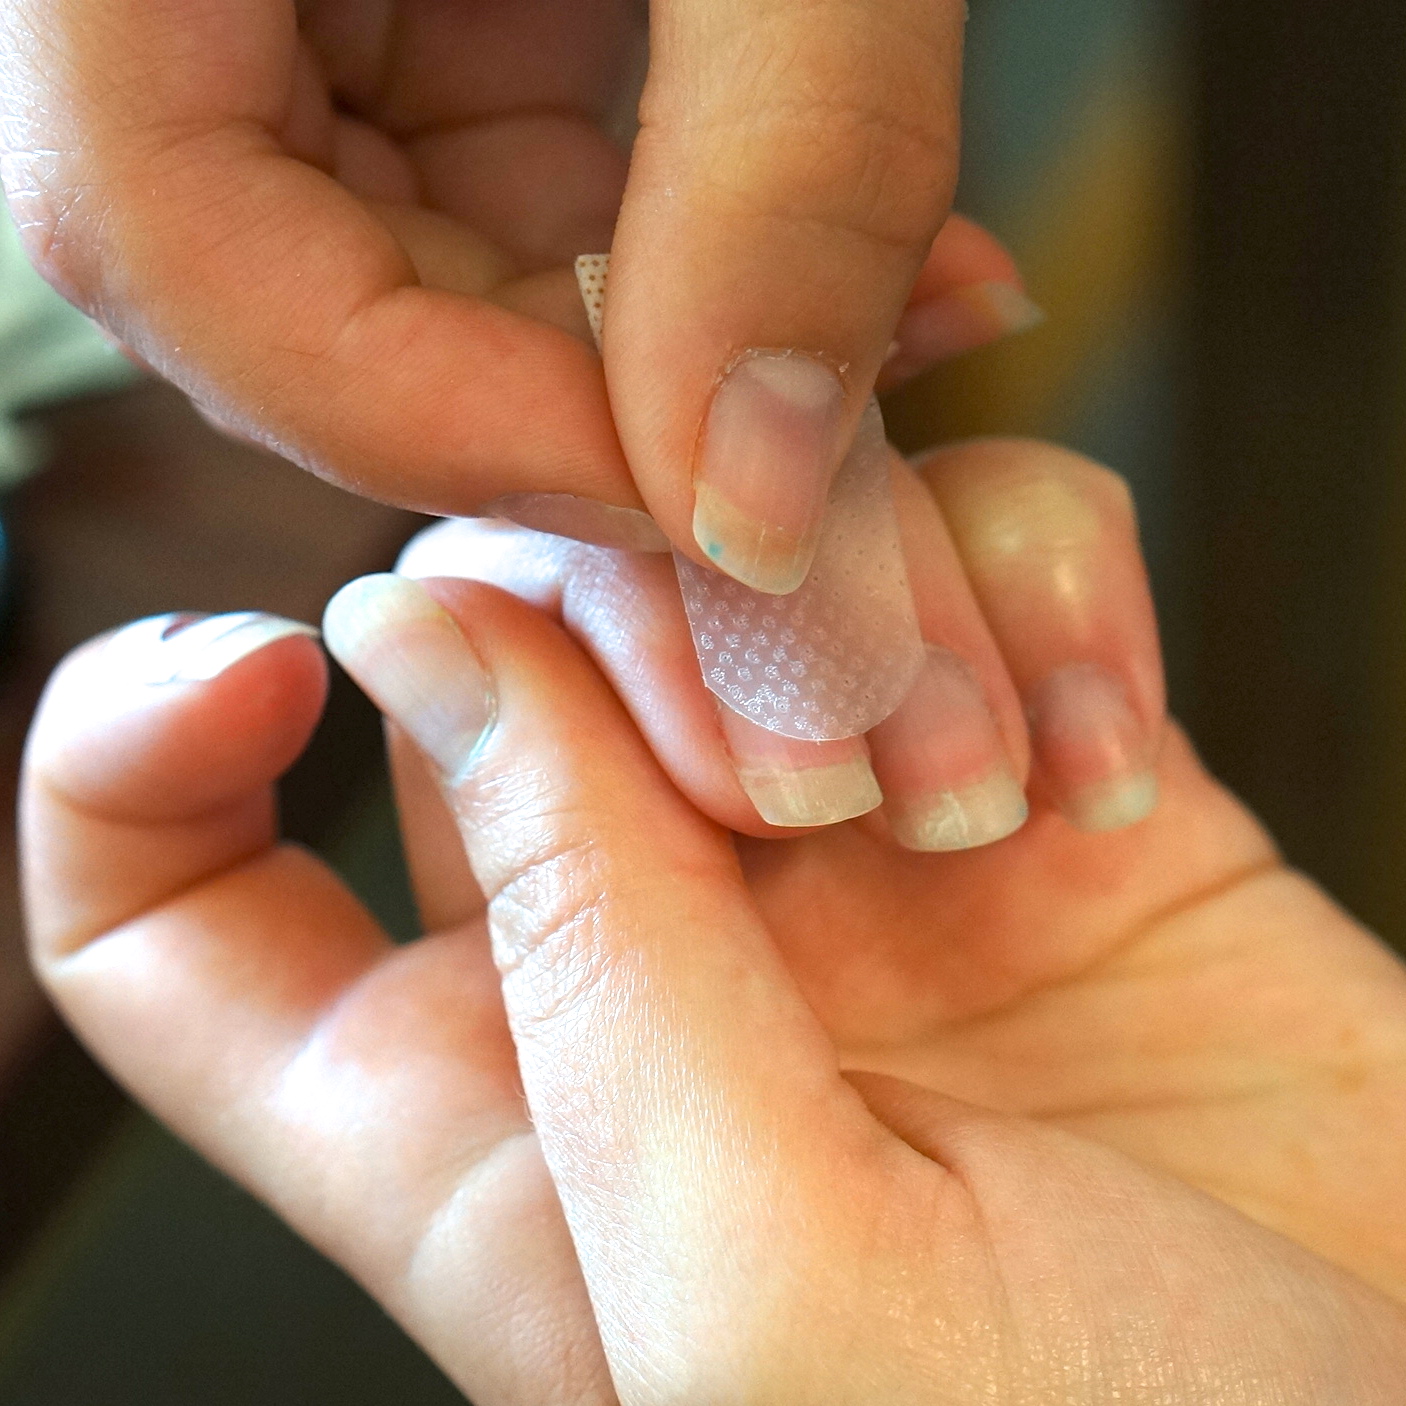
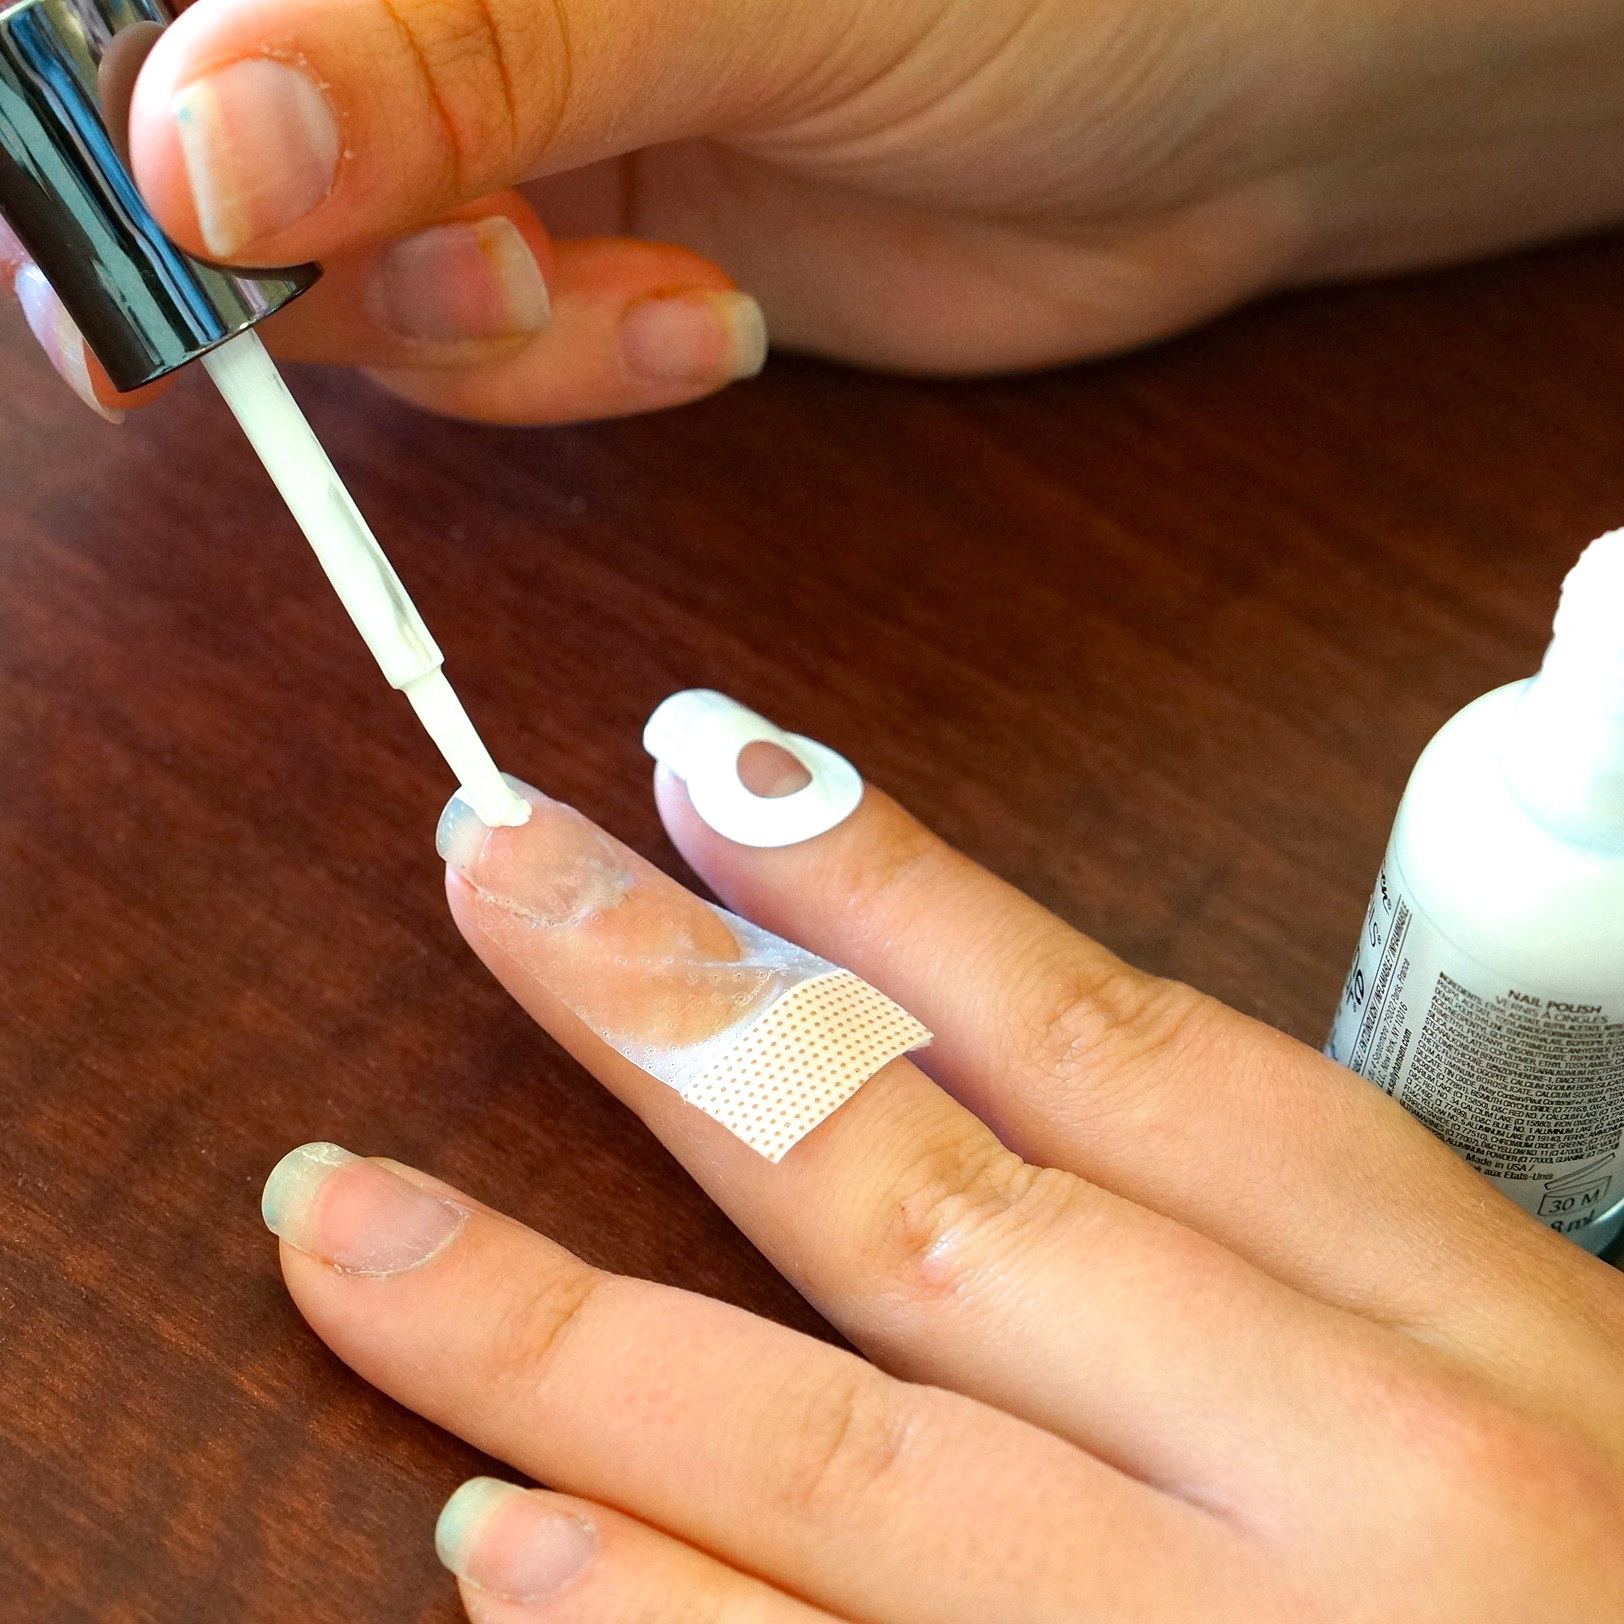
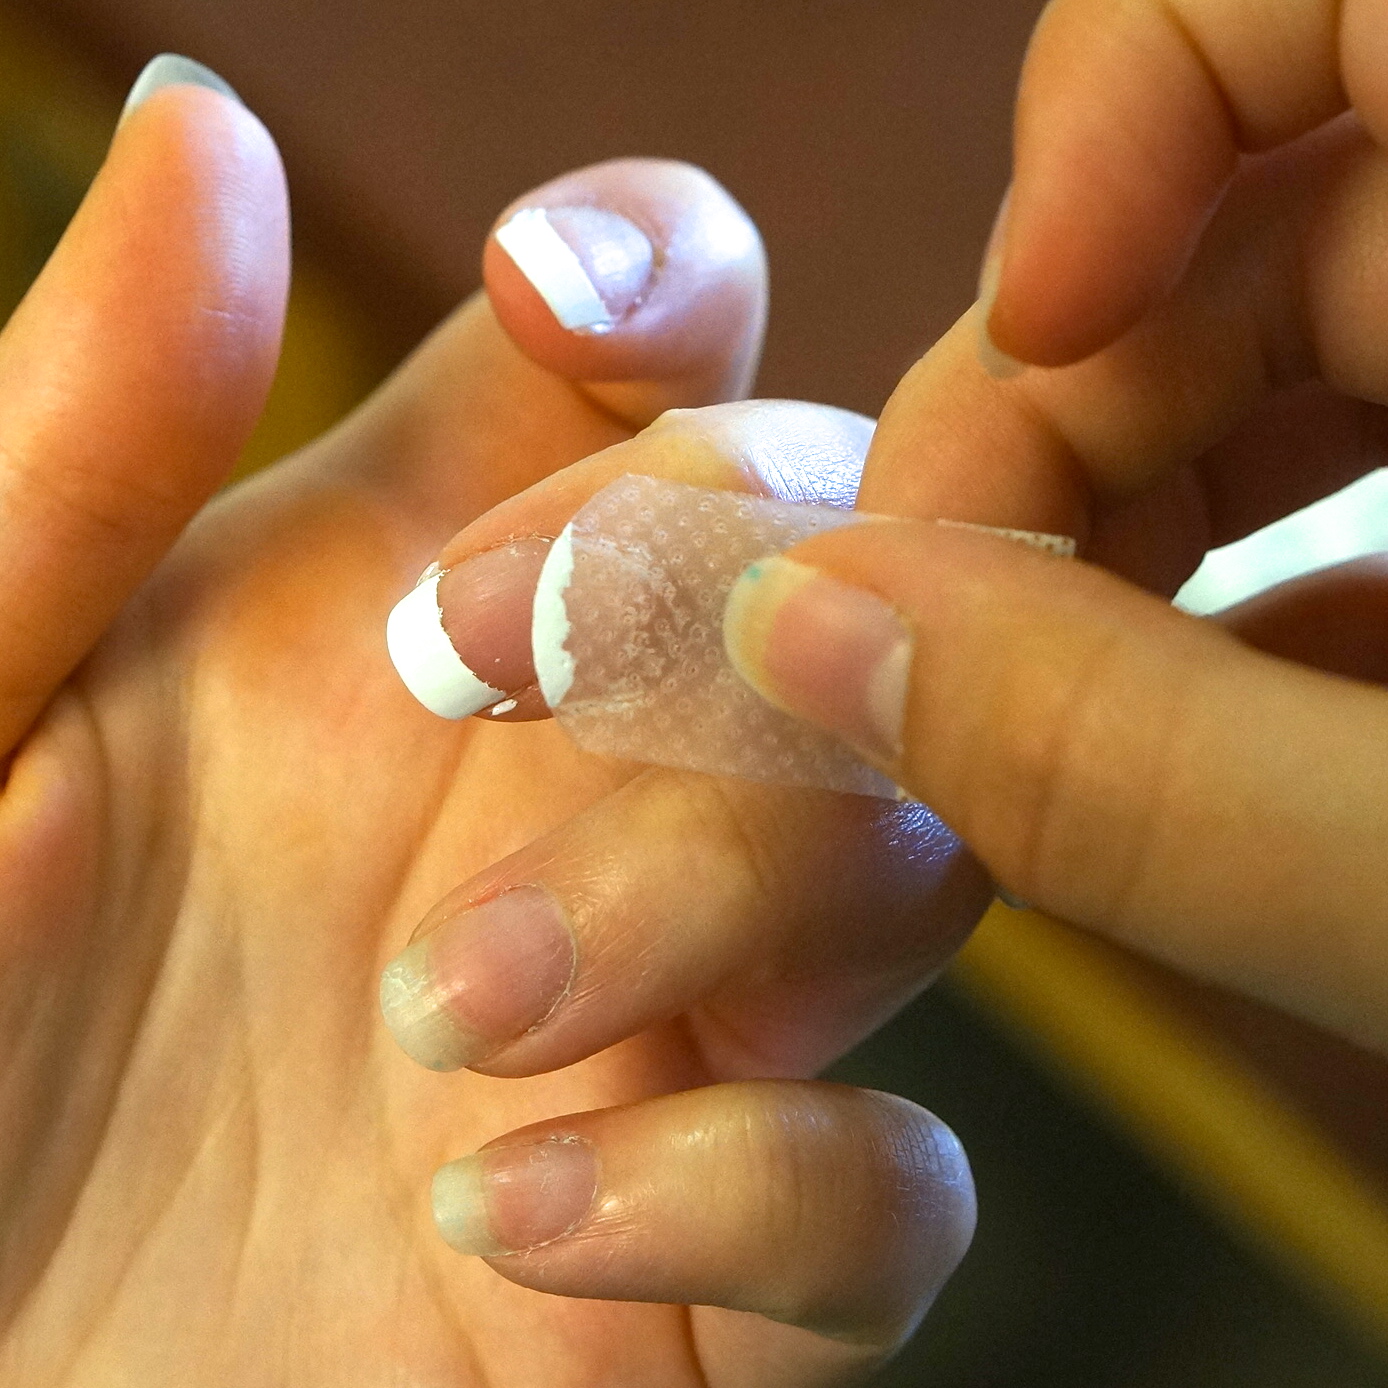
Next we stuck the bandaid on another nail. We decided to cut it in half (across the padded part) to get double the uses (score one for resourcefulness!). We stuck the bandaid on in the same fashion as the hole reinforcer, leaving the white of the nail exposed.
Then we painted! We use two coats of white nail polish.
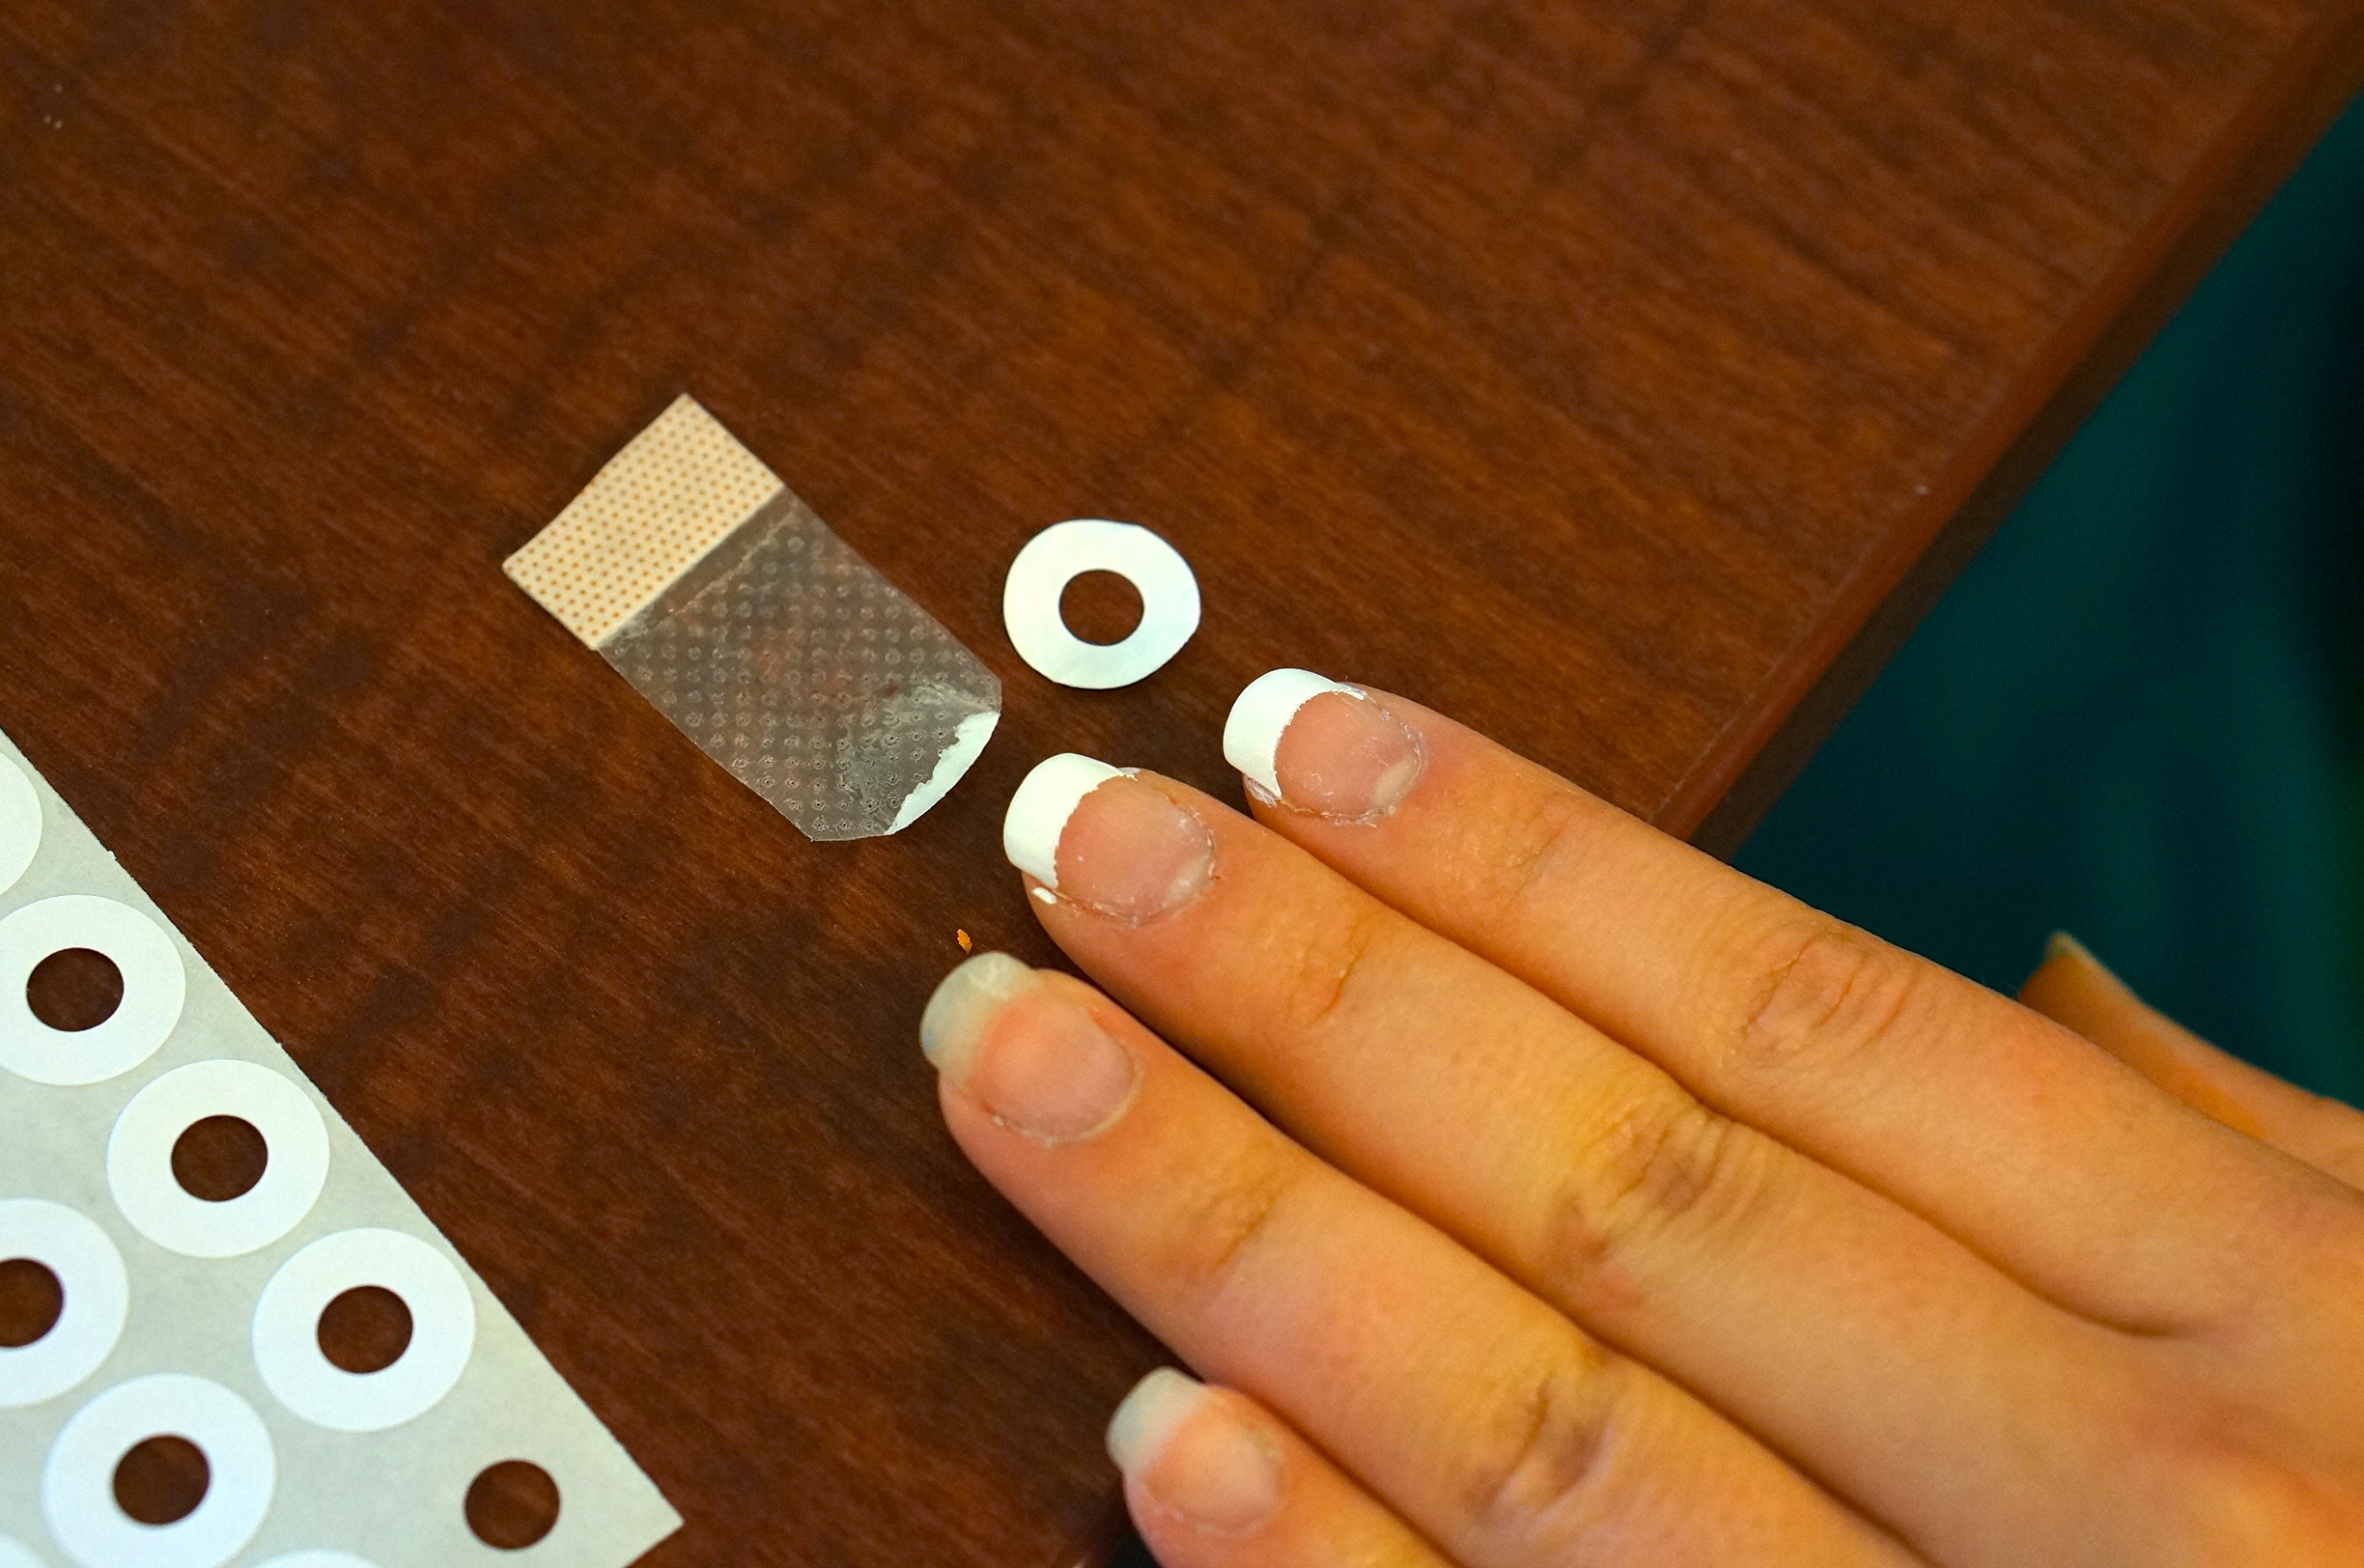
After waiting for the two test nails to dry completely, we carefully peeled off the hole reinforcer/bandaid.
Drumroll please….. they both worked just fine!!!
The only difference has to do with the curve of your nail. The bandaid is a lot less curved than the hole reinforcer, so you have to take that into account when you decide which to use. We ended up using bandaids for our thumbs, since they are wider and therefore less curved. We used hole reinforcers for the rest of our nails (although our middle fingers could’ve gone either way).
Once your bandaids and hole reinforcers have all been applied, paint the tips of your nails with the white polish. Once they’re completely dry, you can peel off your bandaids/hole reinforcers.
The only catch is that the white polish bled under a couple of the hole reinforcers, so they needed cleaning up. Just dip a q-tip in some nail polish remover and use that. Throw on a couple of layers of top coat and you’re good to go!
We definitely recommend this shenanigan- we’ll certainly use it again! Sure, you still have to clean up a couple of your nails, but overall this is the easiest way we’ve seen to get a french manicure at home.
Try some of our other beauty shenanigans:



Great post, I will definitely use this idea next time I do tips:)
Btw, please check out my Blog http://rougekiss.wordpress.com/
Megan xoxo
Thanks! Also love your blog! 🙂
Thank you!<3
thanks for sharing this way of doing french nails
No problem! We had been wanting to test this out for a while 🙂 If there is anything you want us to try be sure to post it on our fb page: https://www.facebook.com/WereCallingShenanigans
Awesome! I want to try this out! My freehanded lines always look so wonky :p
Yeah ours too, we were excited when we found this tip!
Tried it! It really works!!!