Hello everyone! Kristen and I can smell summer in the air, can you? Soon we will be enjoying beach weekends, a nearly deserted campus (hello, more parking!), fruit smoothies and (hopefully) being tan! As we’re enjoying a relaxing break before the summer semester begins, we thought we would be productive and do a bright, summery shenanigan!
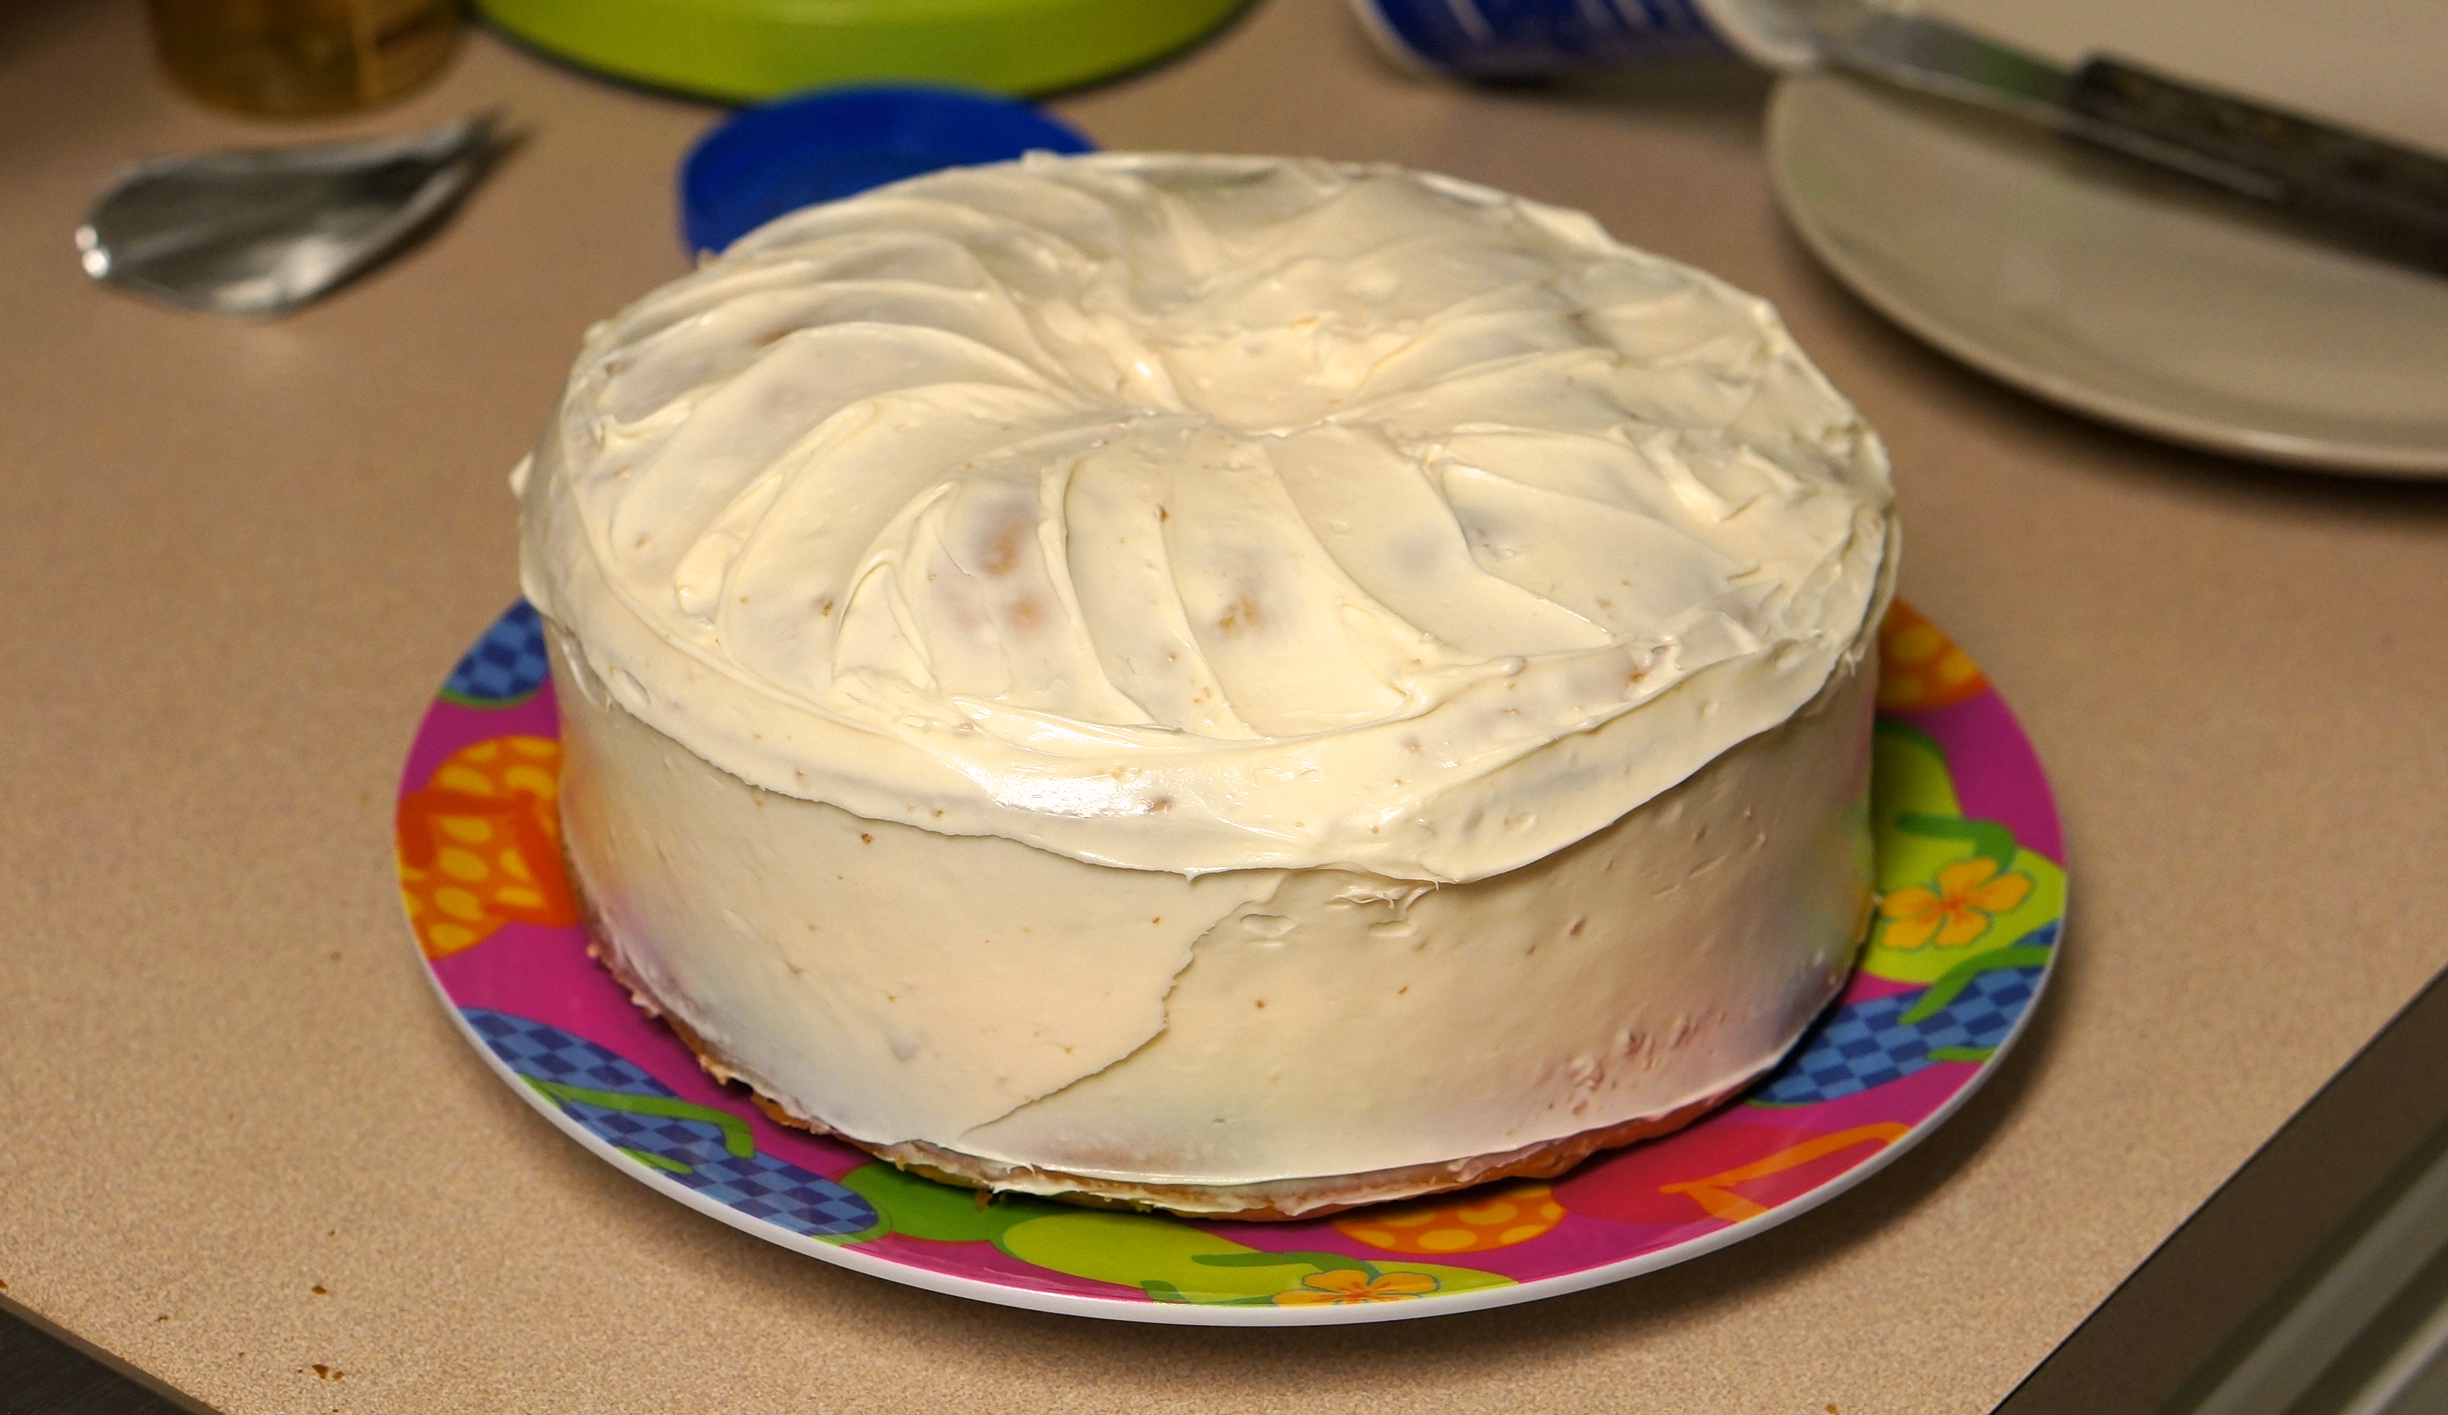
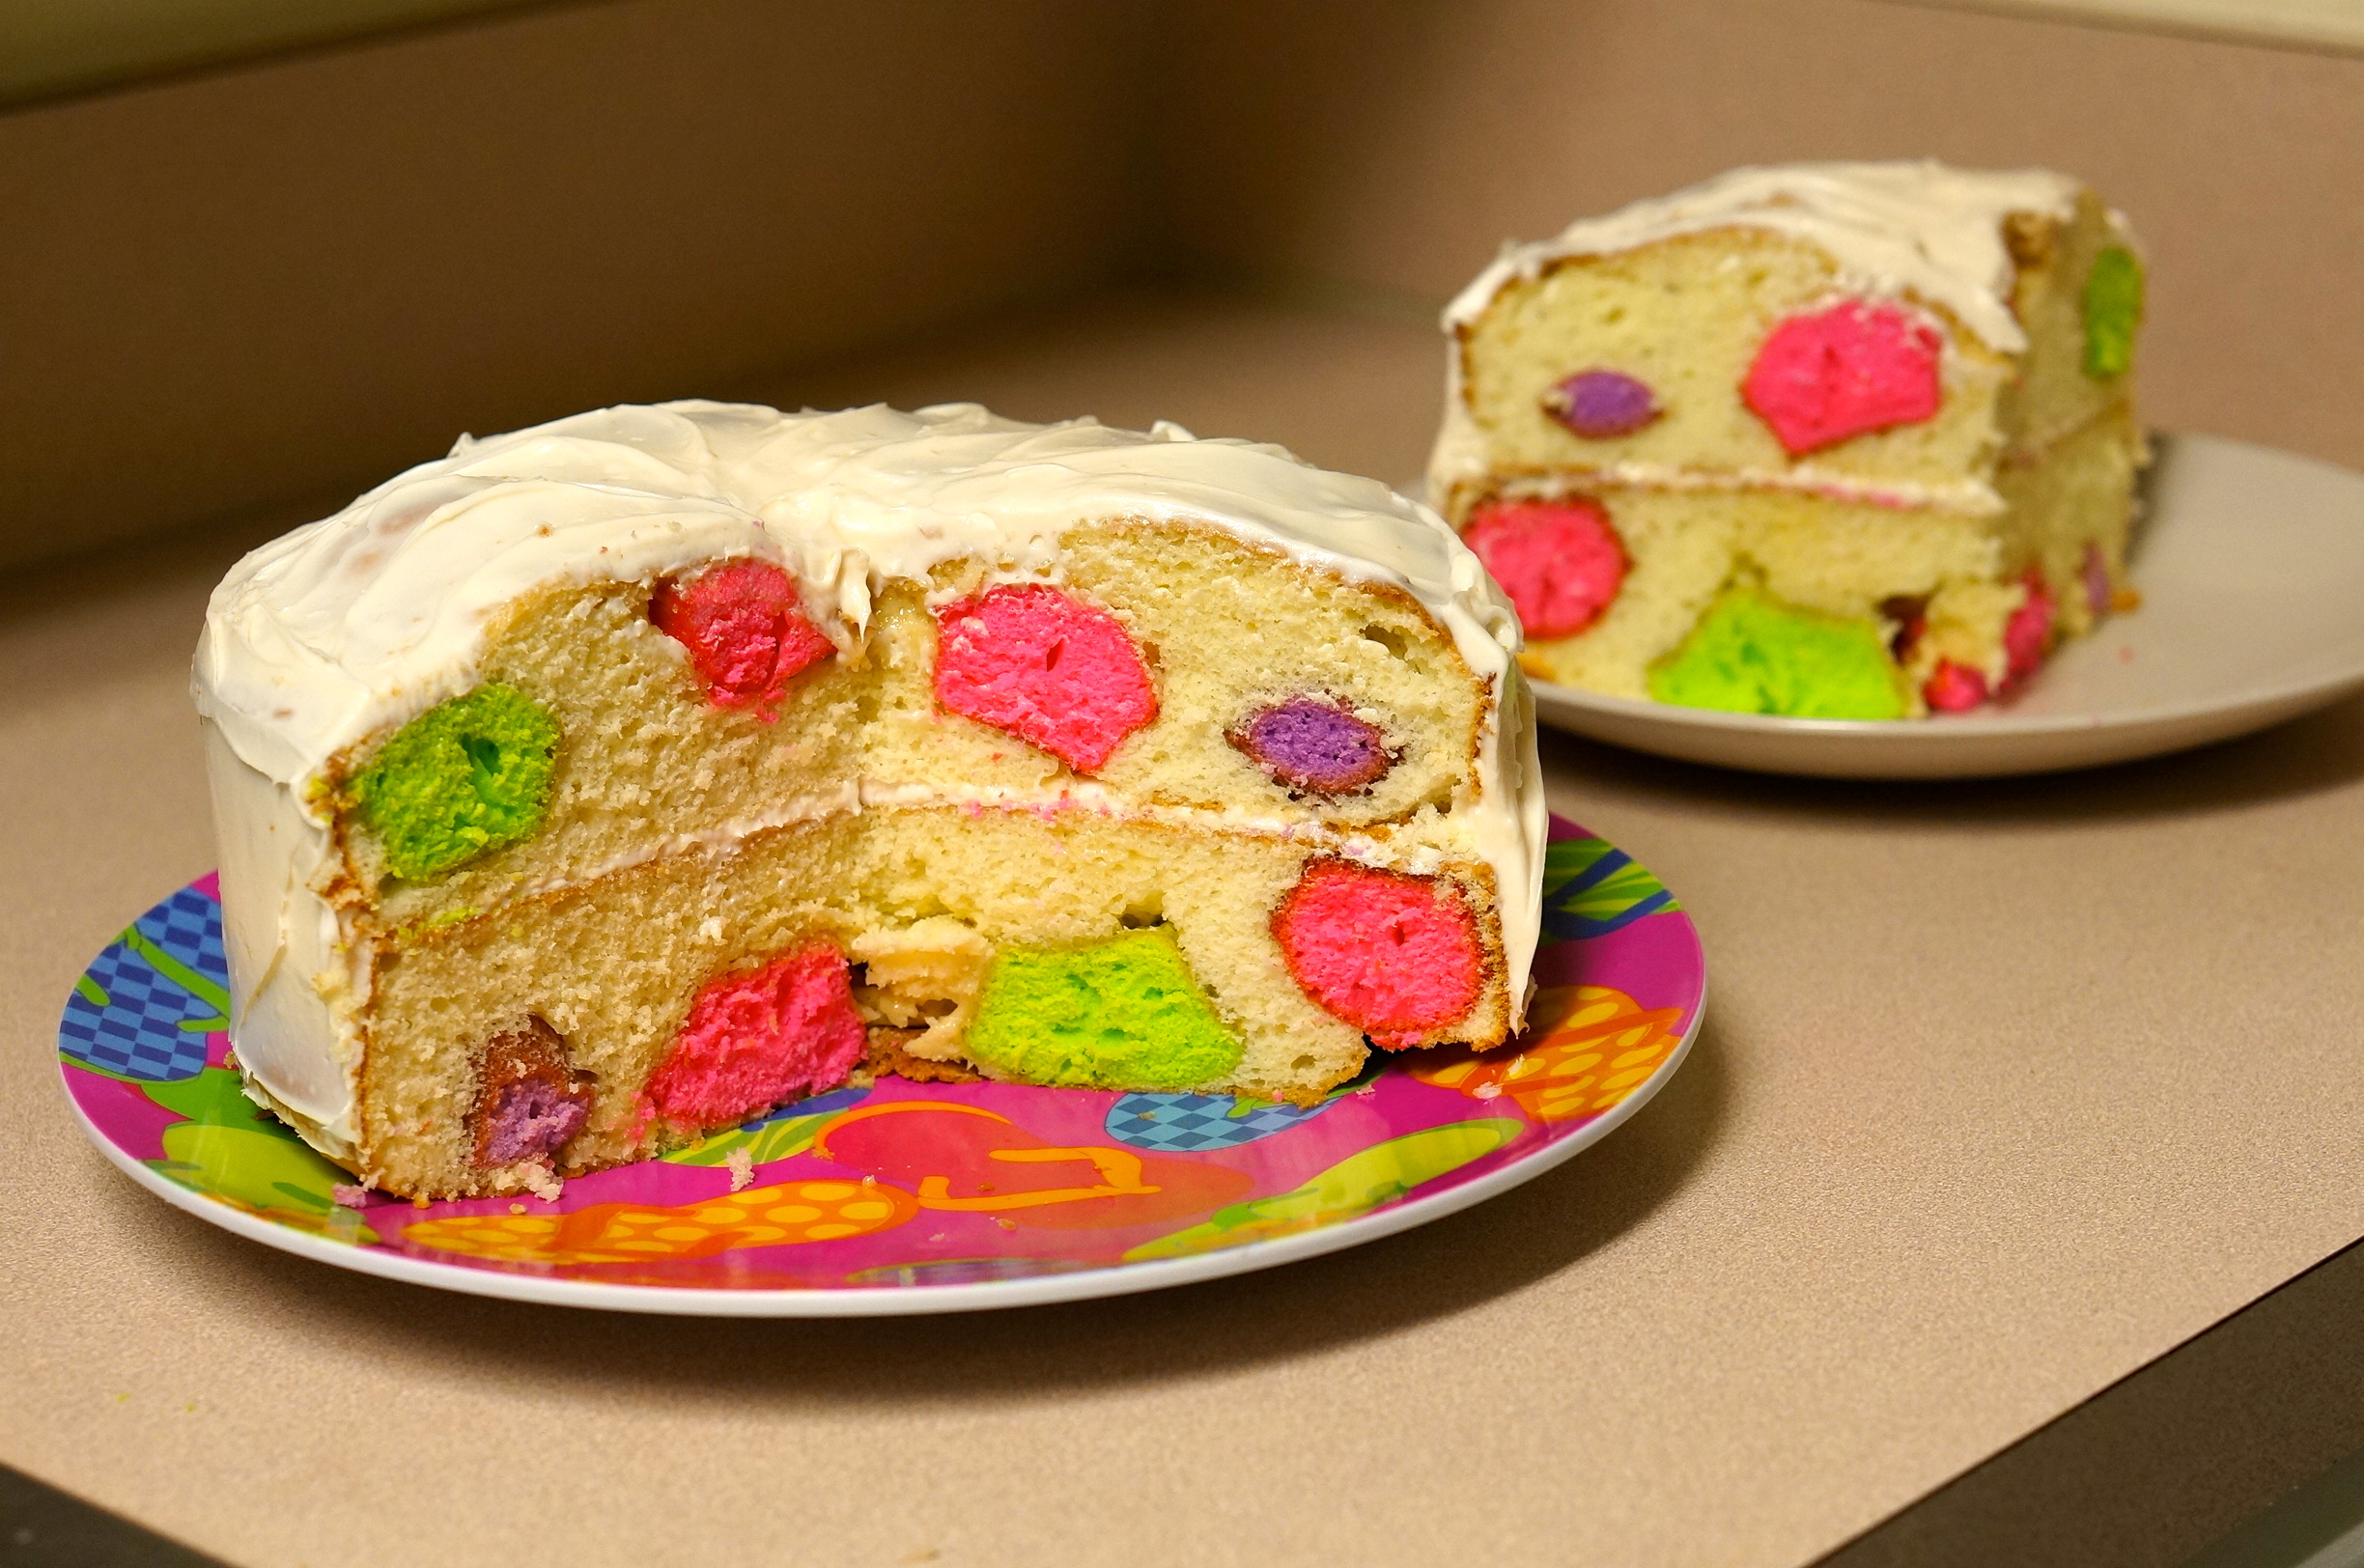
One of our readers, Sarah, suggested this polka dot cake to us on our Facebook page, and thought it fit the bill! The colors are fun and it’s certainly unique, but quite honestly we didn’t have faith in this pin. We didn’t think it would work at all, so we were pleasantly surprised when ours turned out like this compared to the original:
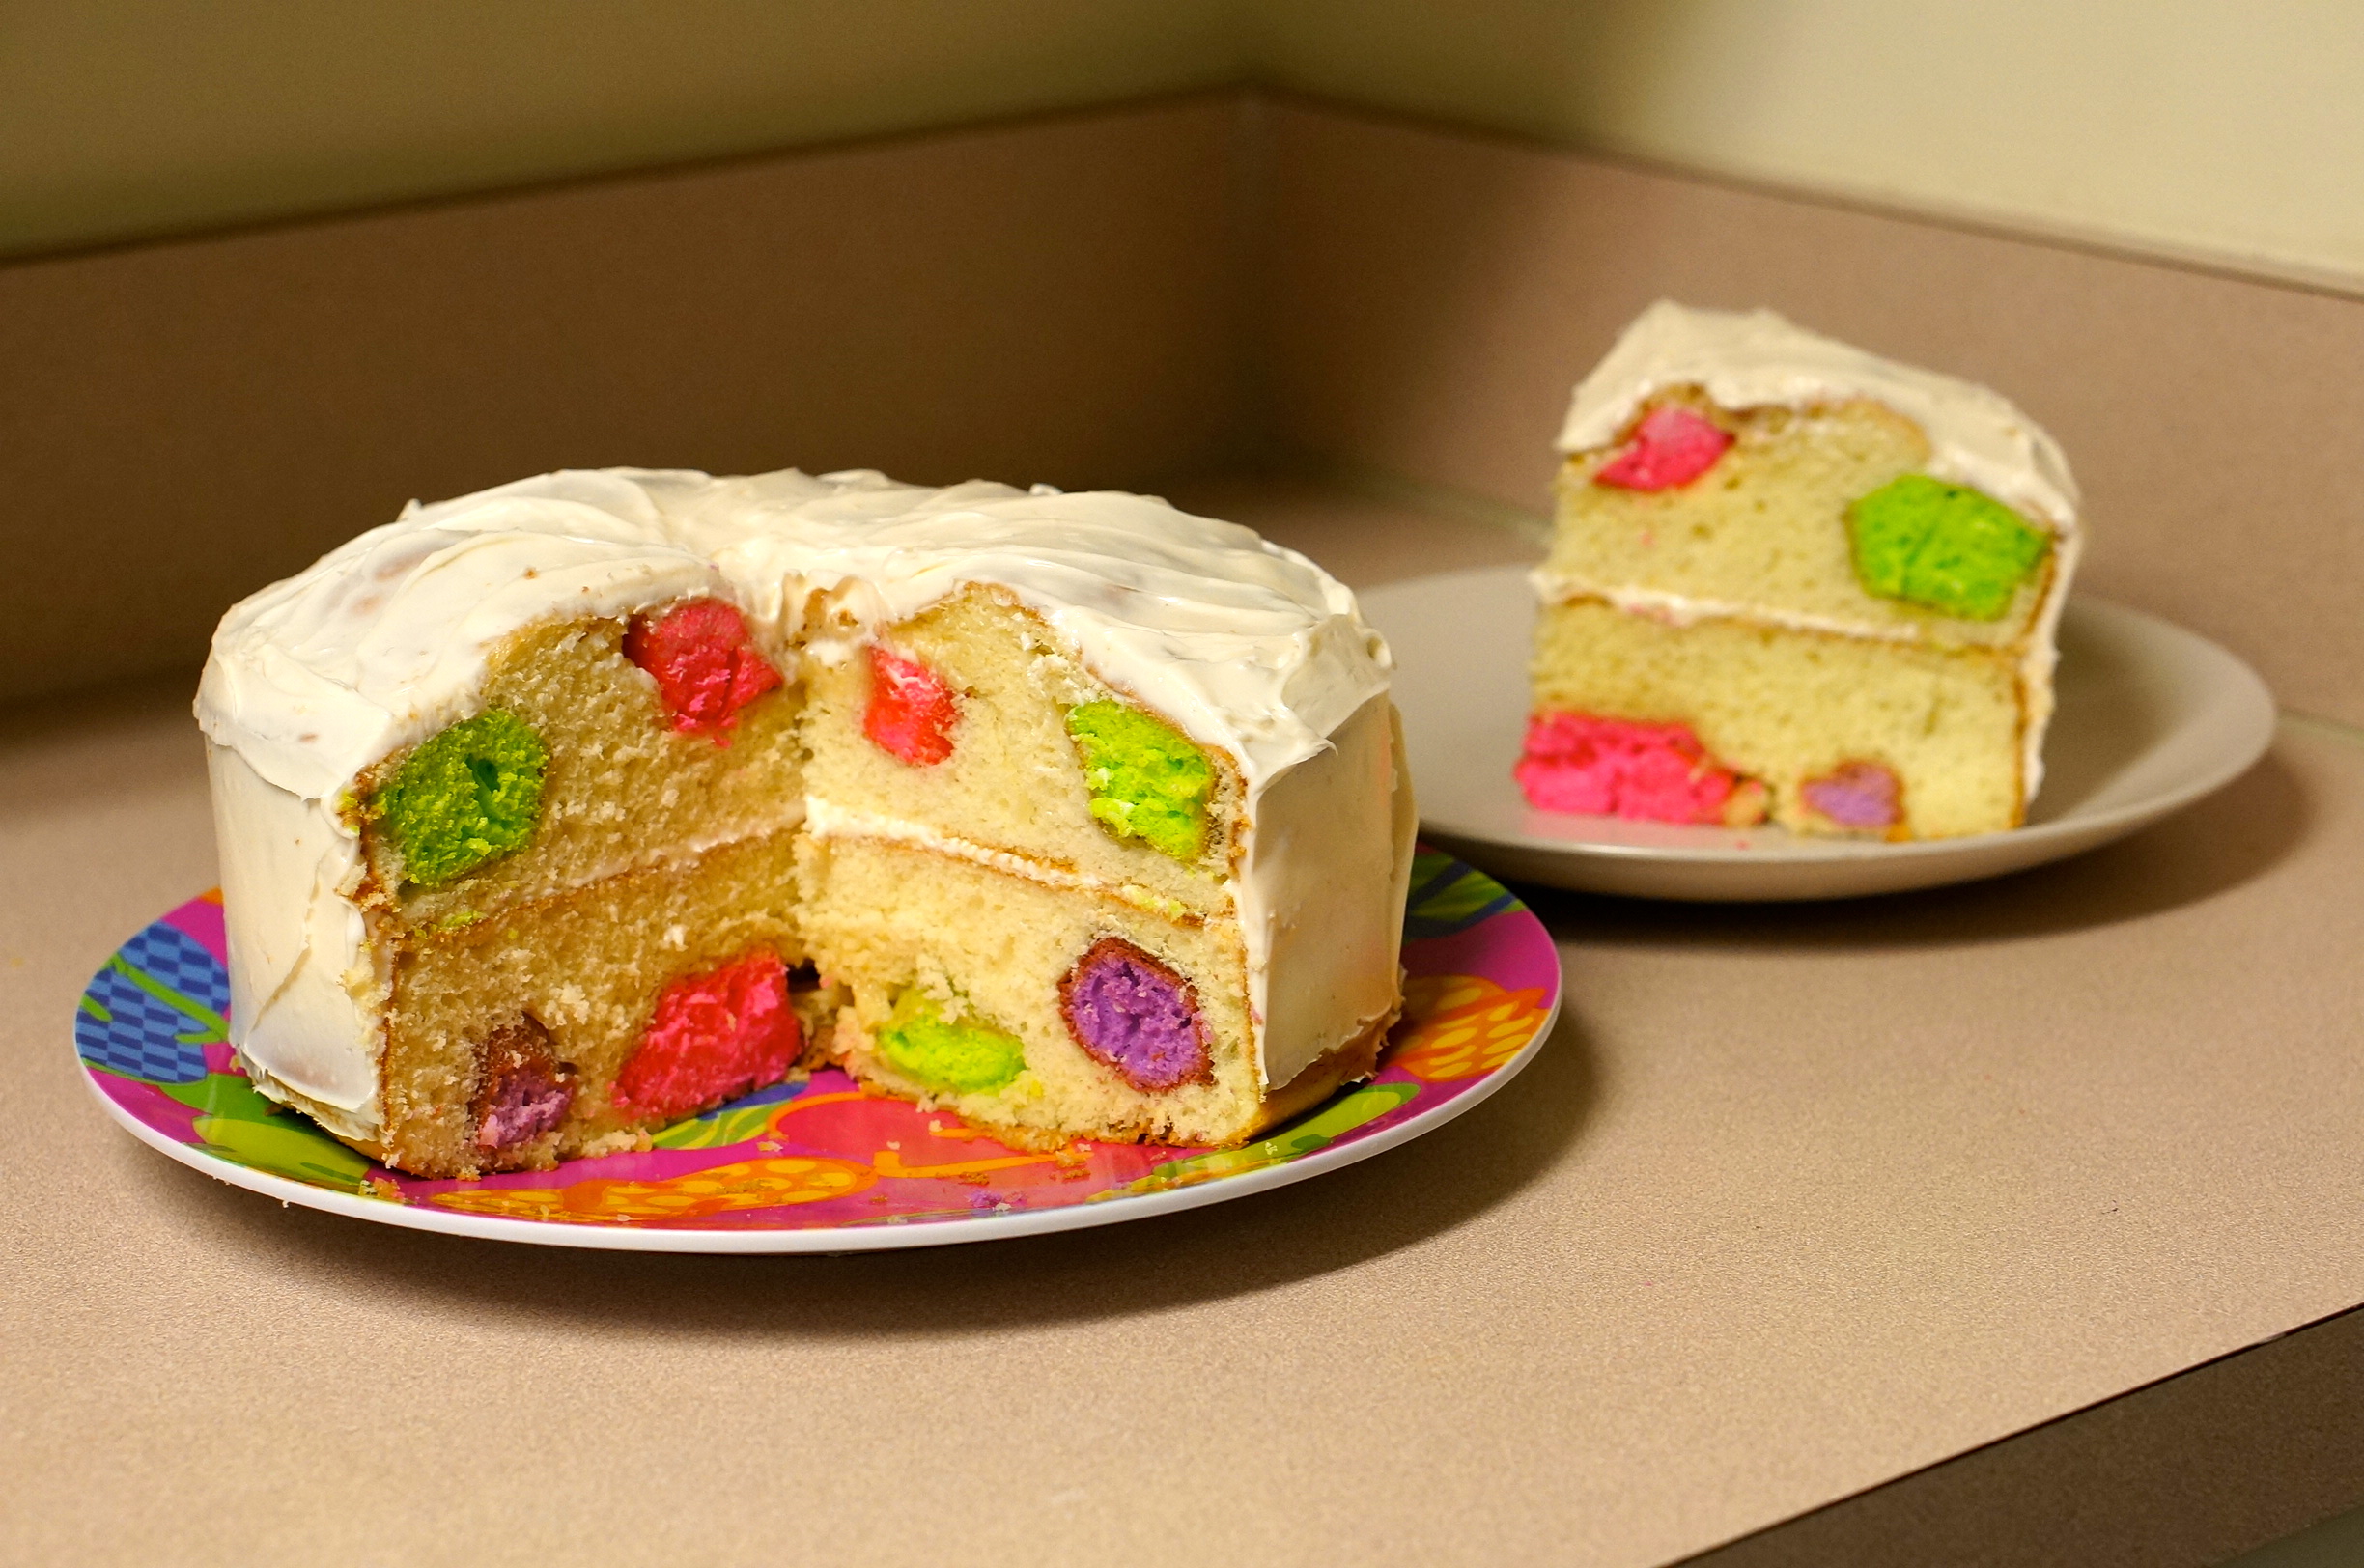
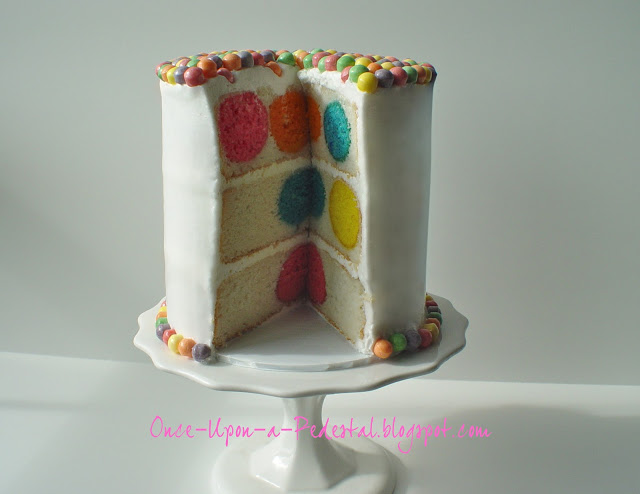
Our Version Pinterest Version
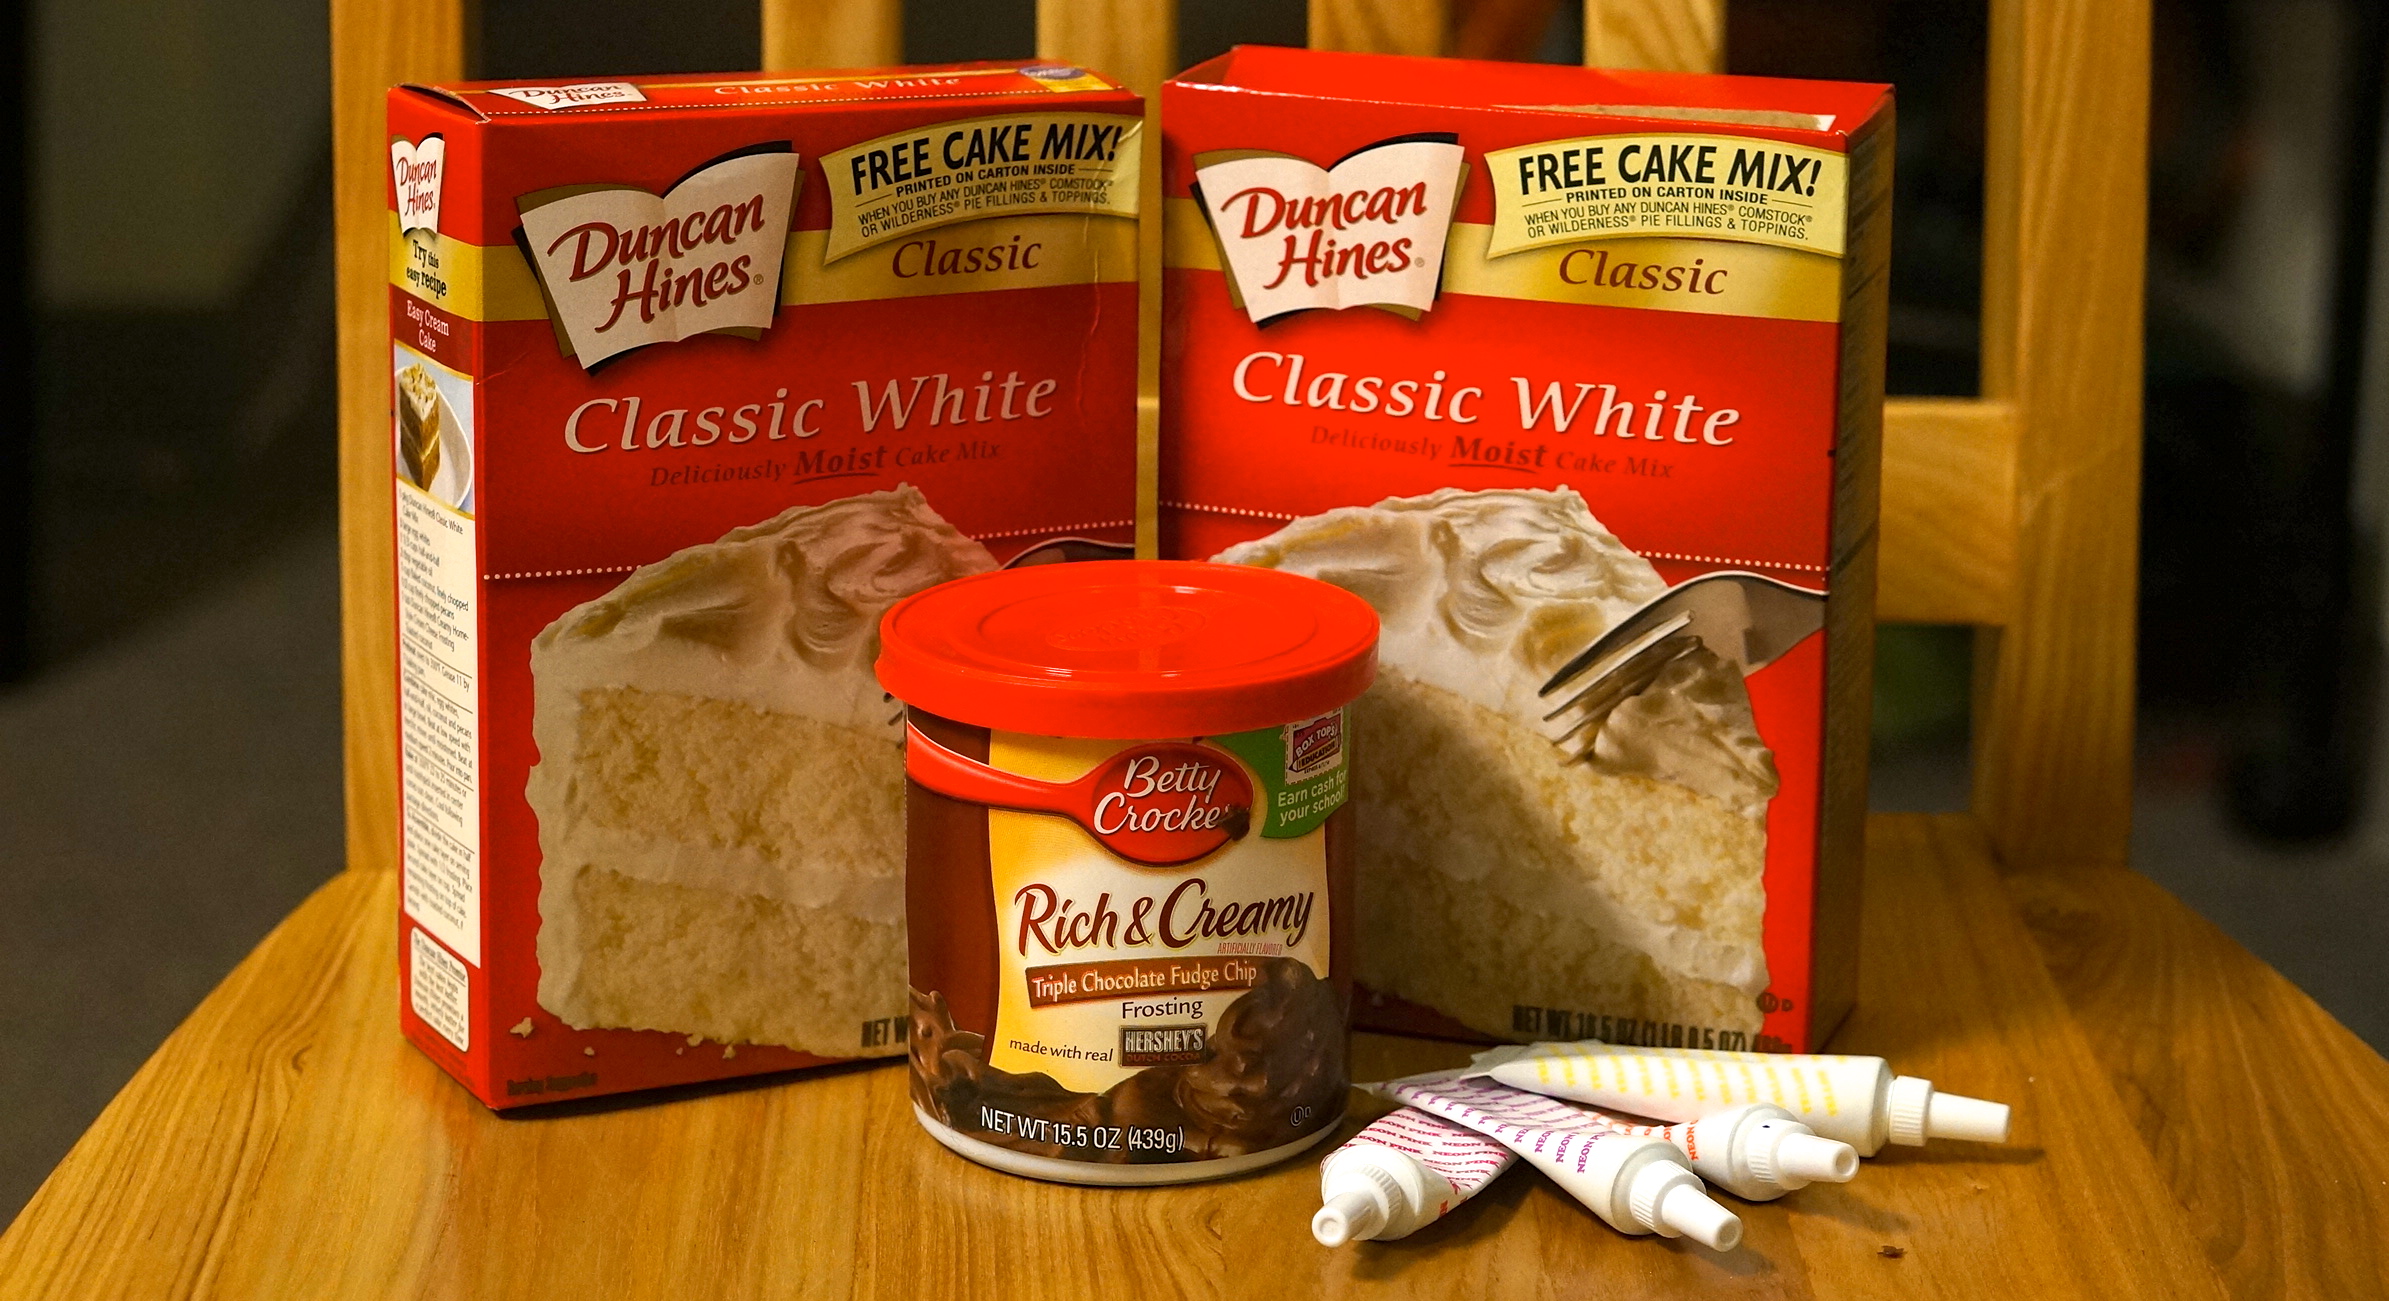
It’s pretty cute, right? To make this fun, summery cake, first you’ll need to grab your ingredients:
- Two white cake mixes
- food coloring
- any kind of icing (your choice- go crazy!)
The original pin was actually a Cake Pop Cake. The baker had colored white cake mix and baked it into spheres in one of those cake pop makers. Then she baked the cake balls into the white cake.
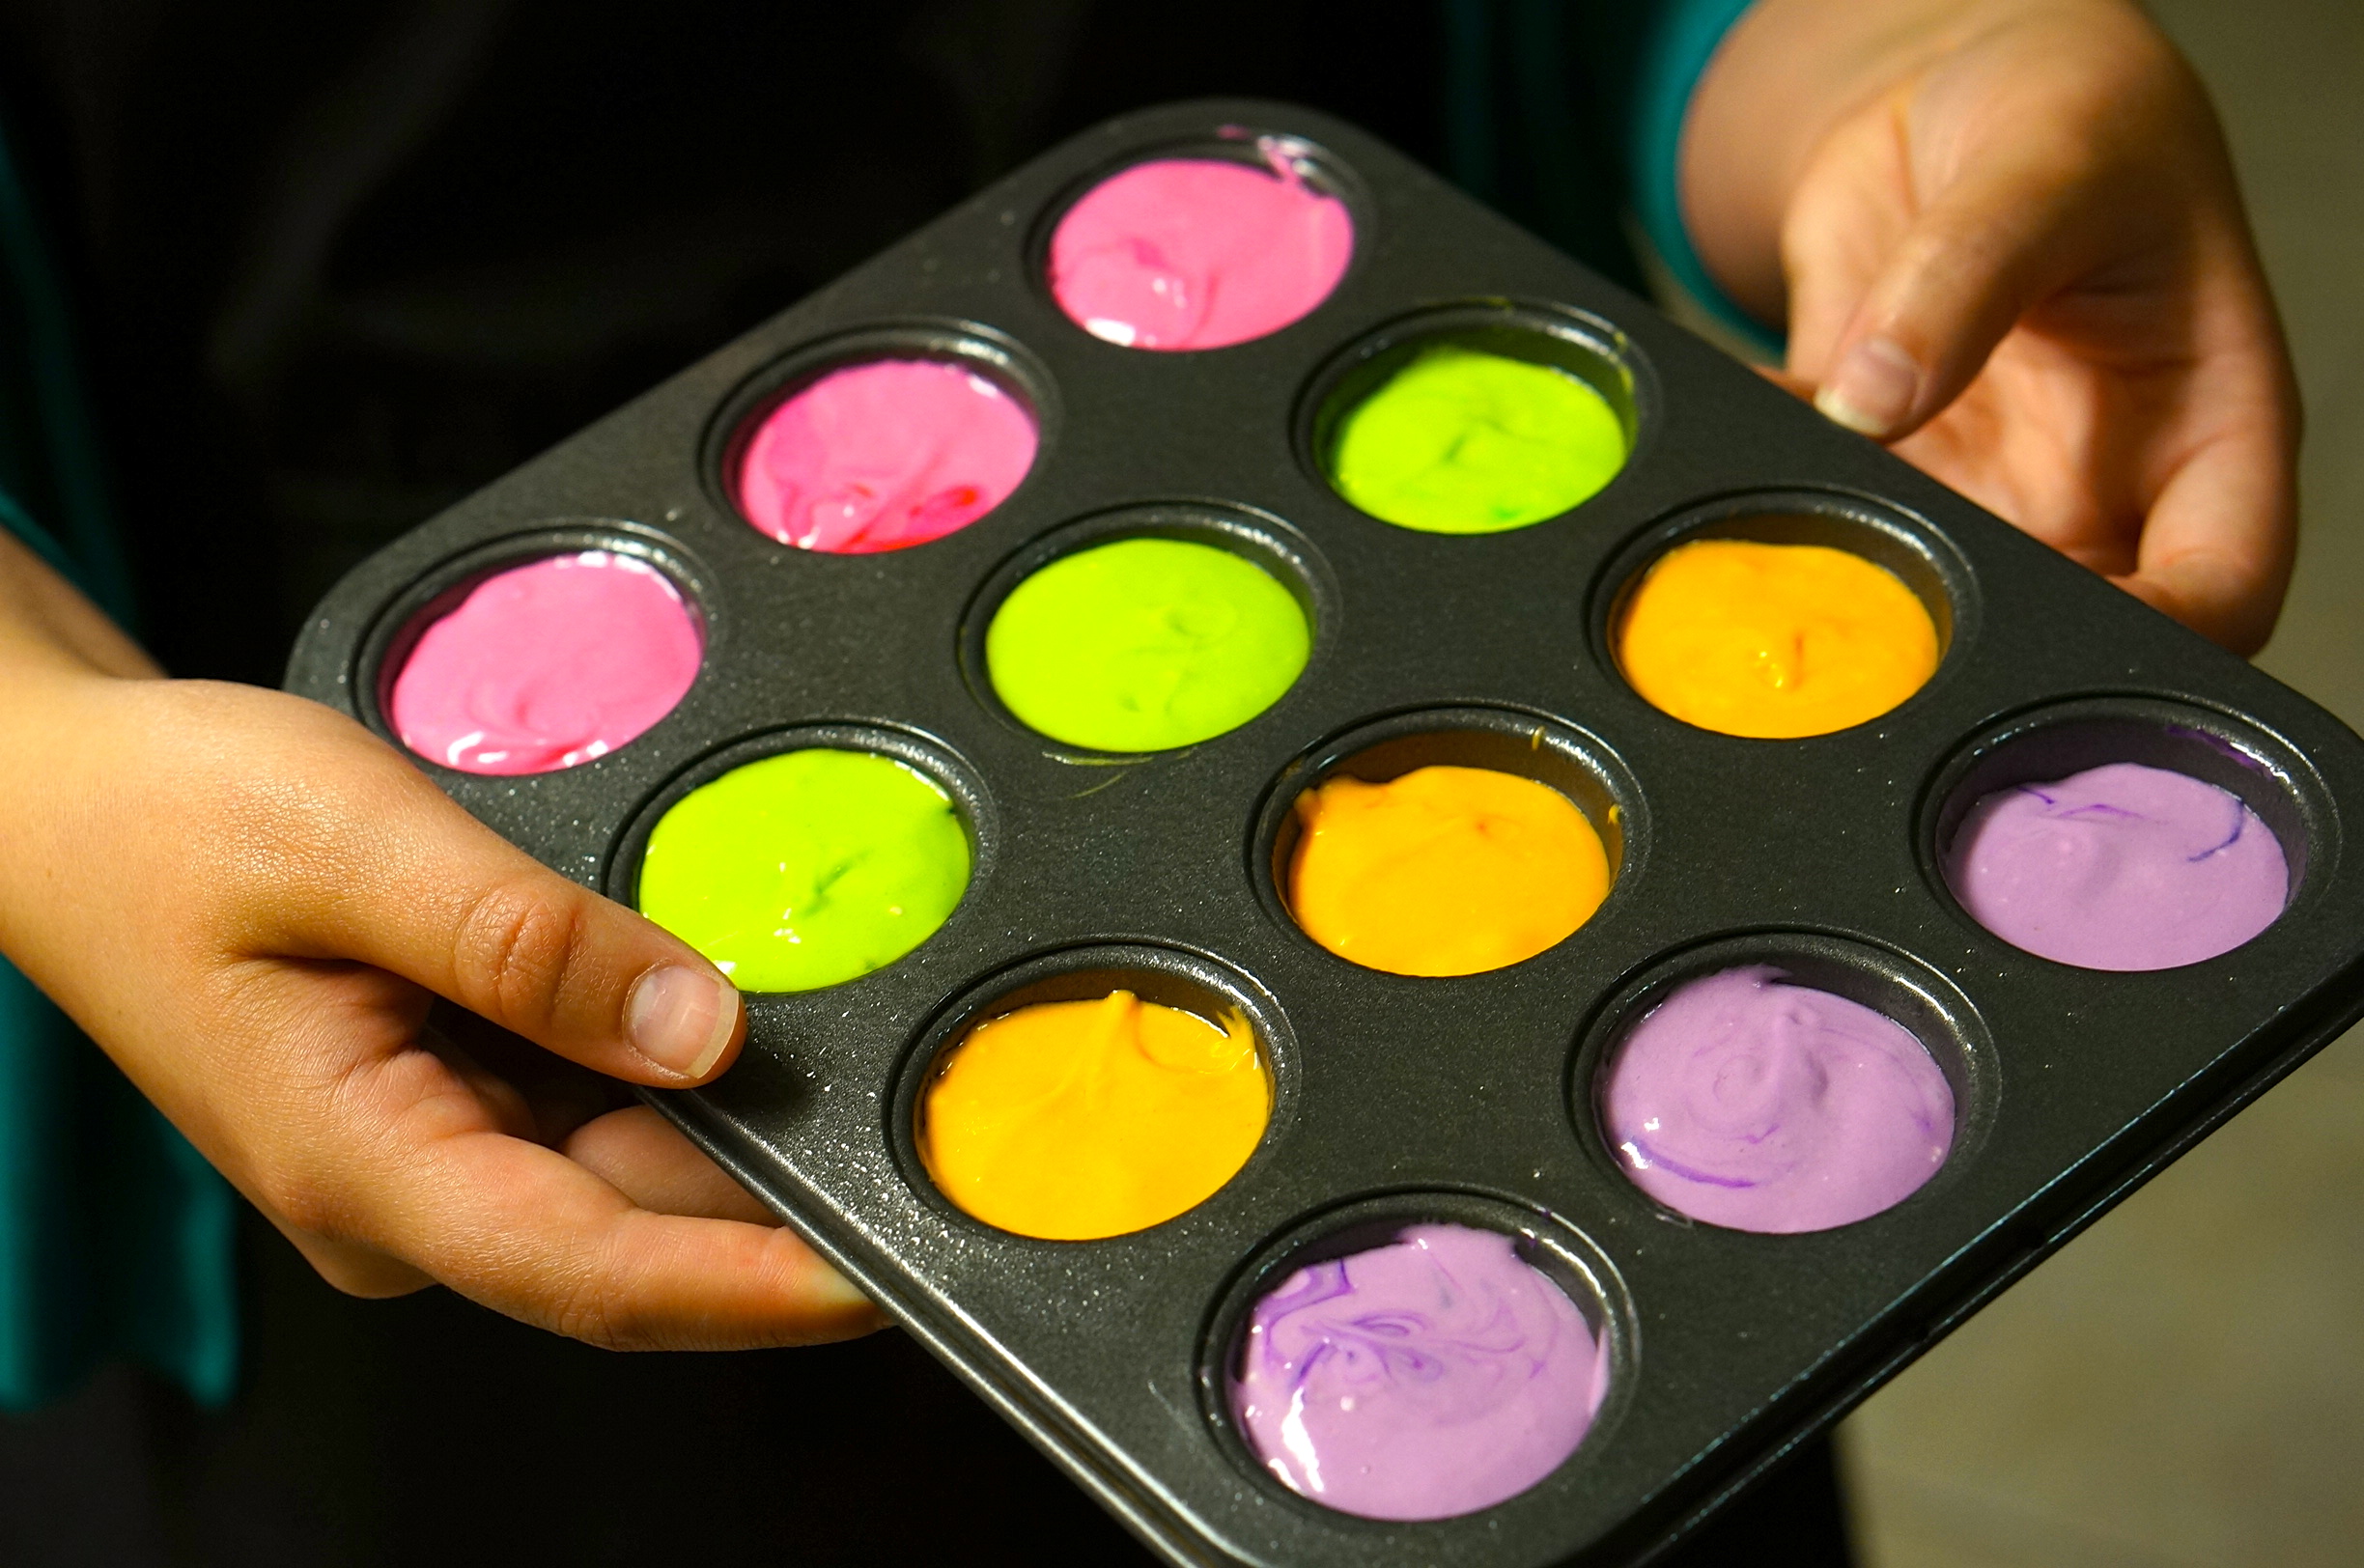
We don’t have a cake pop maker (and we’re willing to wager our average reader doesn’t either), so we decided to try this shenanigan using our trusty mini cupcake pan.
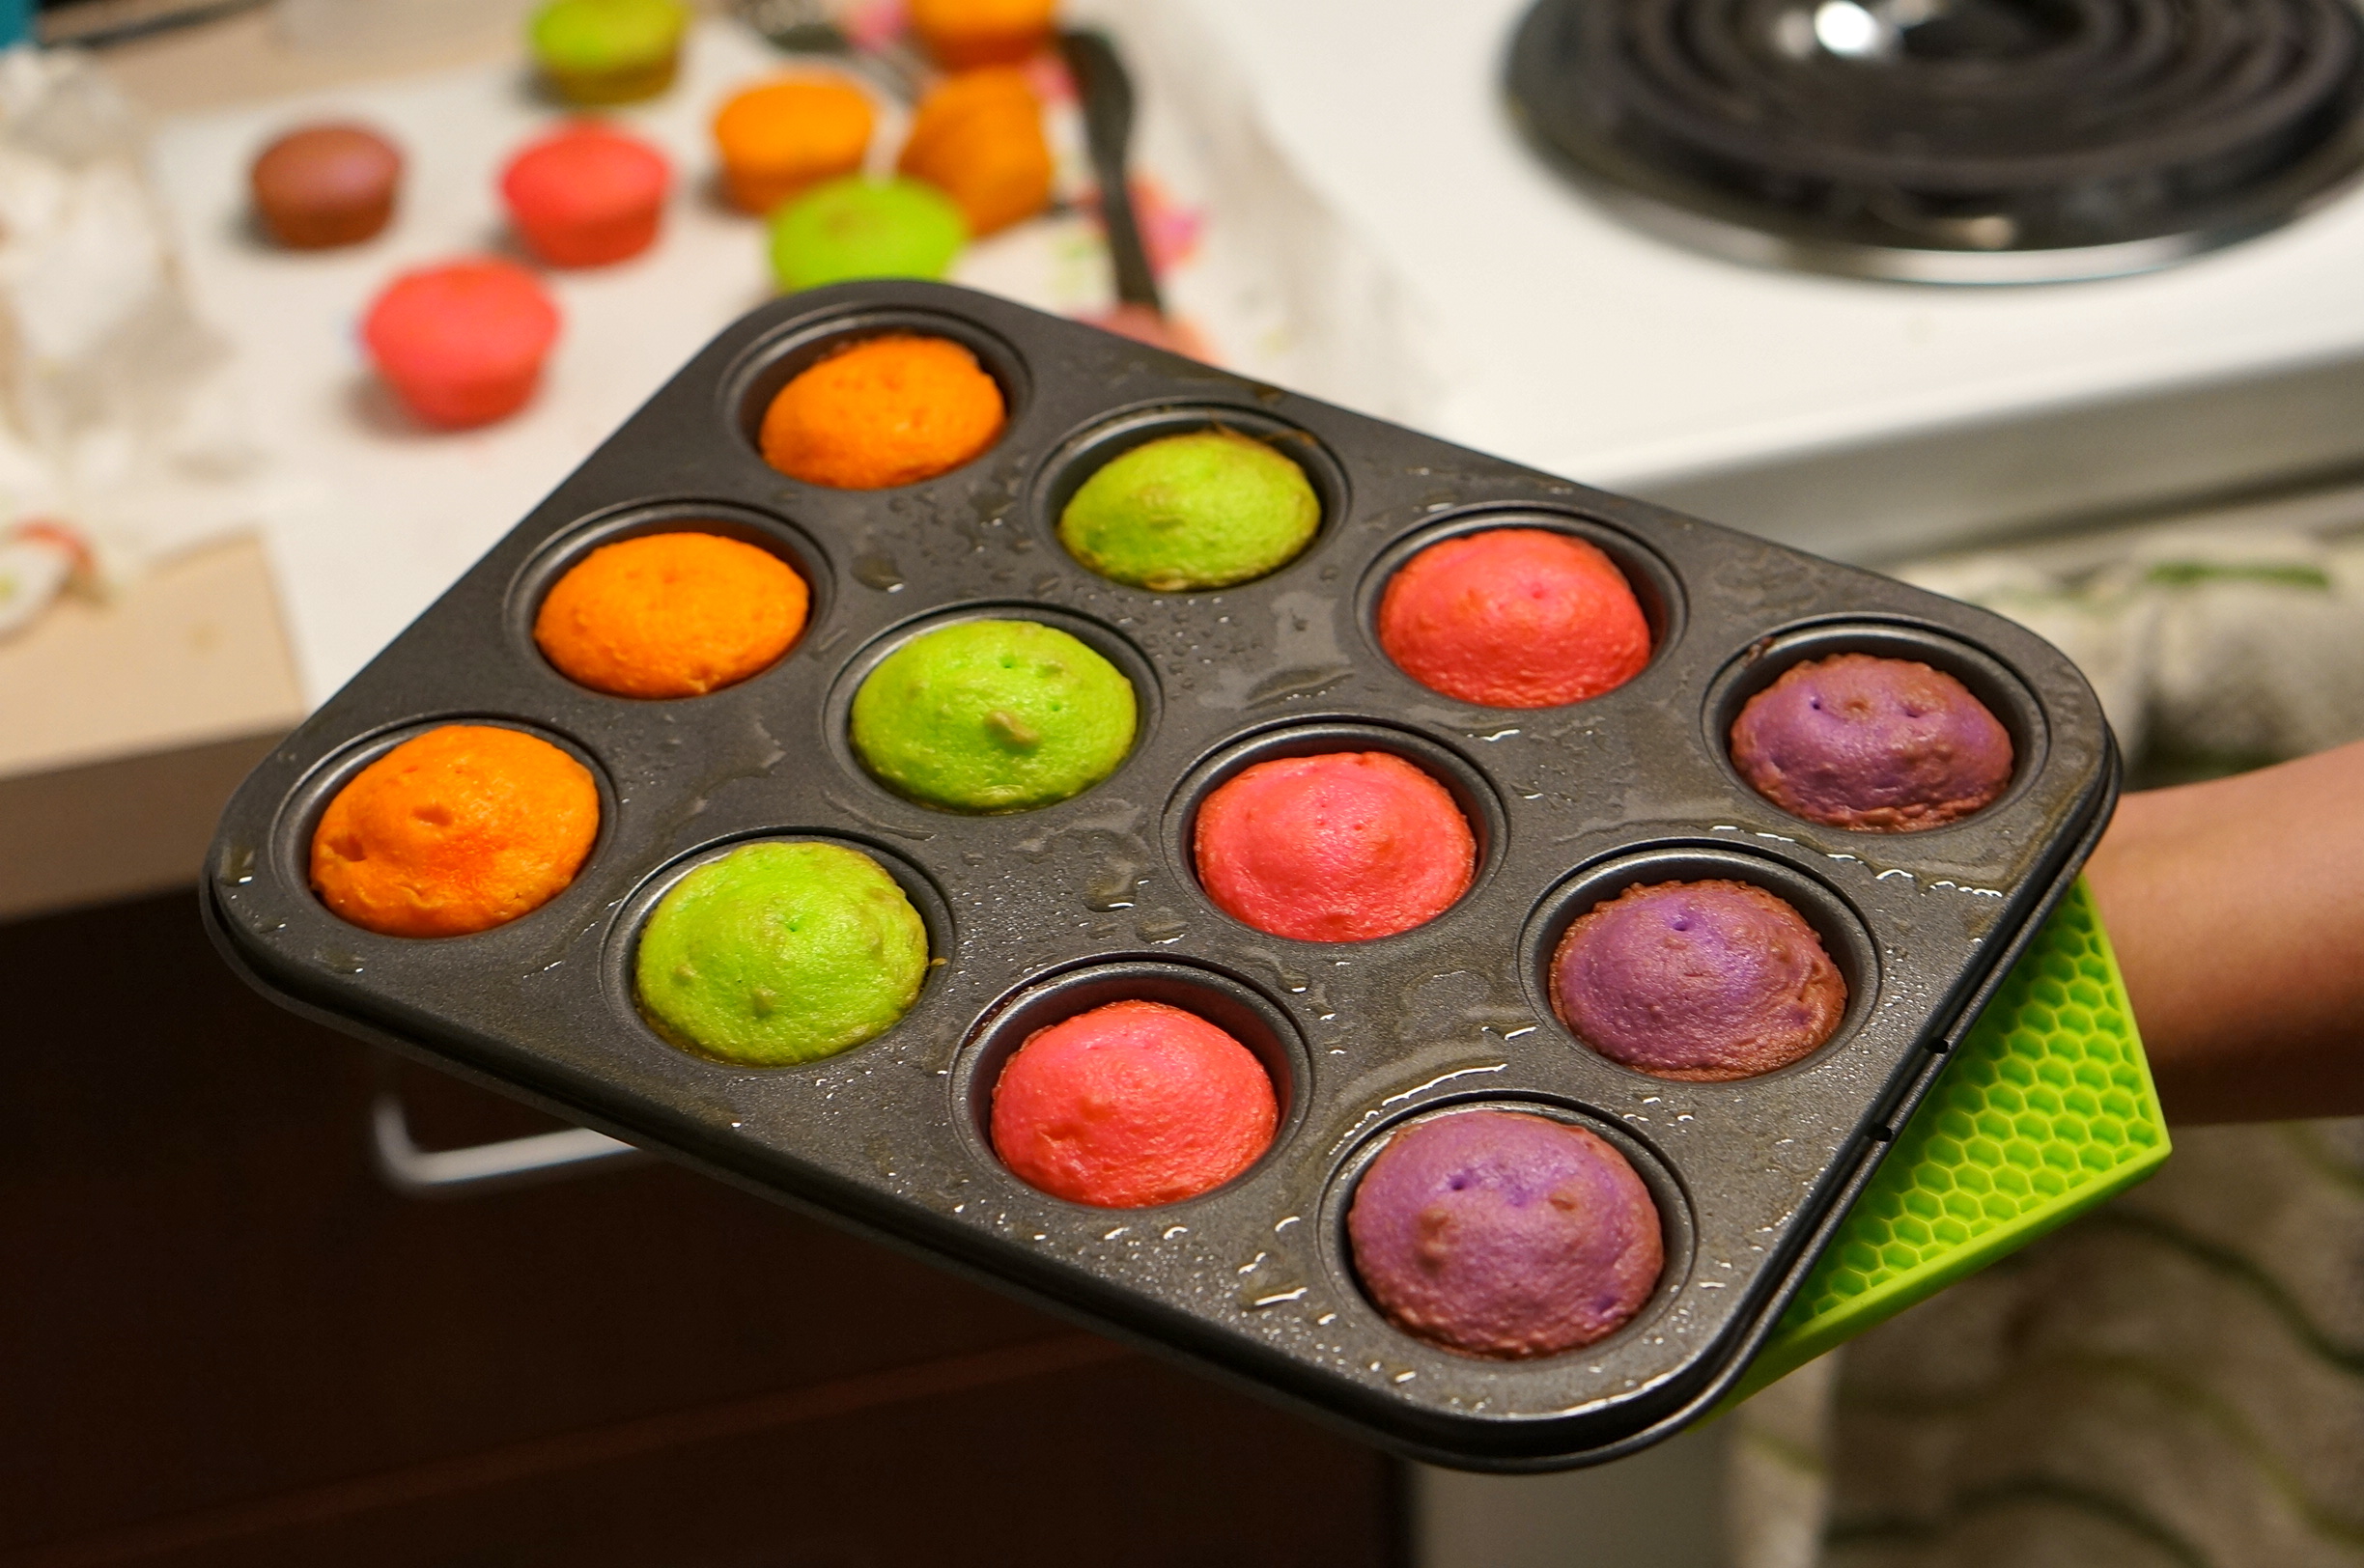
With one of the boxes of cake mix, make the batter and separate it into small bowls. Dye each bowl of batter a different color. Pour these colored batters into the mini cupcake pan and bake to the package directions.
Once they are out of the oven, let them cool and pop them out of the pan. We ended up using 28 mini cupcakes overall, so you may want to aim for that many.
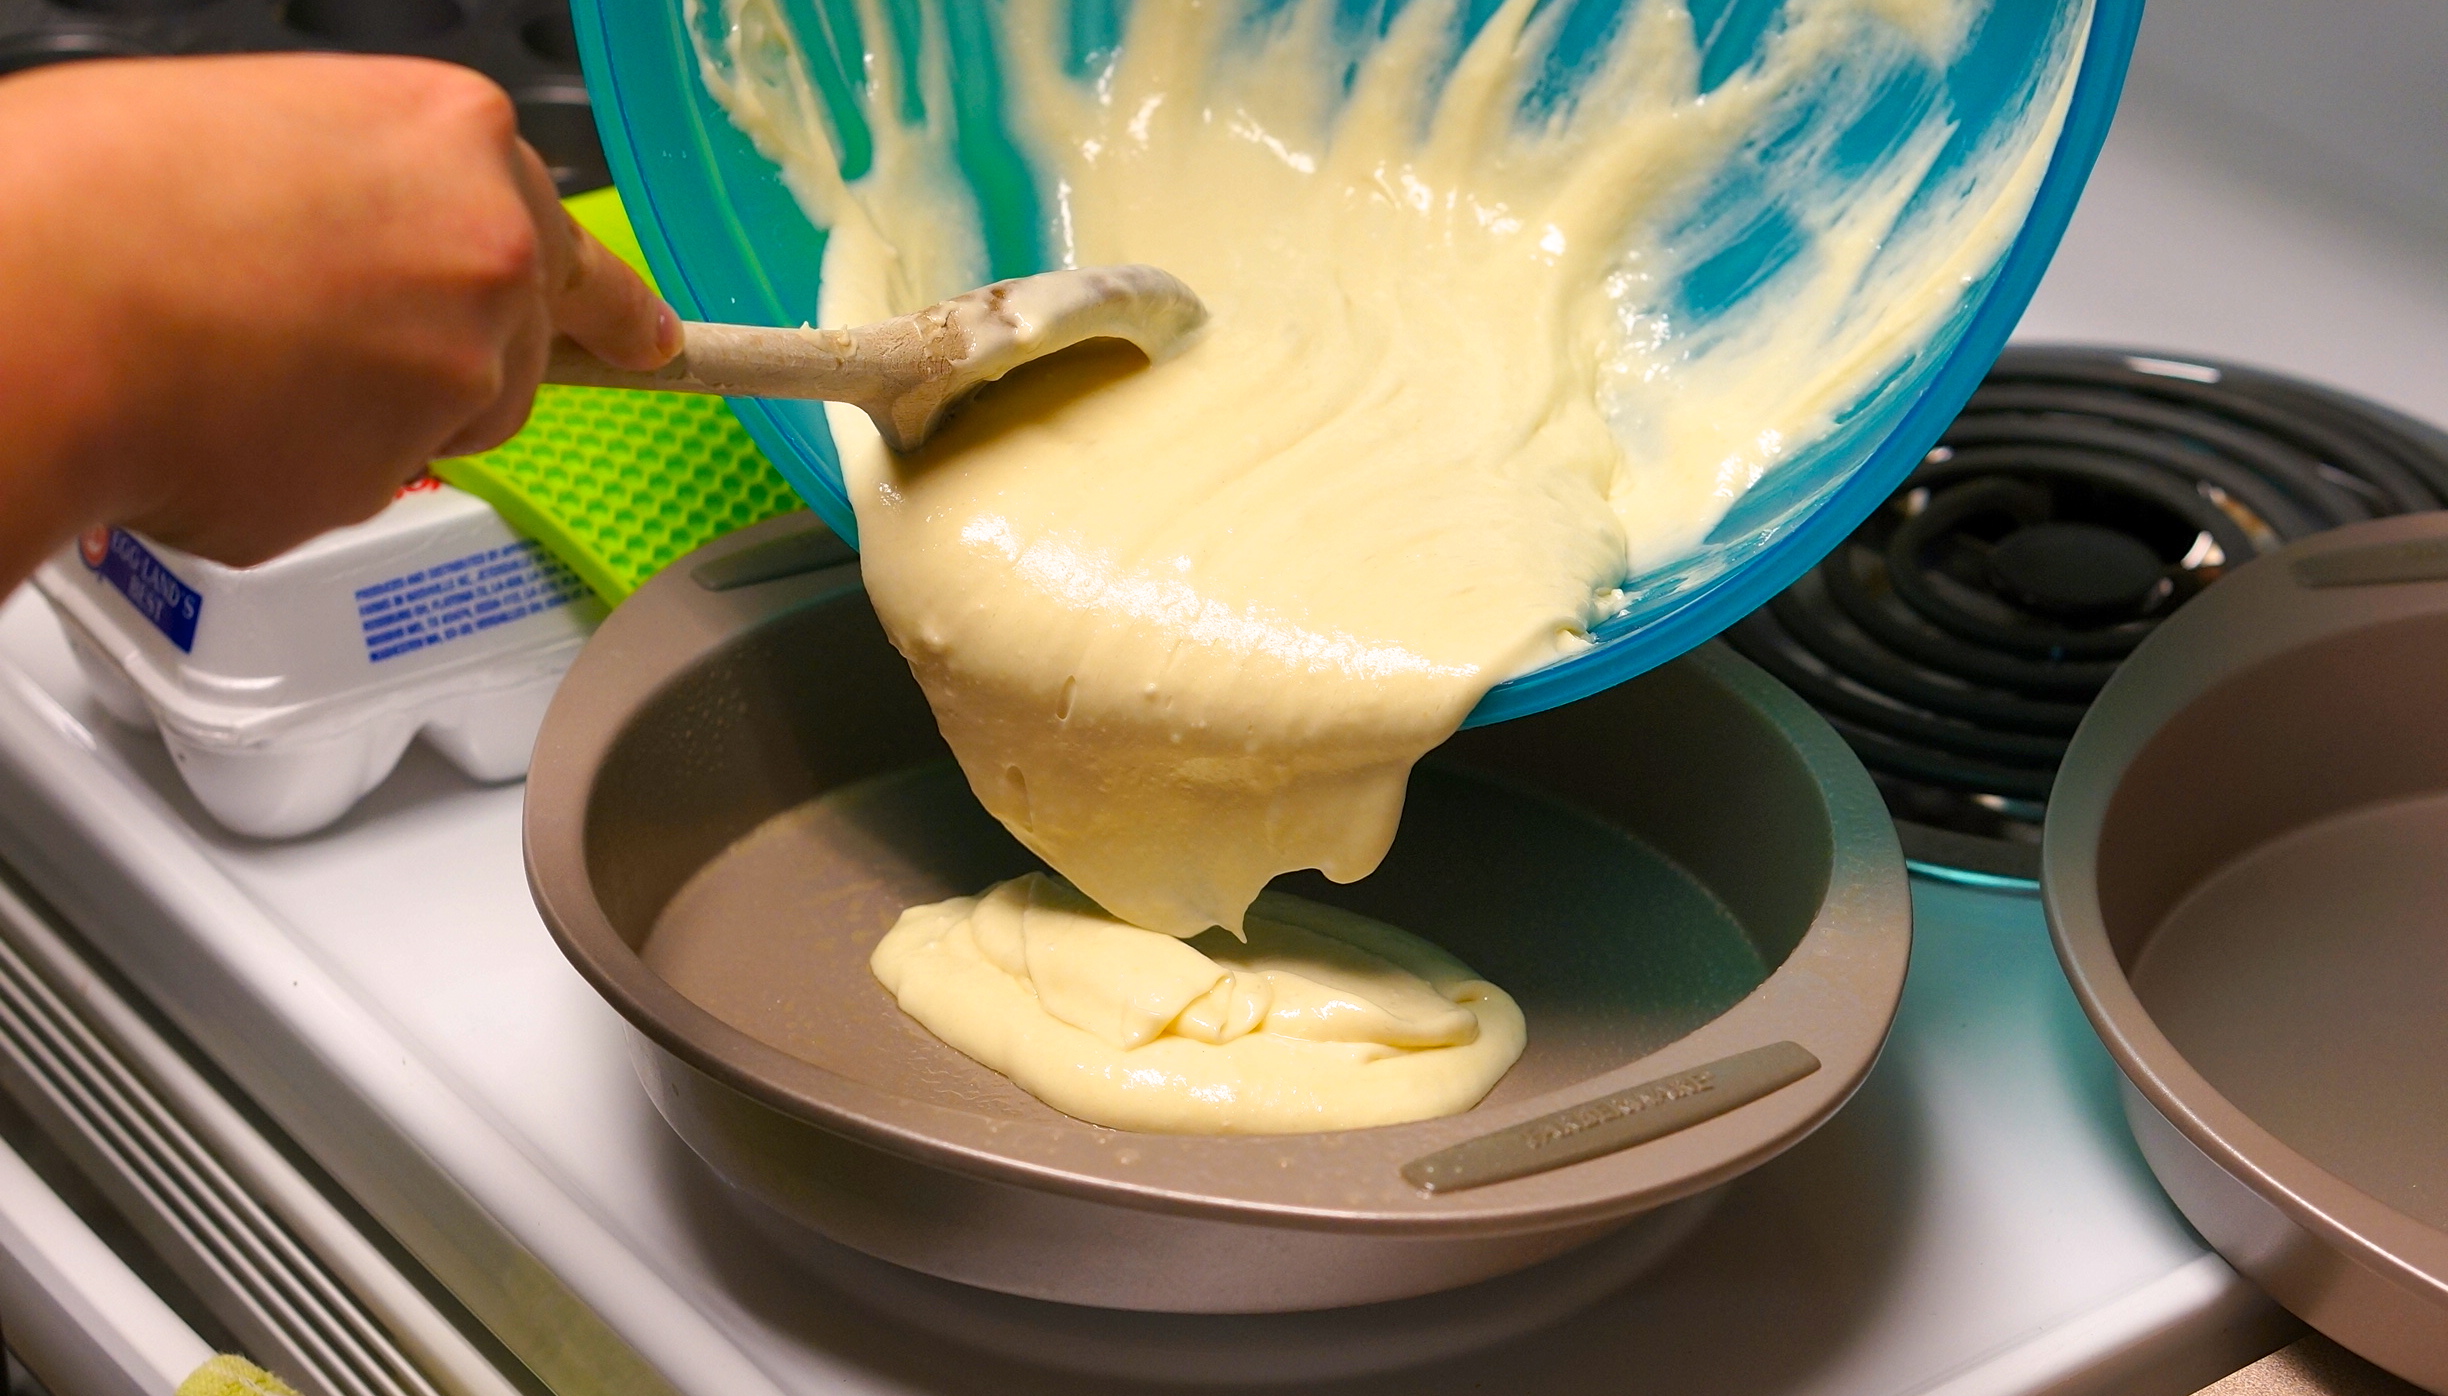
While your mini cupcakes are cooling more completely, you can make batter out of the other cake mix. Now, pour a thin layer in the bottom of both of your round cake pans.
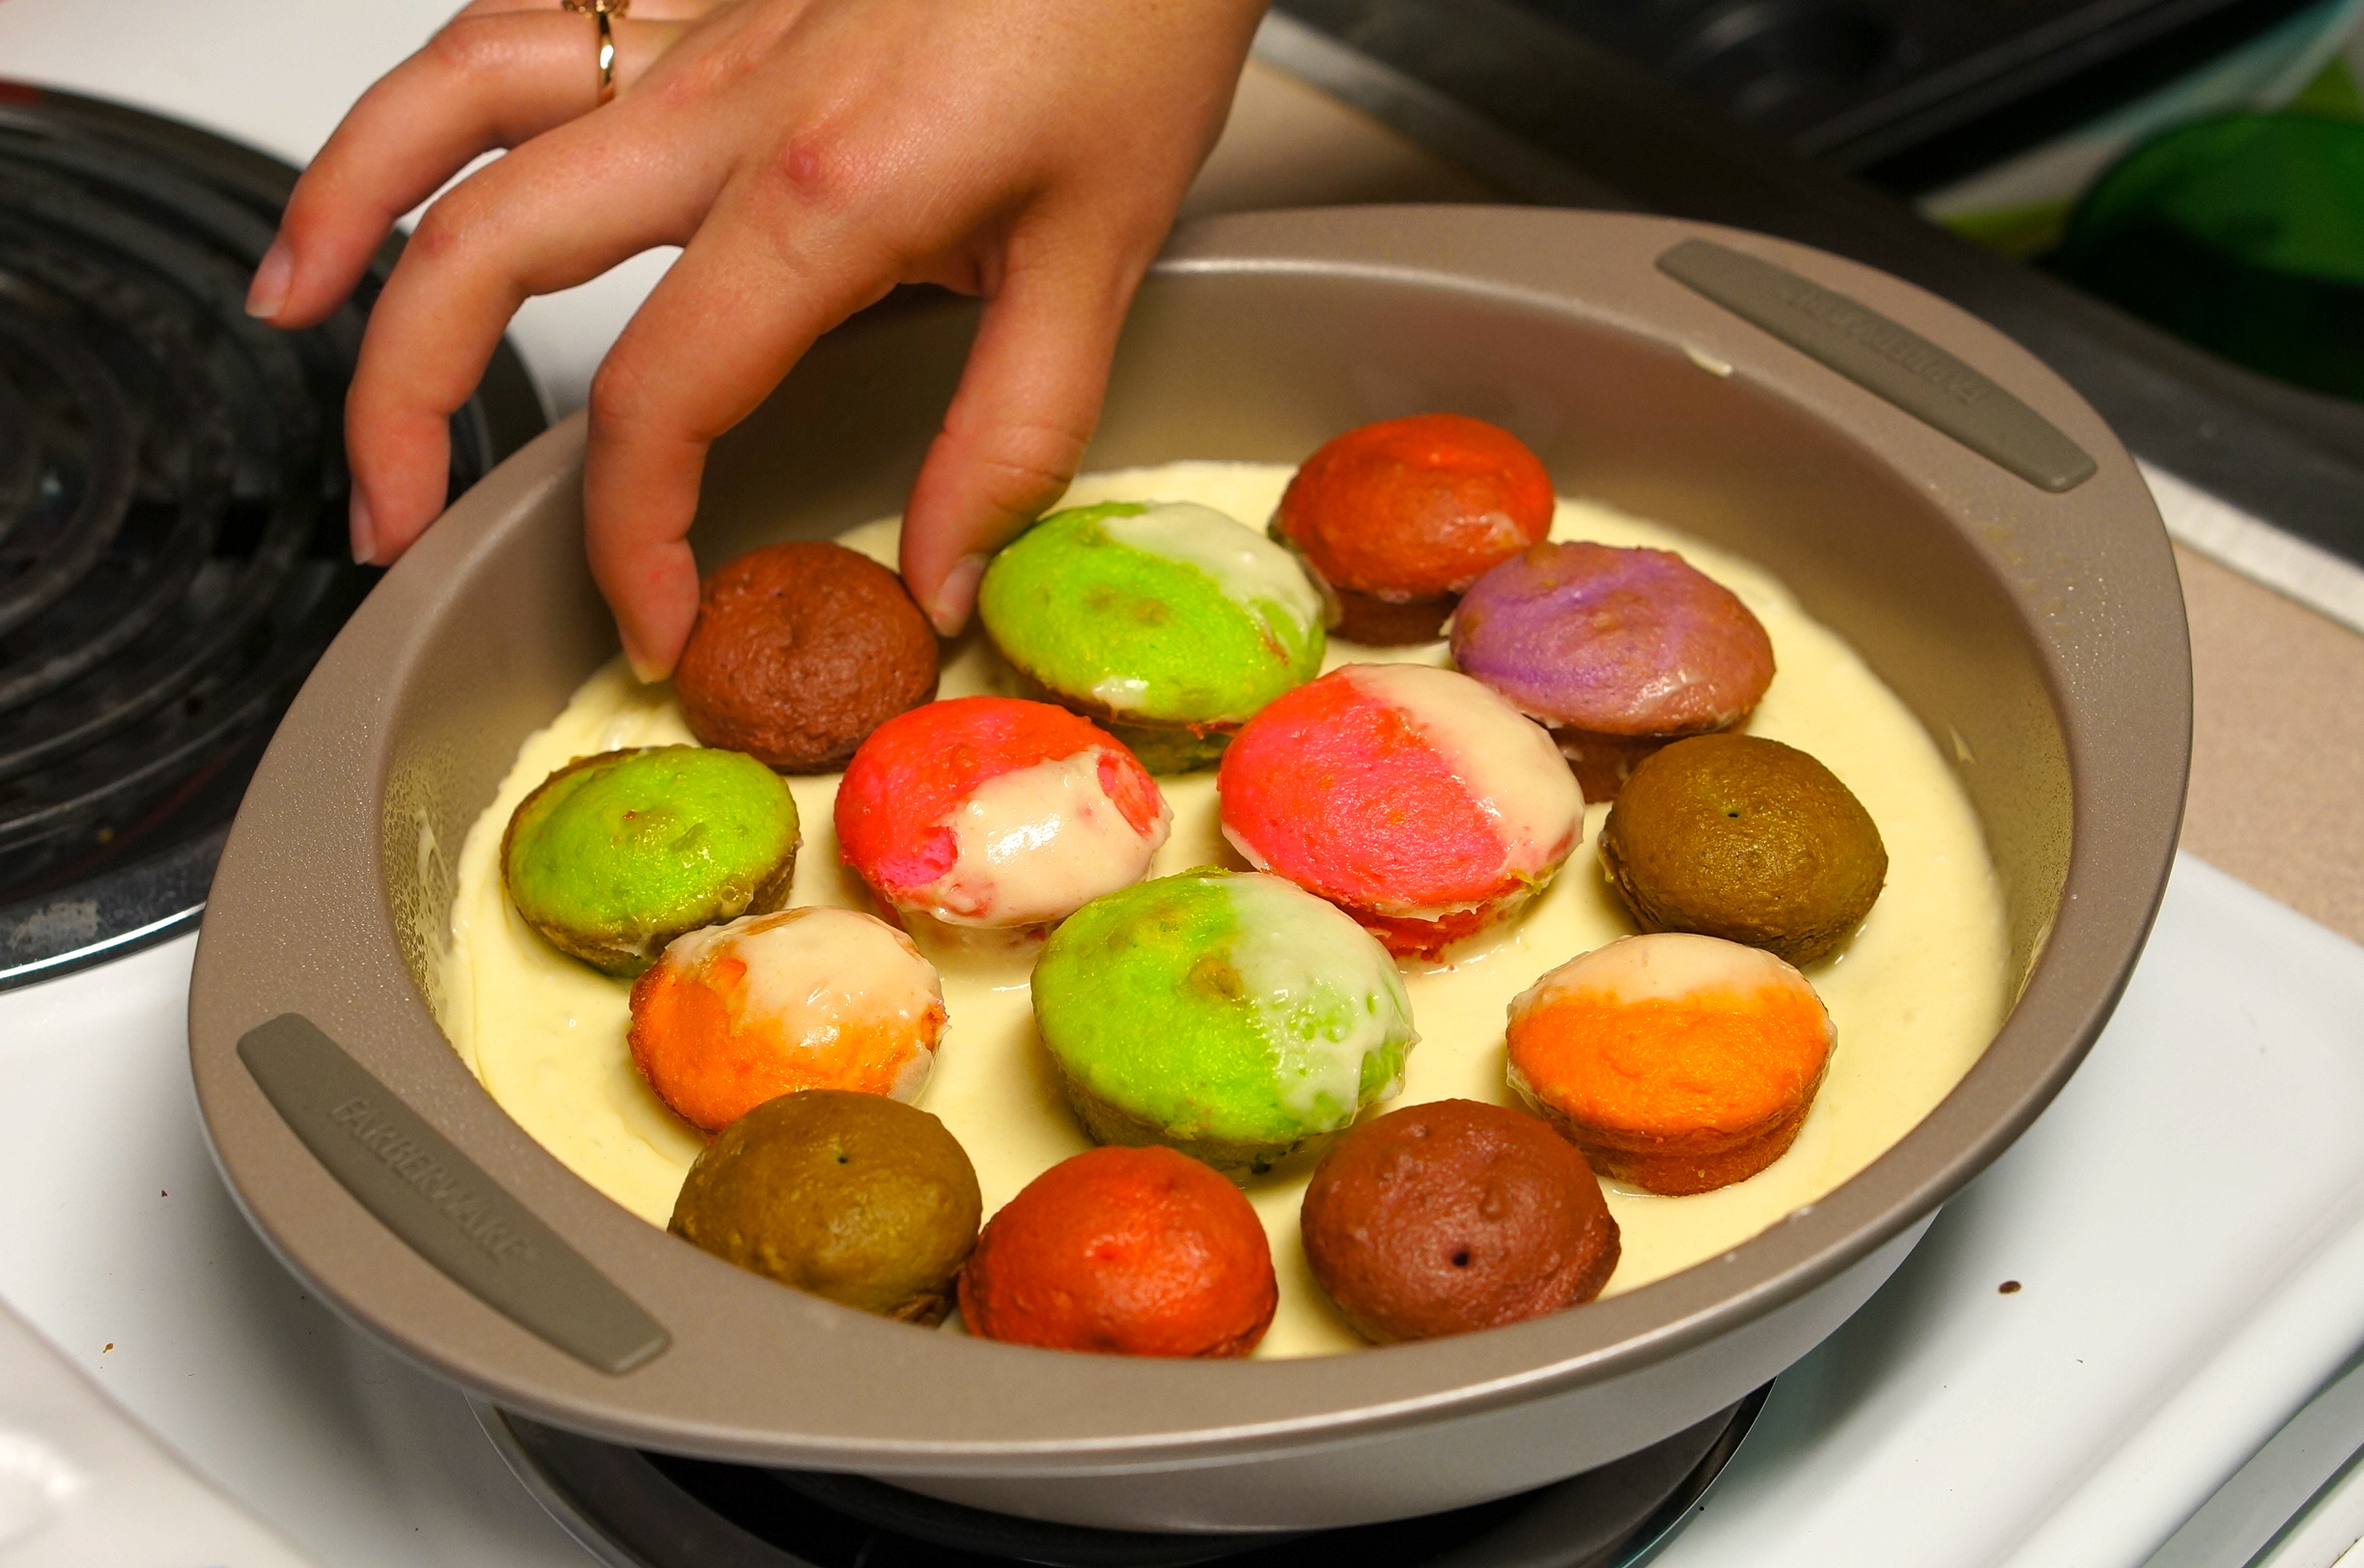
Place your colorful mini cupcakes in the pans.
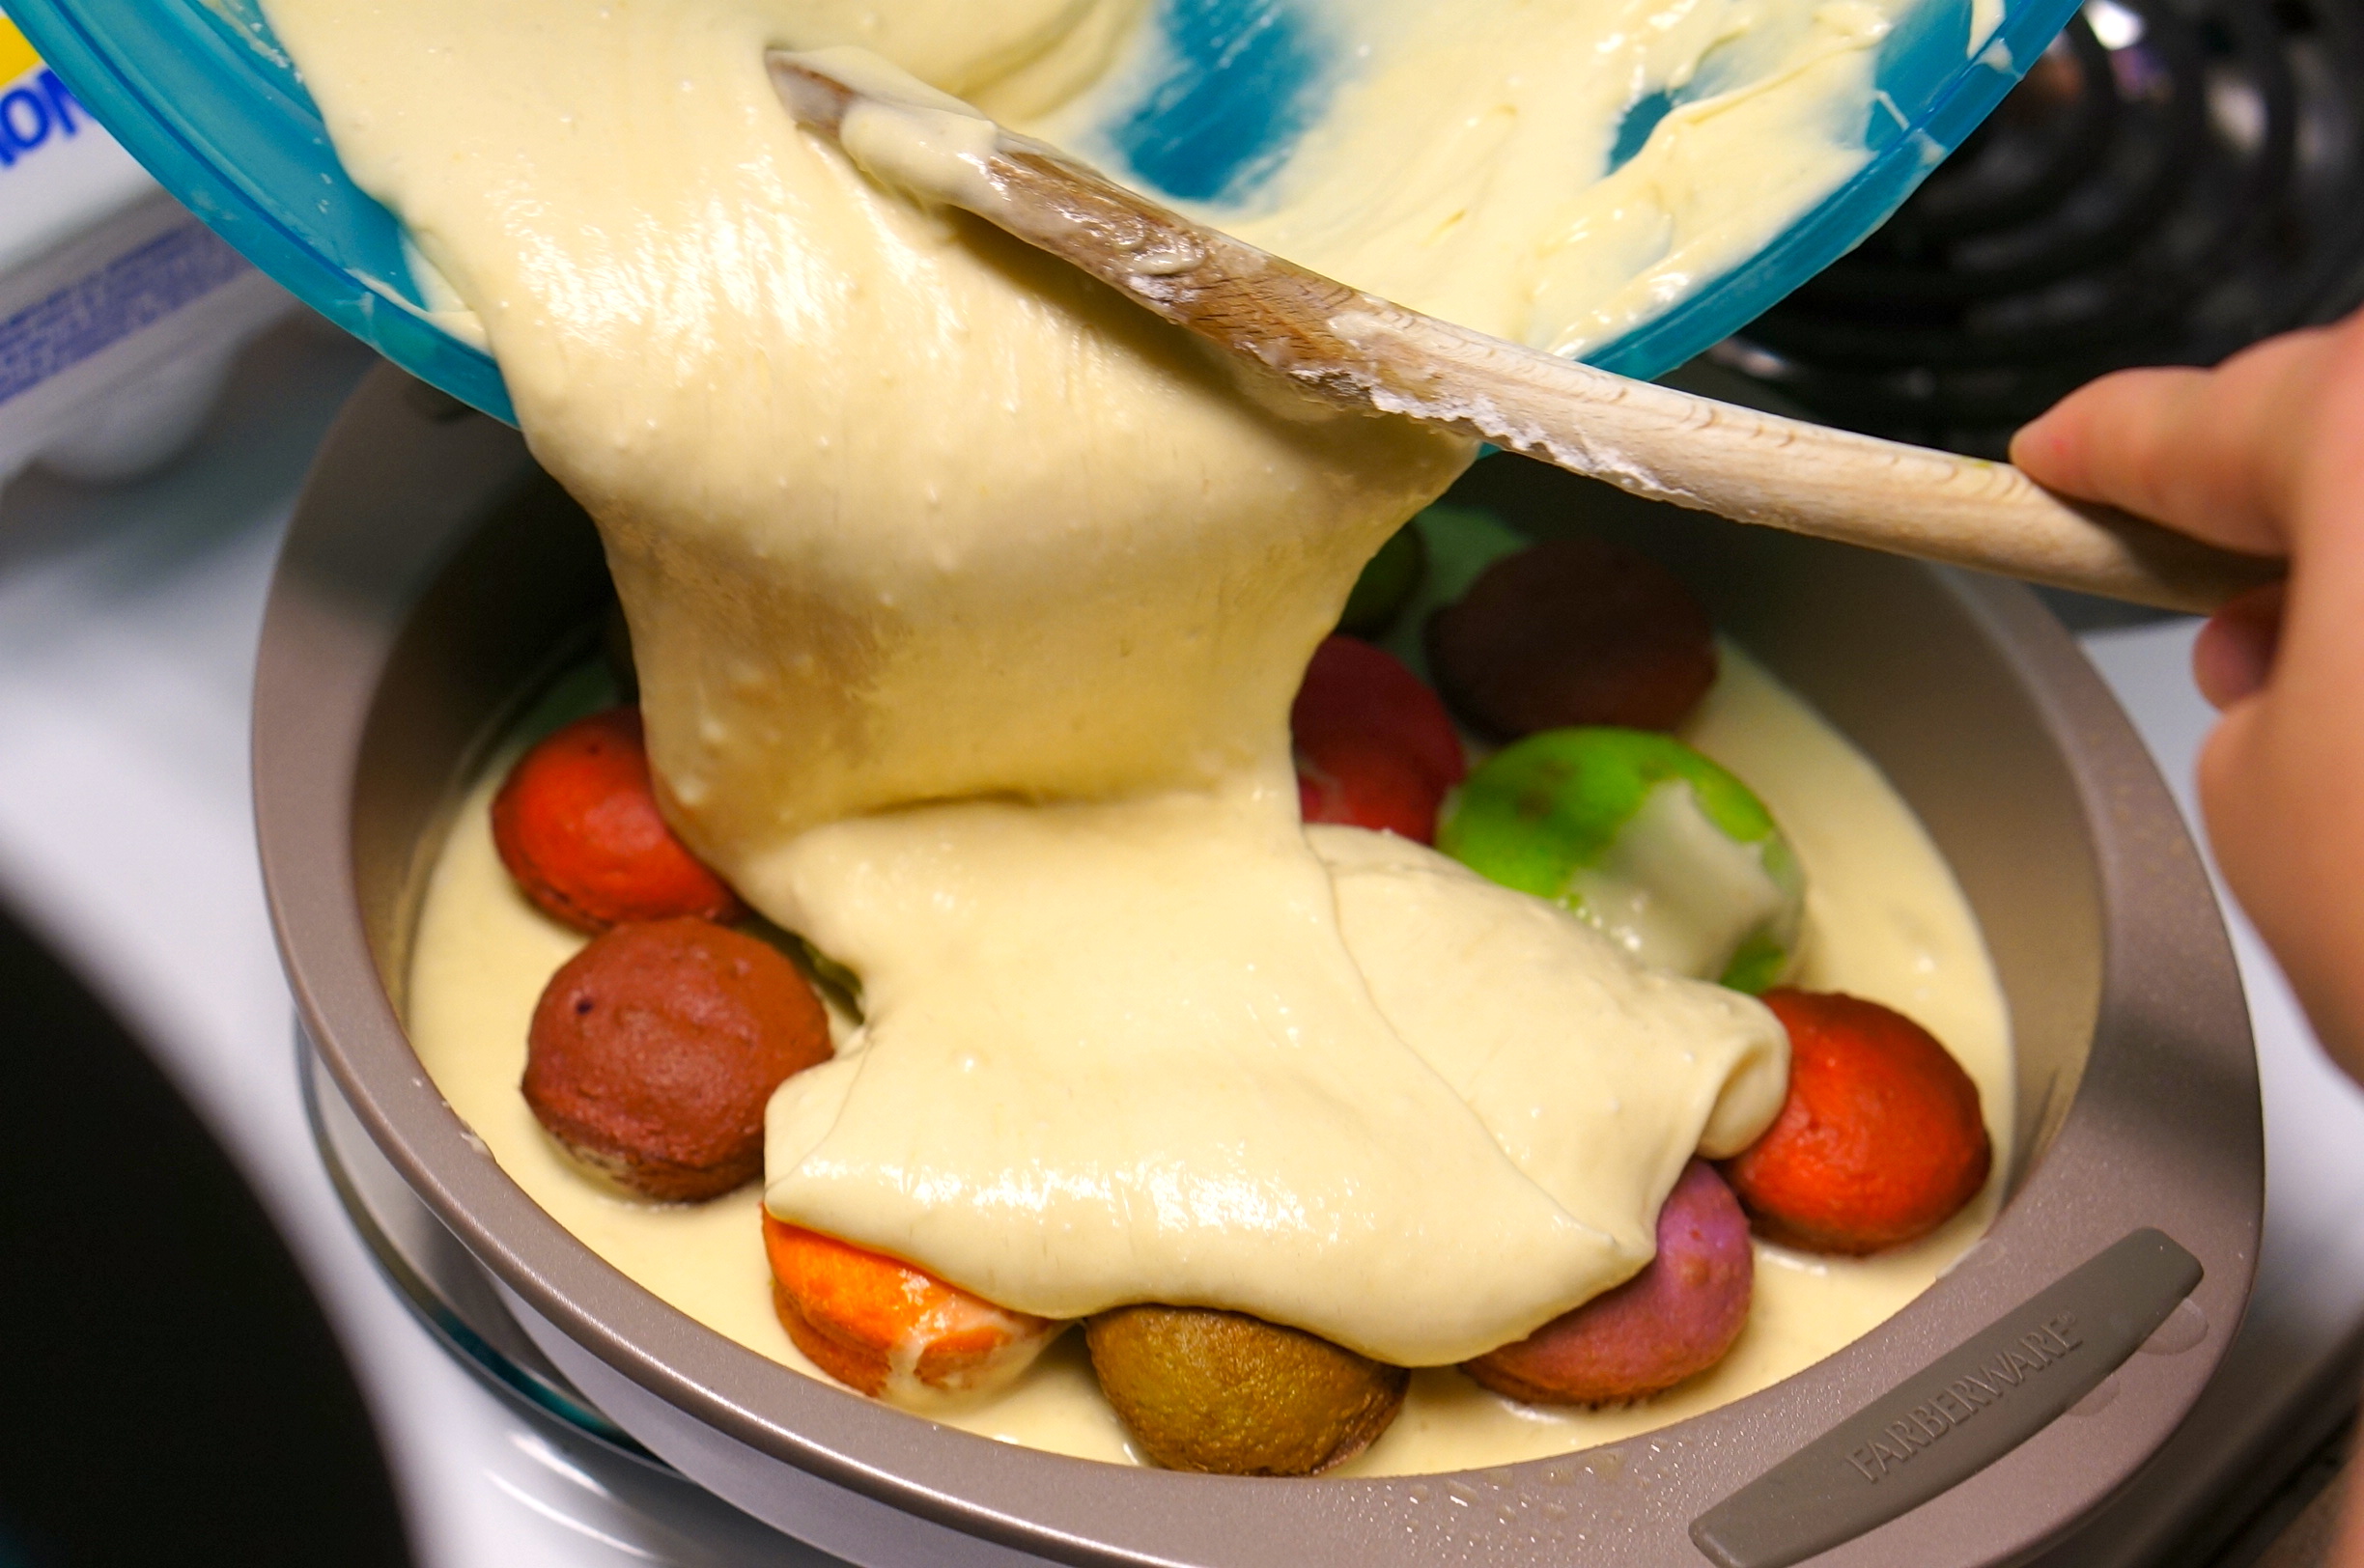
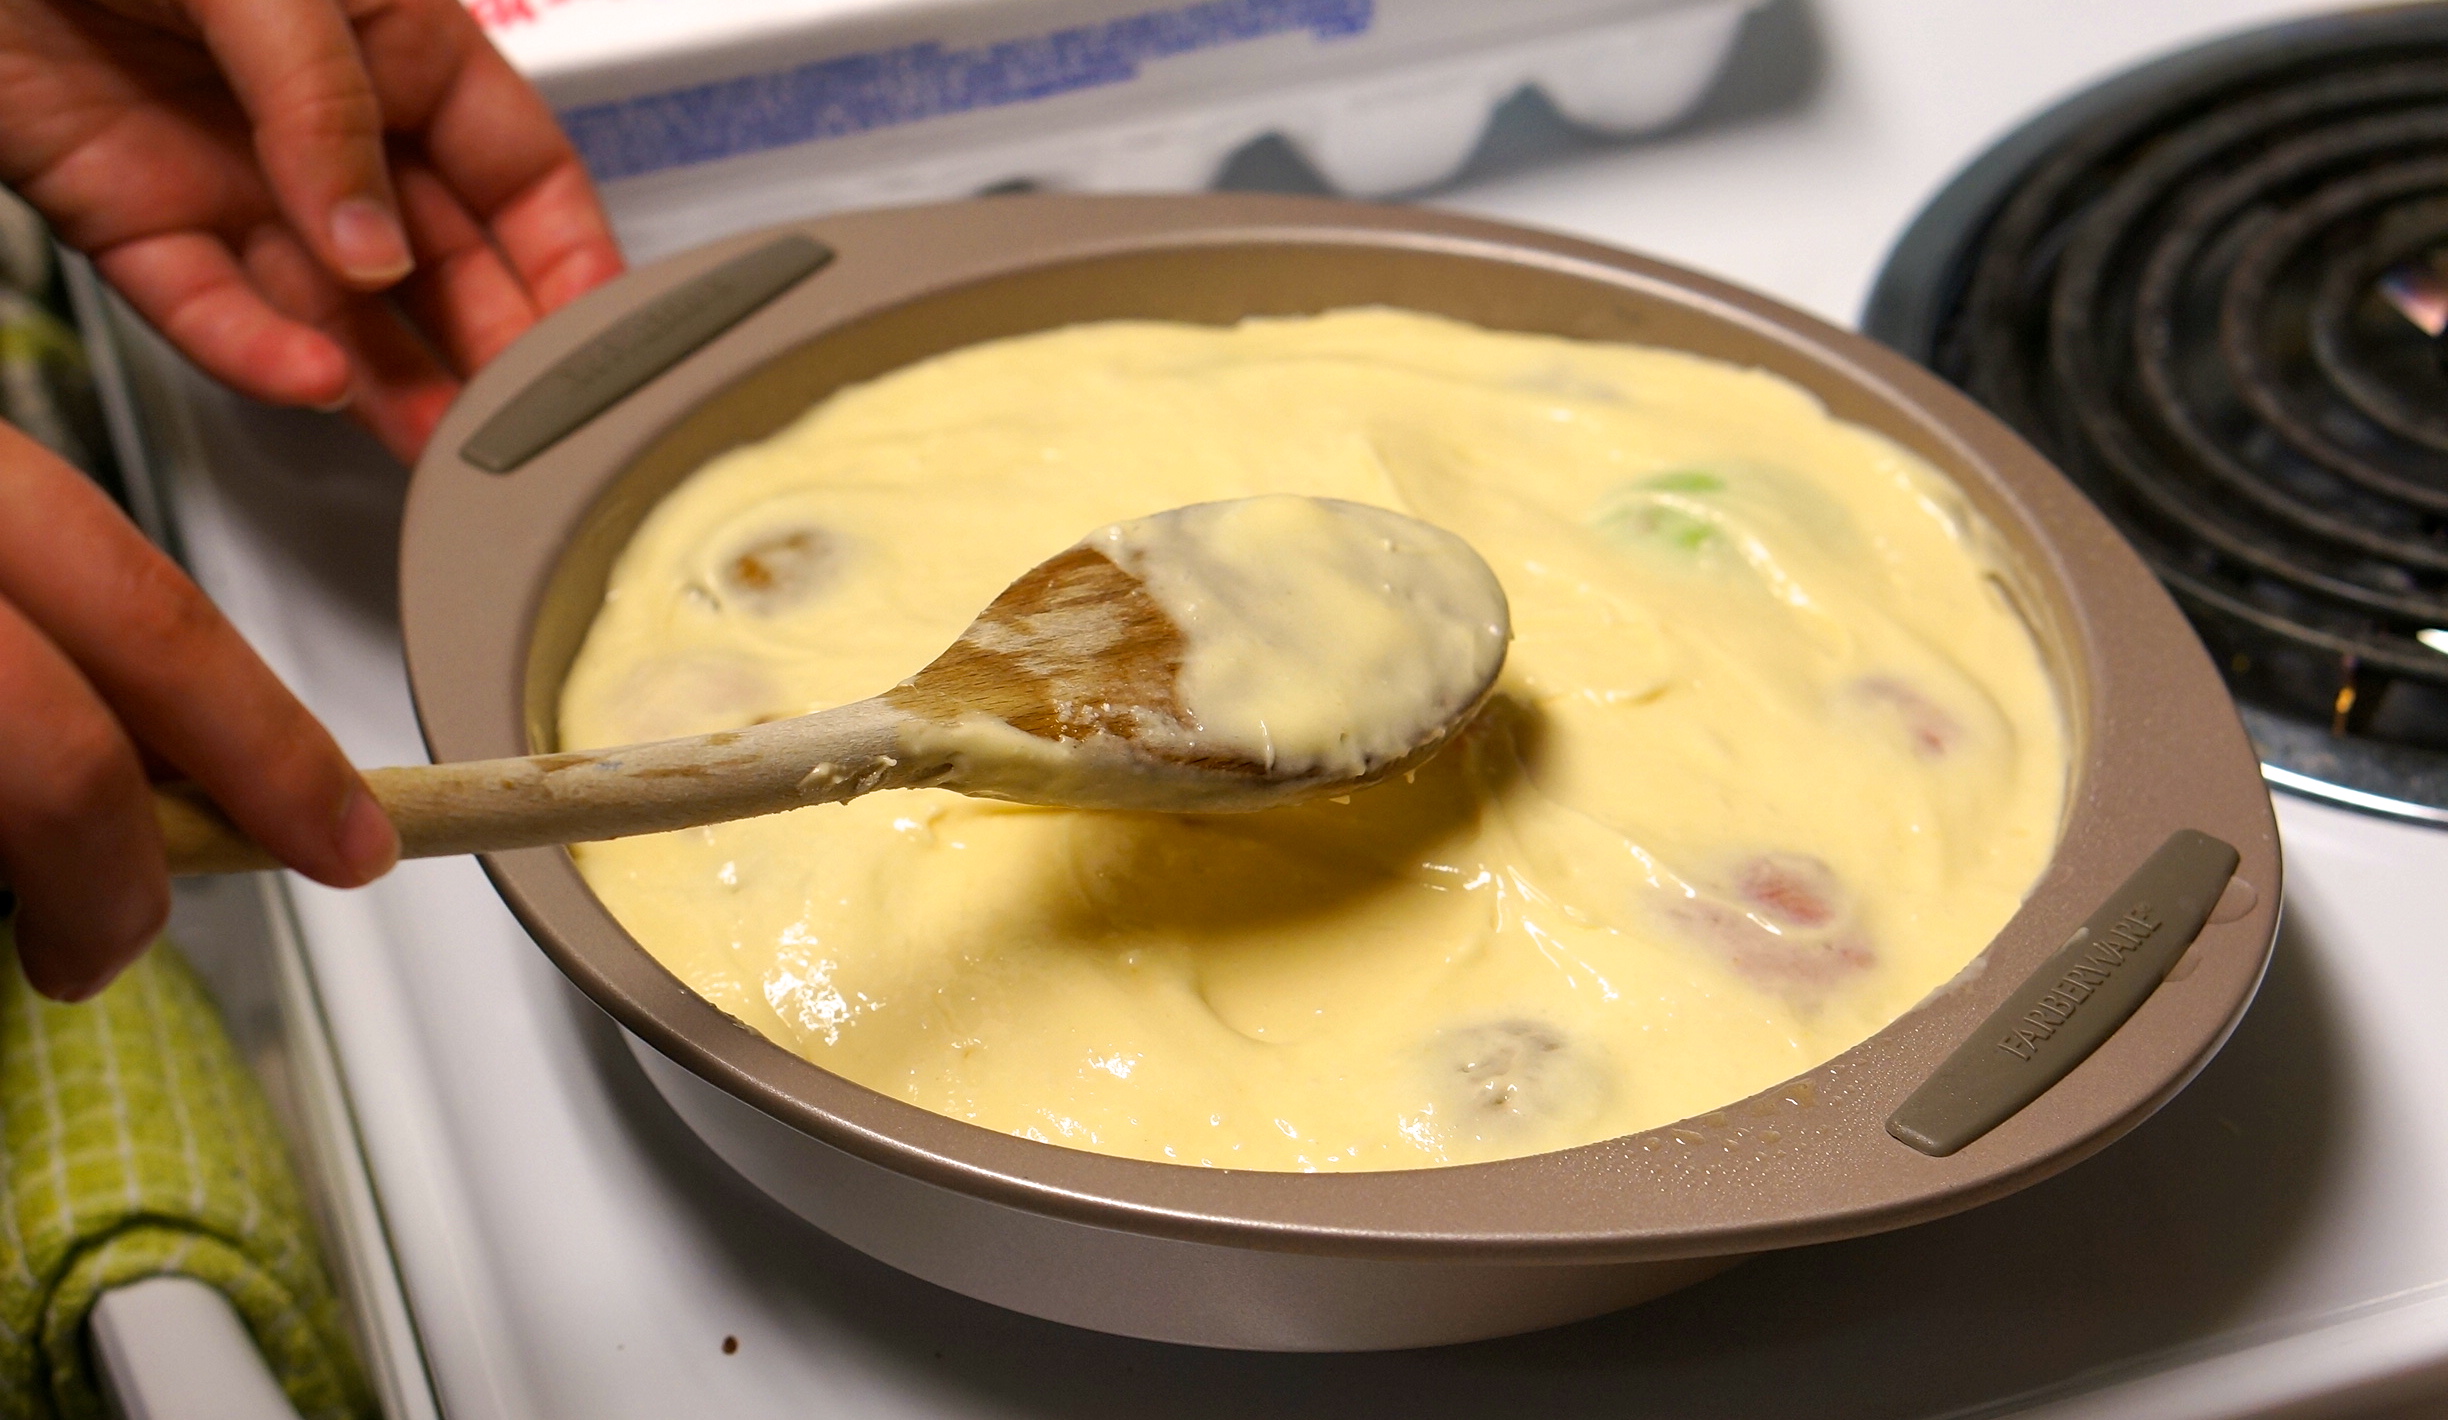
Pour the rest of your white batter on top of the mini cupcakes.
A big spoon will help you spread the batter around.
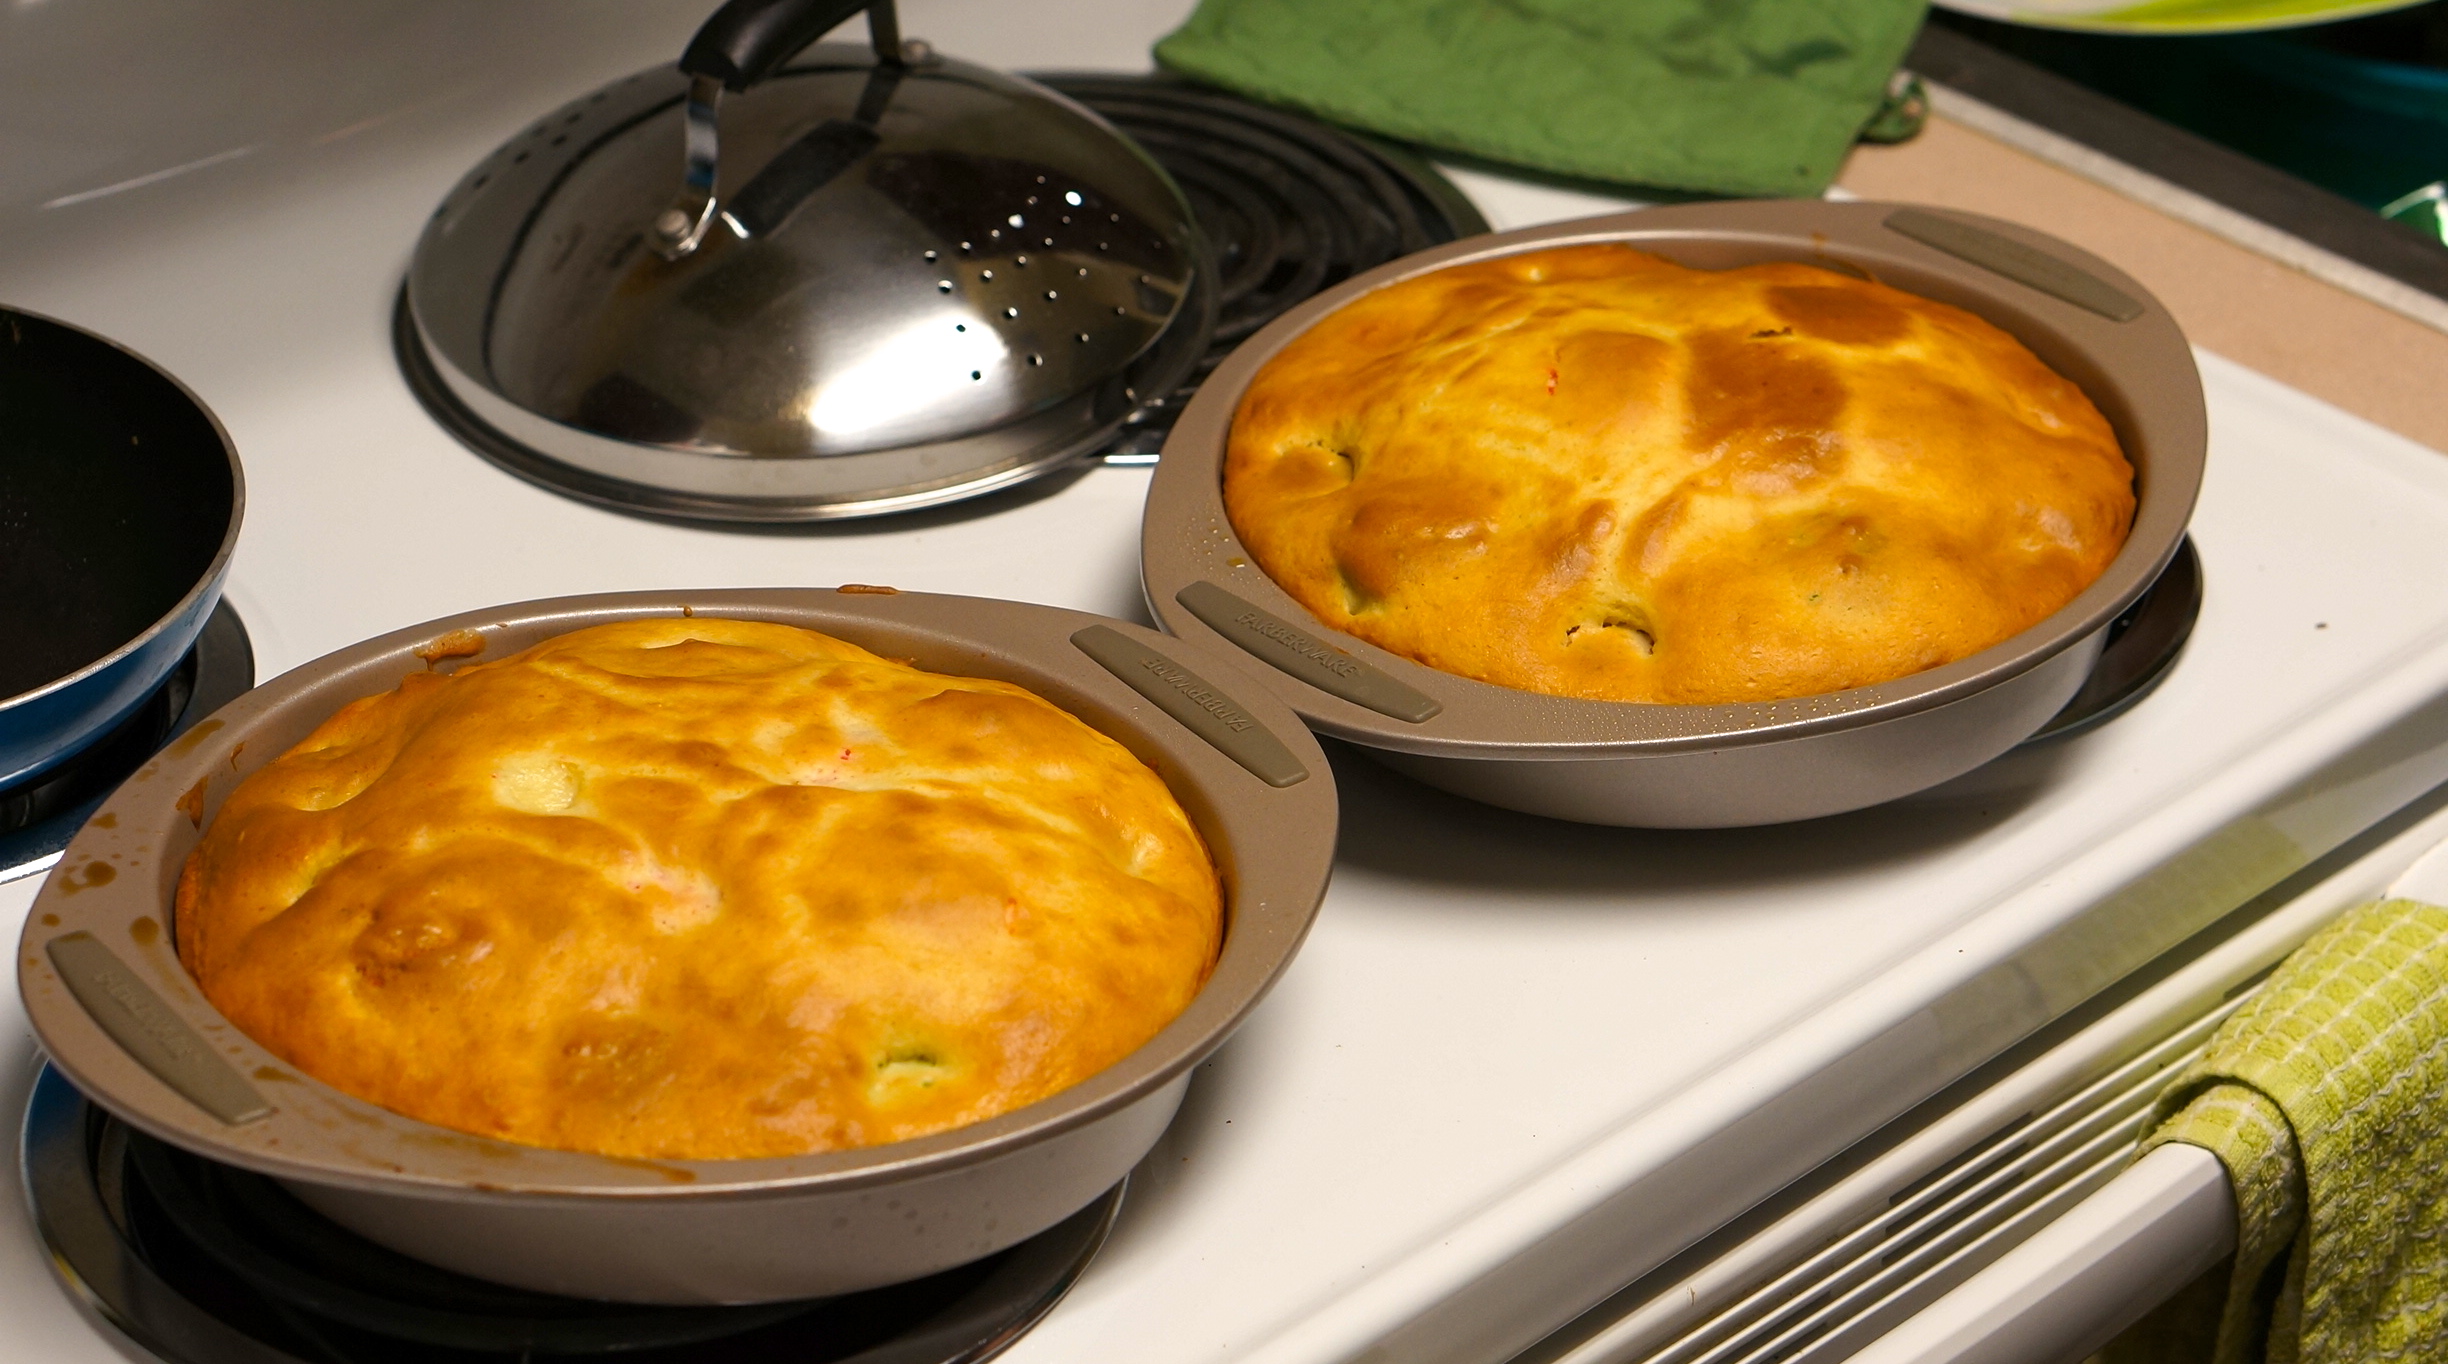
Bake your cake rounds. Ours ended up being a little under-cooked so we suggest that you bake them for a little longer than the package suggests.
Note: these cakes are not exactly pretty. Once you frost them you may want to consider sprinkles!
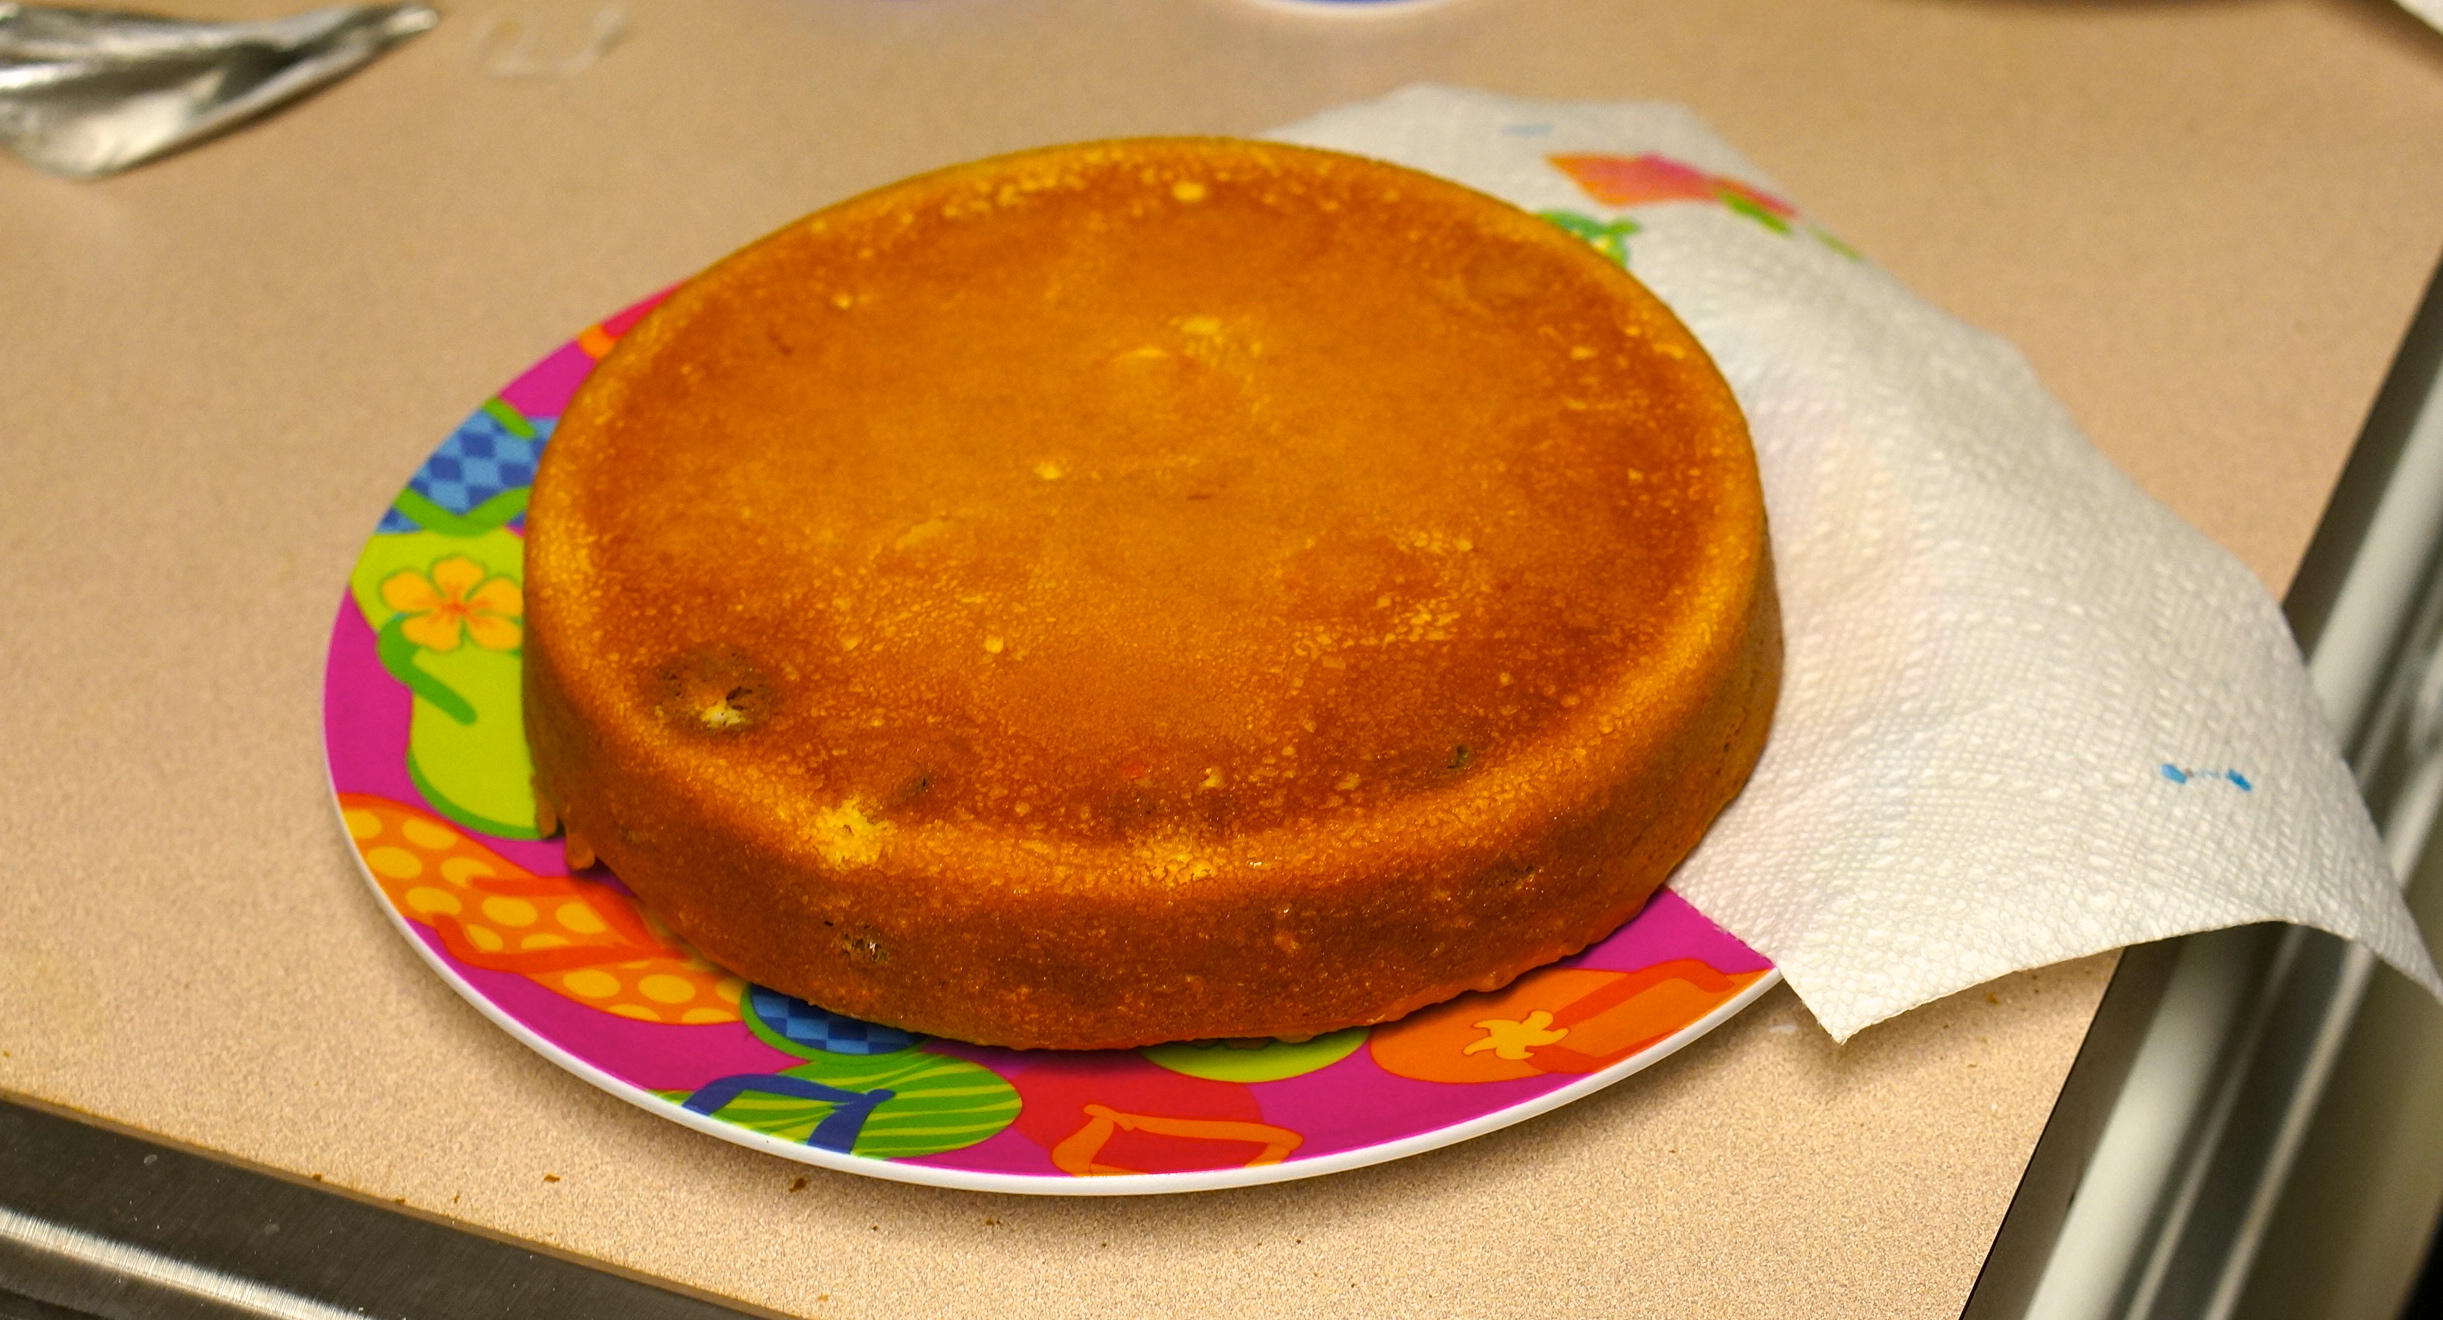
Once the cake has cooled, pop one of the pan and place it upside down on a plate. Placing it upside down allows the curvy top of the cake to be on the curved plate, a perfect fit! Then the flat bottom of the cake is face-up, so the other cake round has a firm foundation.
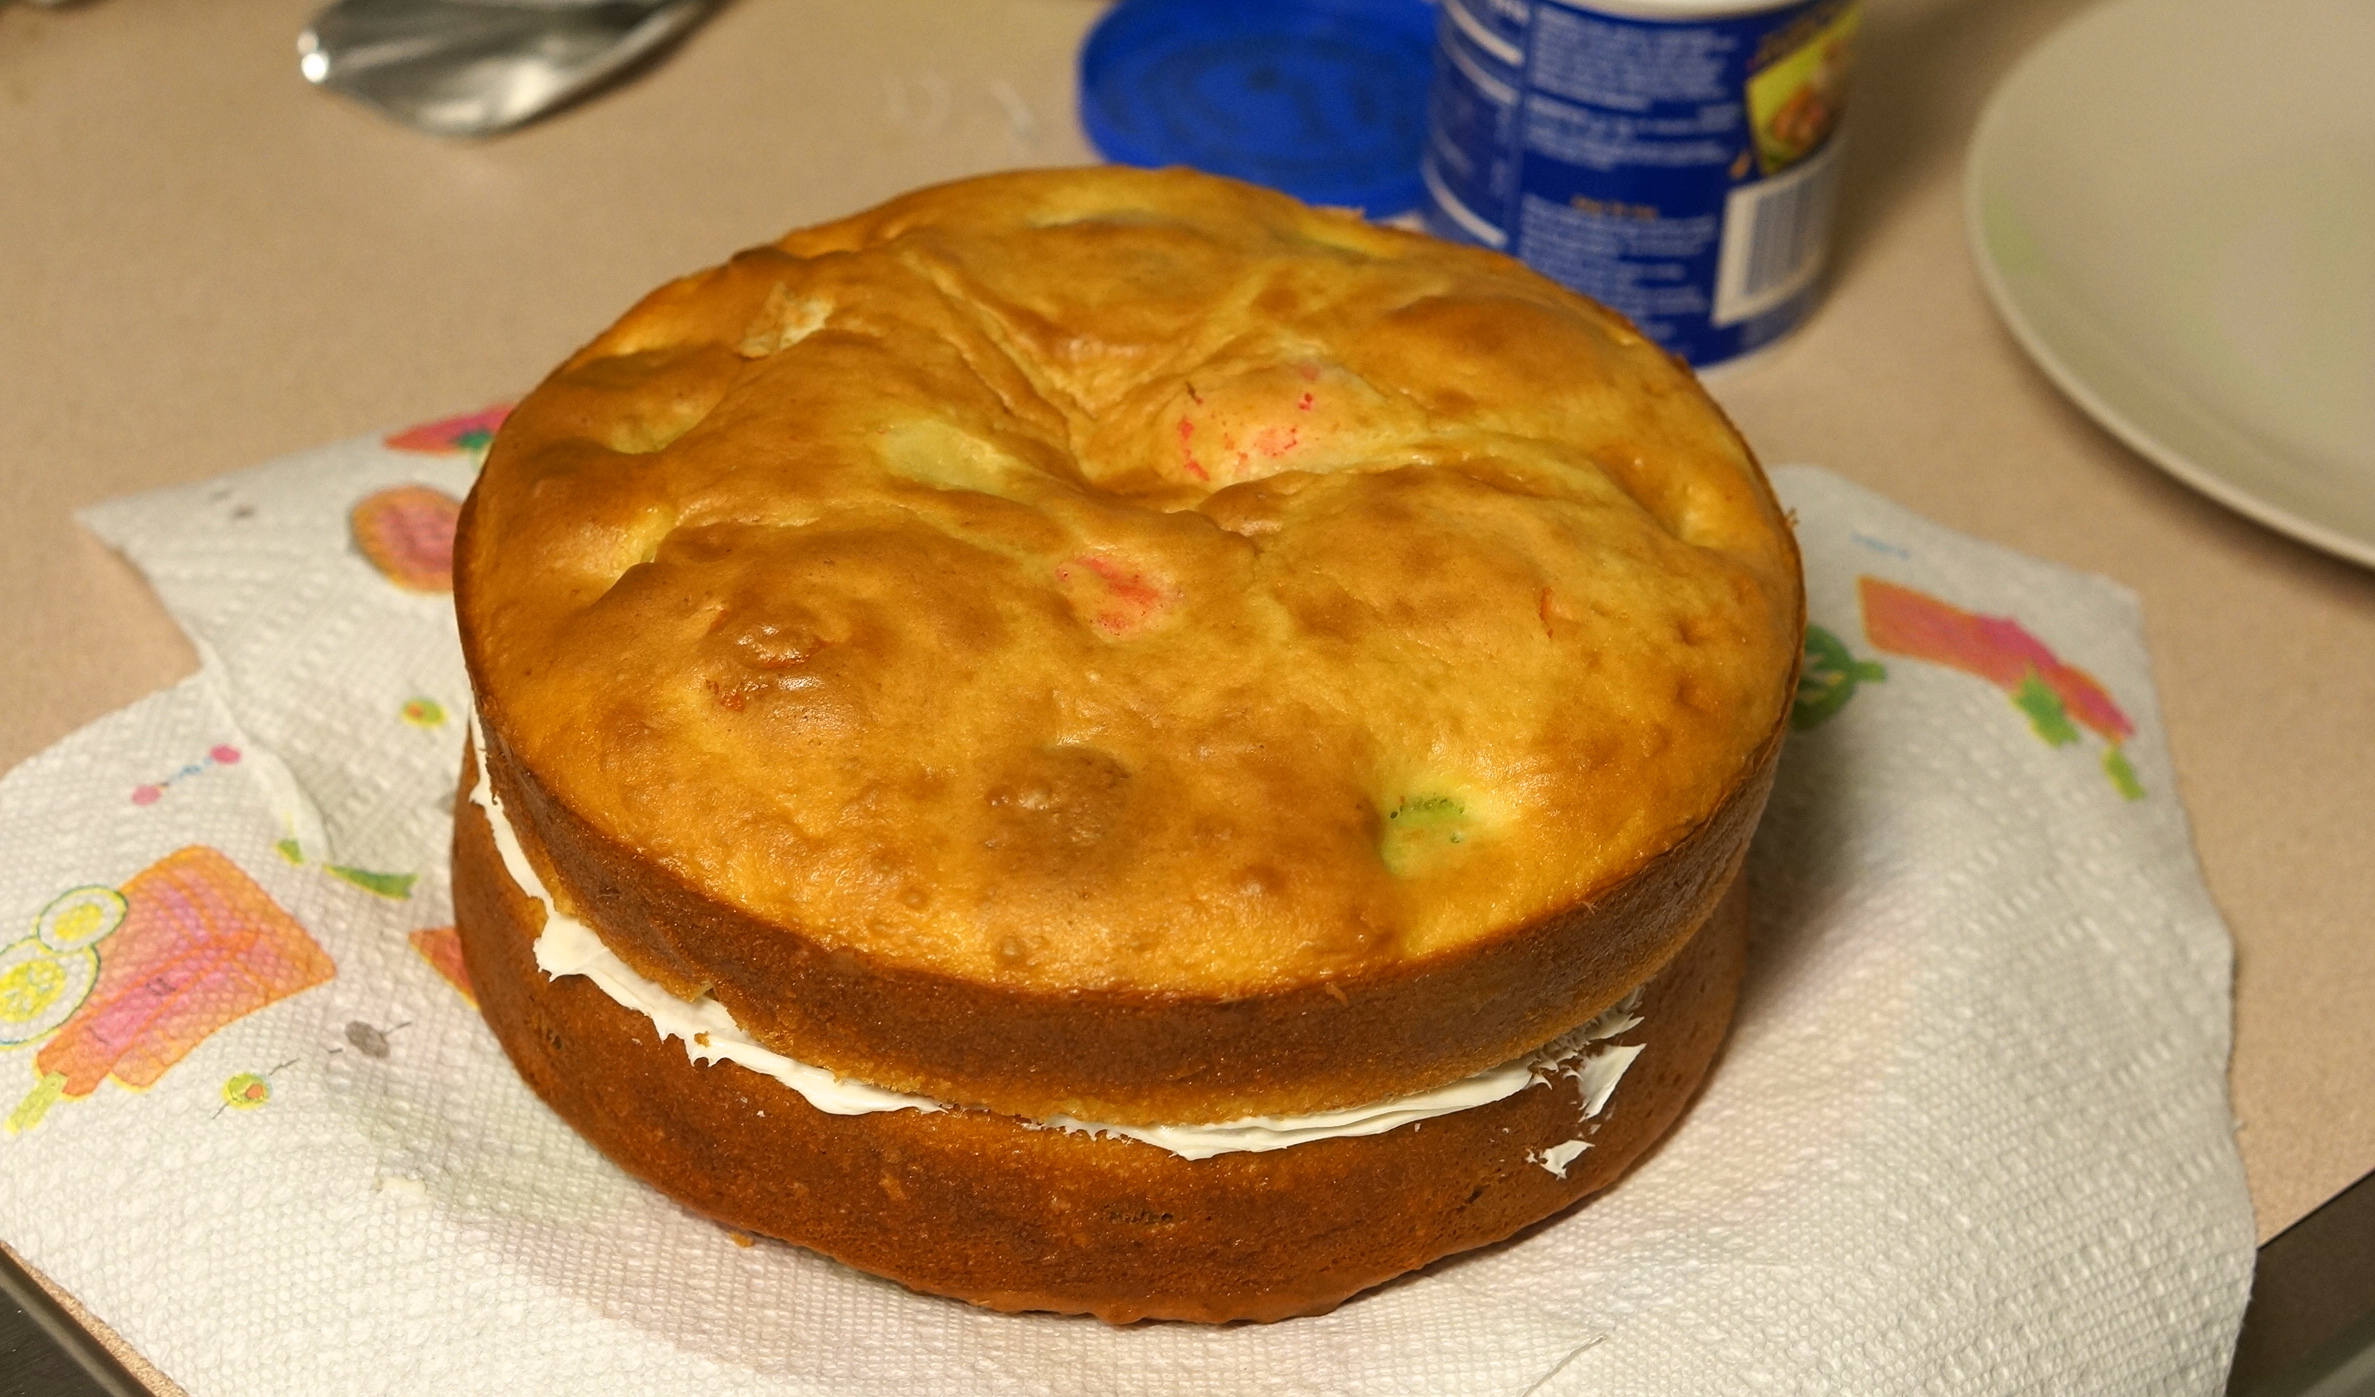
Frost the flat top of the bottom layer and place the other layer on top.
Now frost your cake. We recommend you use two tubs of icing. This cake is bigger than most and we had a difficult time icing it with just one tub of frosting.
Congratulations! You’ve effectively called shenanigans on this cake!
We really like the way this cake turned out. It’s very fun and everyone we fed it to was so surprised, pleased and confused when they saw it. We told our friends how we made it, but if you want to keep an air of mystery, we won’t breathe a word!
Thanks again to Sarah for sending this cake our way! If you have any good ideas for shenanigans, be sure to let us know on Facebook or in the comments below!
Check out our other popular Shenanigans:
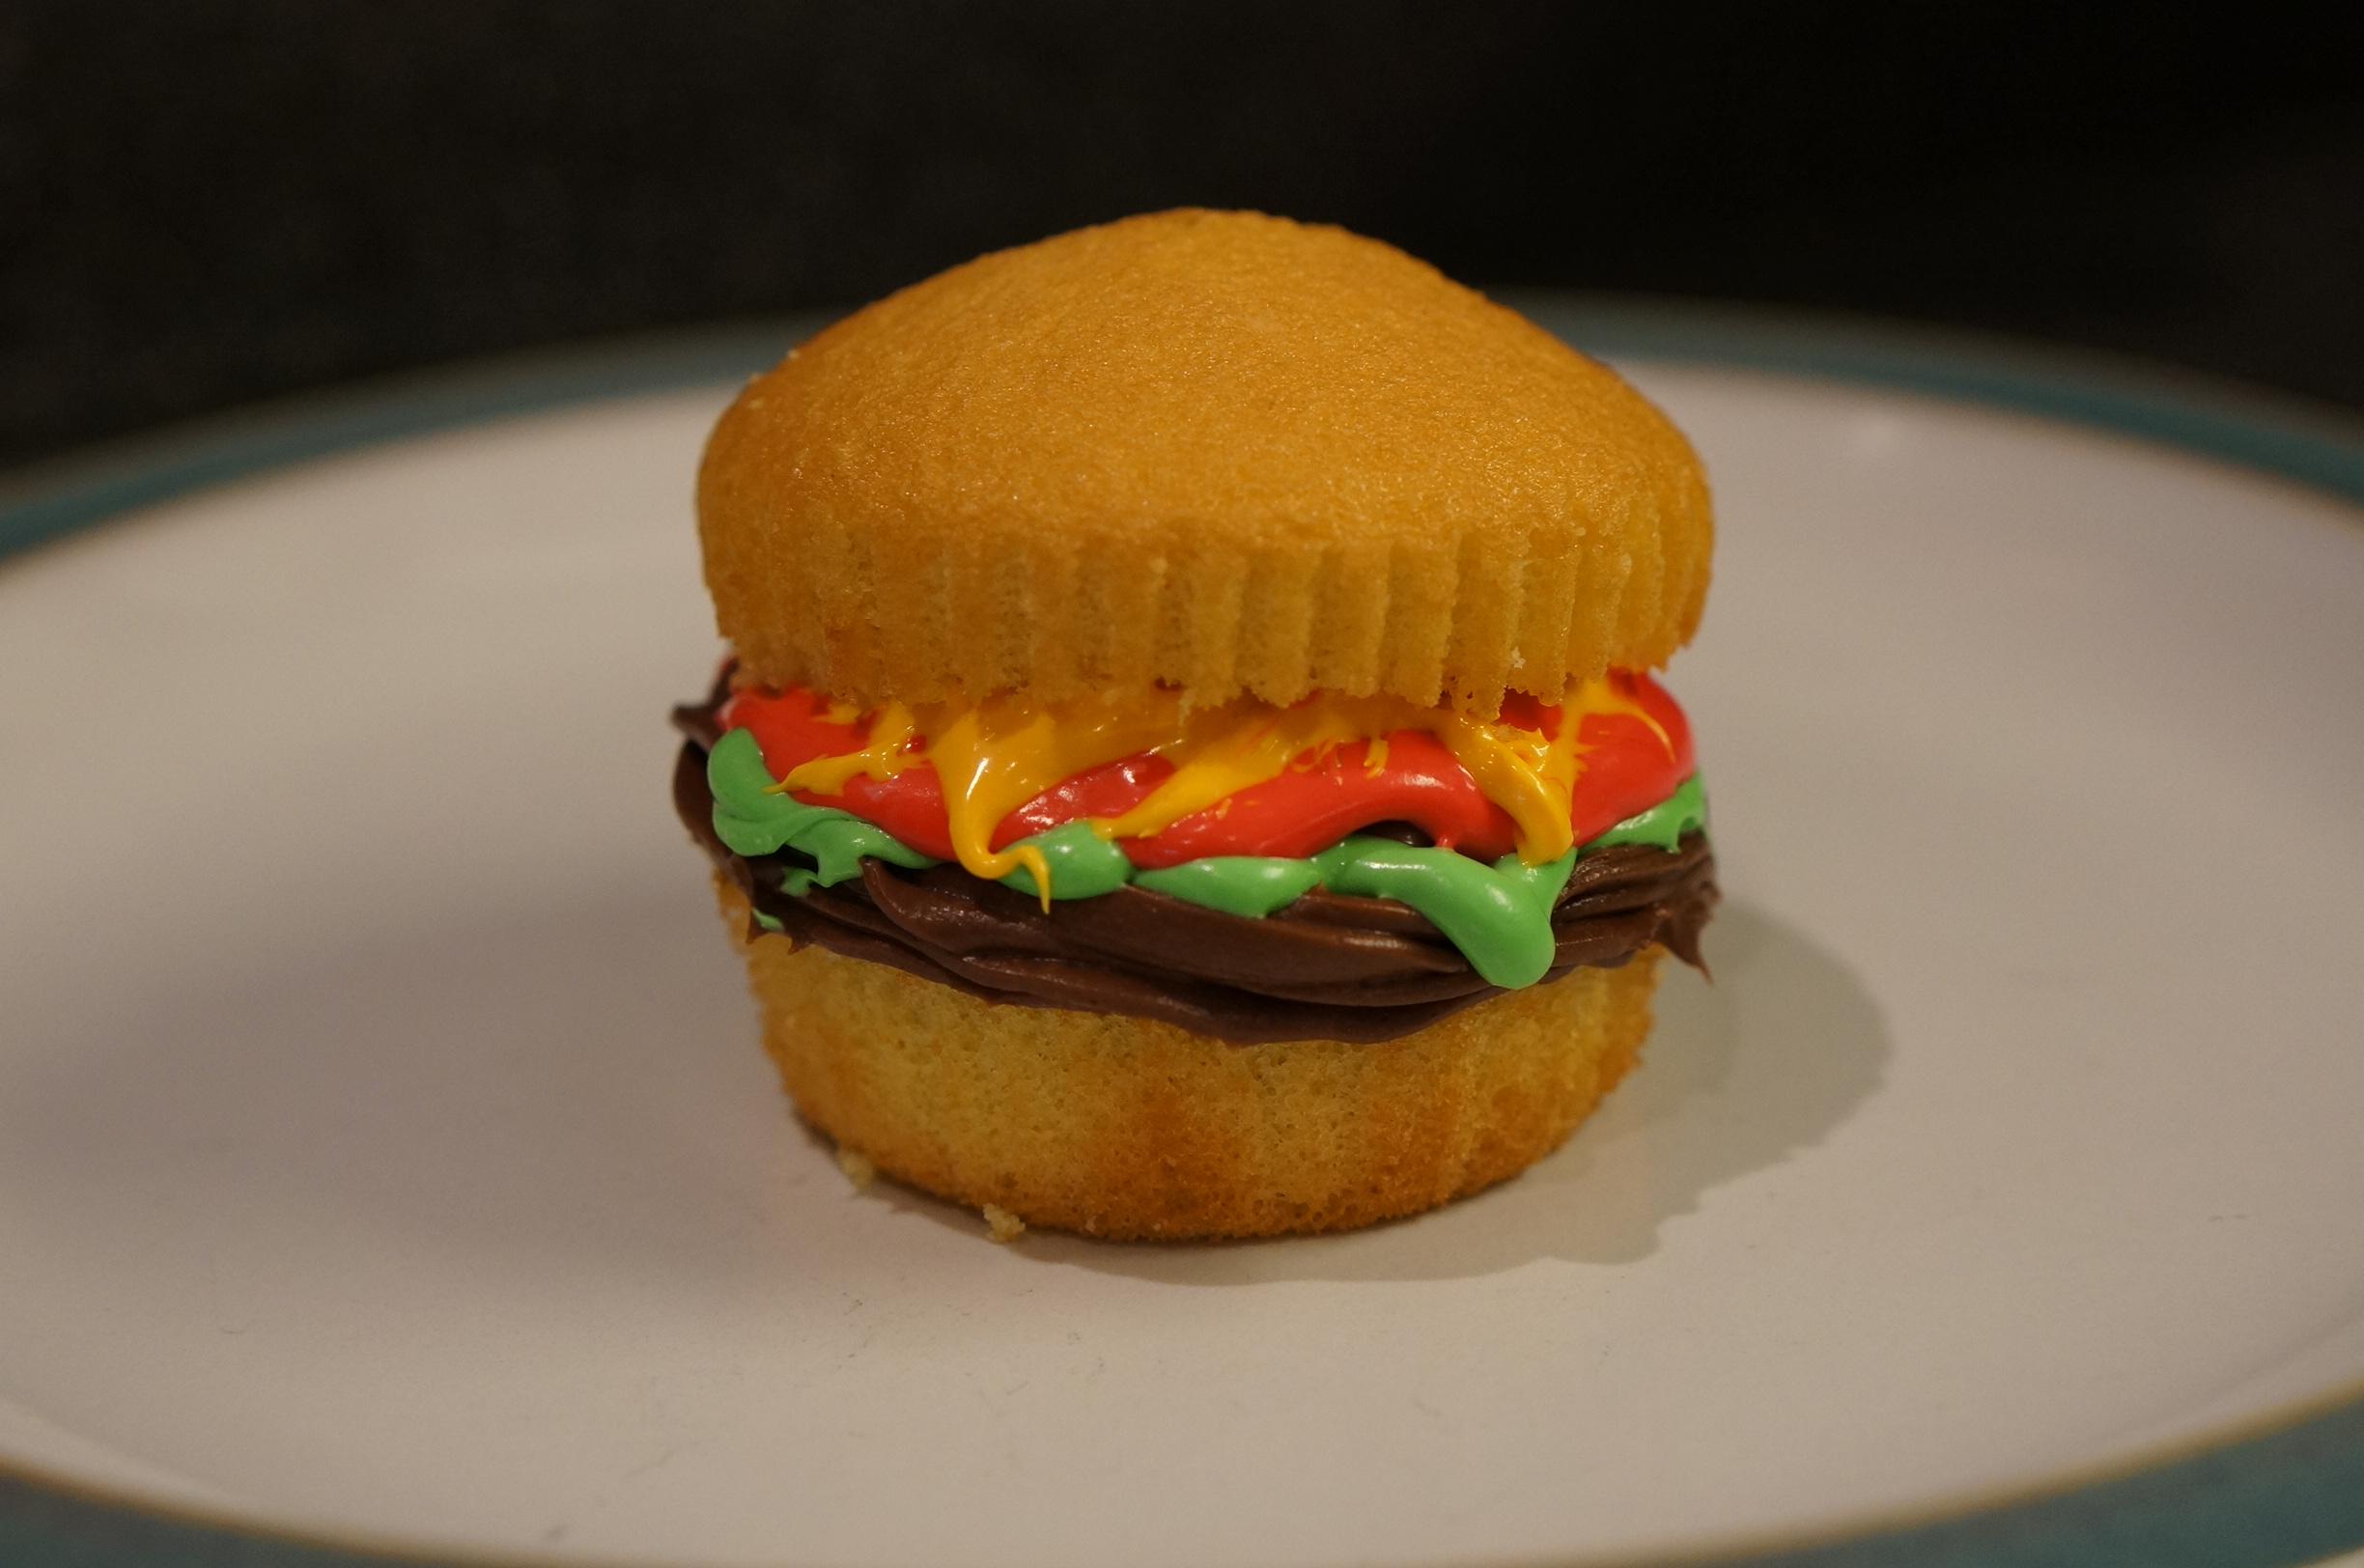
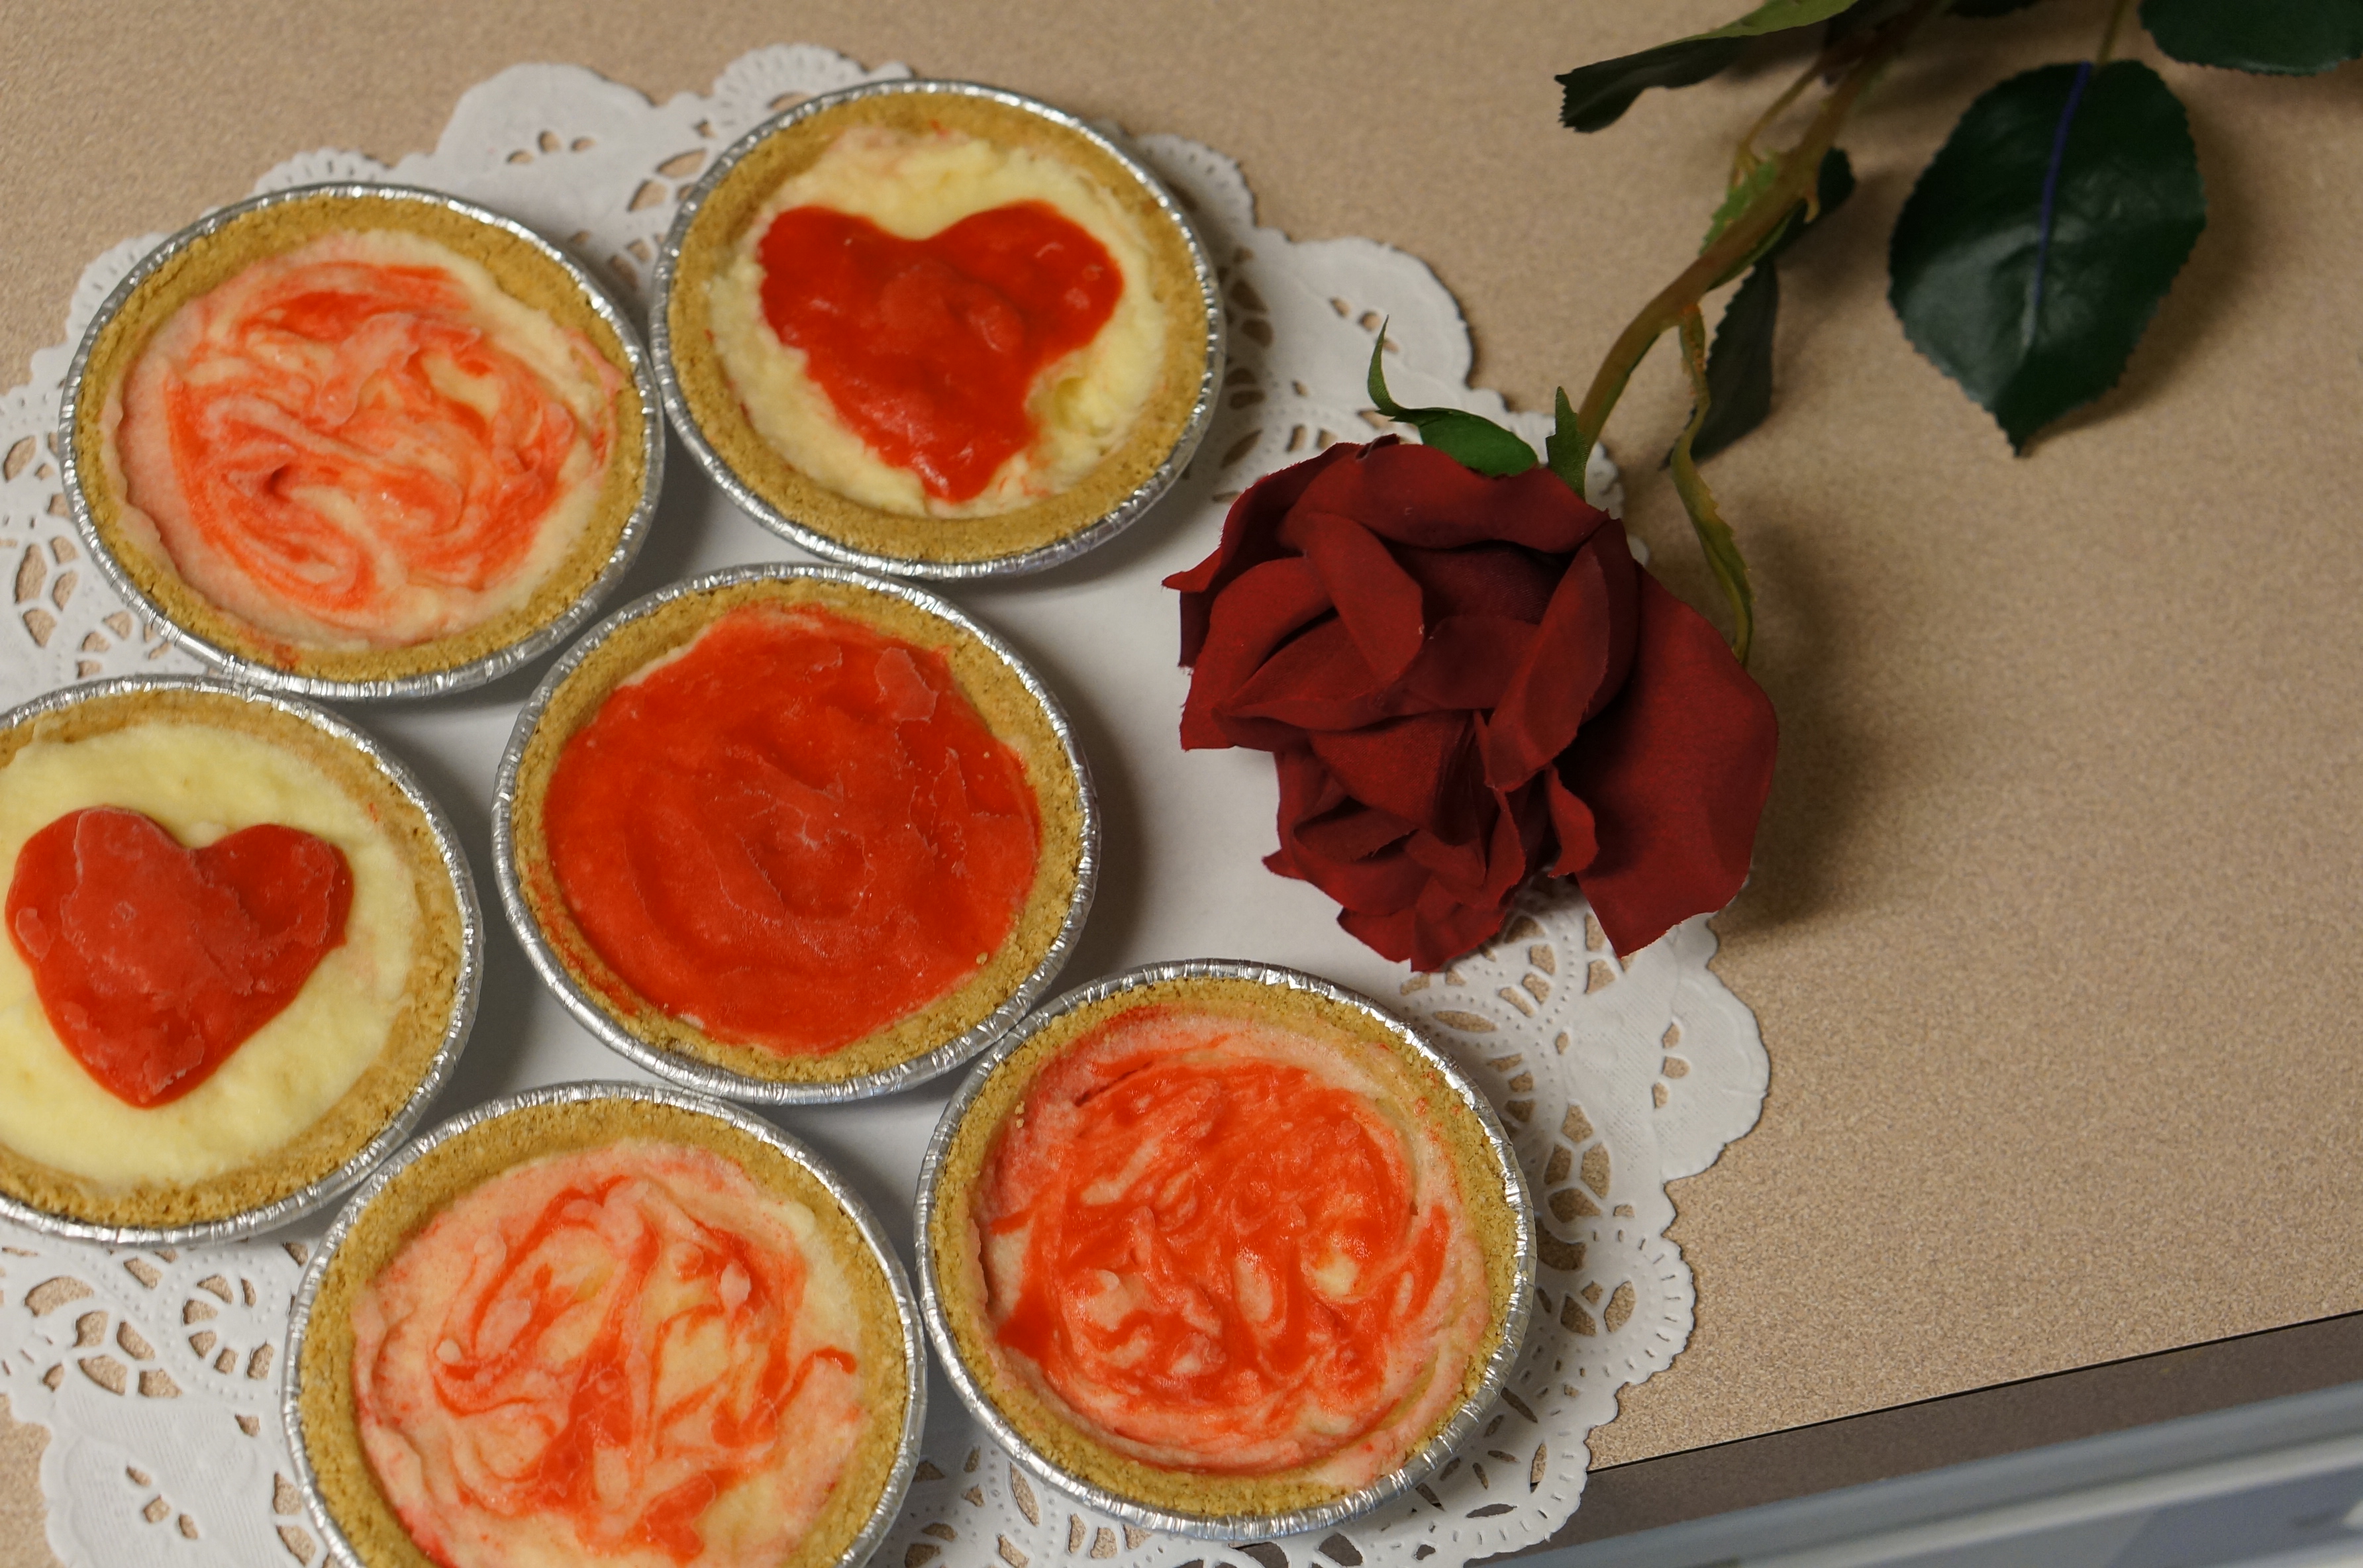
Homemade Birthday Cake Hamburger Cupcake 5 Minute Mini Cheesecake




Not a bad effort at all!! I think it’s really hard to get things exact when following a recipe!!
Thanks! Yeah, it was a little different since we didn’t have the cake ball pan, but it still turned out pretty well!
Great surprise cake!!! So colorful and looks yummy! Best is that you can make it the color of your choice.
For sure! If you did just 1 or 2 different colors (like purple and pink) it would still look super cute.
I love these cakes they look like so much fun, yours turned out great!
Thanks! It was a little different because we didn’t have a cake ball pan, but we still like how it turned out 🙂
I think this pin comes from Rosie- Cake Diva ( i follow her on FB) I think to get better circles you can use cake pop trays. She also does an amazing leopard print cake that I want to try.
Thanks, we will have to check it out and follow her! And we didn’t have a cake pop tray so we improvised with our mini muffin pan, but if we get the other pan we will try it again!
Yay!!! So glad it worked out!!! I’m going to have to try it out as well this summer 🙂
Thanks! If you do let us know how it turns out by posting it on our facebook page: https://www.facebook.com/WereCallingShenanigans 🙂
will do!
Ok a question- won’t the cupcakes get hard from baking again inside the batter? Or how long do the cupcakes bake
We thought that they would be hard, but surprisingly the cupcakes inside bake just fine and have the same consistency of the rest of the cake. (you just bake the little cupcakes like you normally would – making sure that they are not overcooked to begin with).