If we’re talking about quintessentially summer-y foods, snow cones (or ice cones, depending on where you’re from) are at the top of the list. Nothing’s better on a hot summer’s day than getting a refreshing cup of shaved ice. Plus, they really bring us back- they were THE BEST SNACK at summer camp, hands down. On snow cone day, nothing could bring you down. It could be positively monsooning but you’re still walking around like the king of 3rd grade because with a snow cone in your hand and your mouth dyed a funny color, you were livin’ the life.
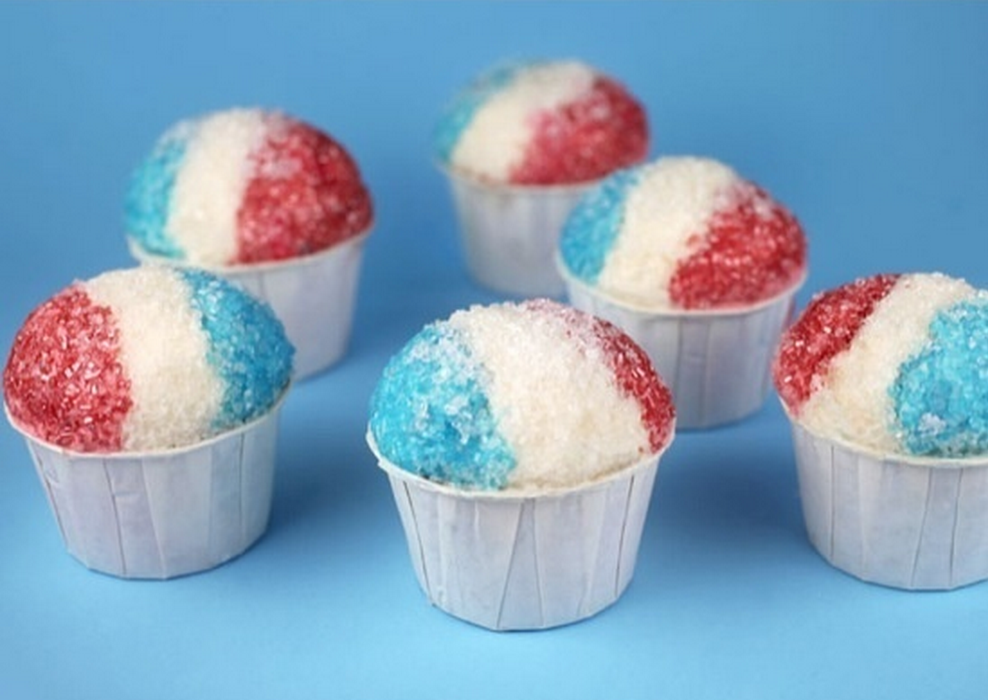
When we found this Snow Cone Cupcake recipe on Pinterest, we had such a nostalgic moment. They were these itty-bitty snow cone look-a-likes straight from our childhood (pictured below- aren’t they adorable!?). We knew right away we had to give them a try. It’s not every day that you get a chance to make your own snow cones- we actually have no idea where you could even go to get a snow cone anymore. We each had that really cool friend growing up who had a snow cone machine that their mom would bust out for parties, but besides those lucky individuals, the general public is fairly snow-cone-less. So this one’s for you humanity! Let’s see if we can make these snow cone cupcakes happen!
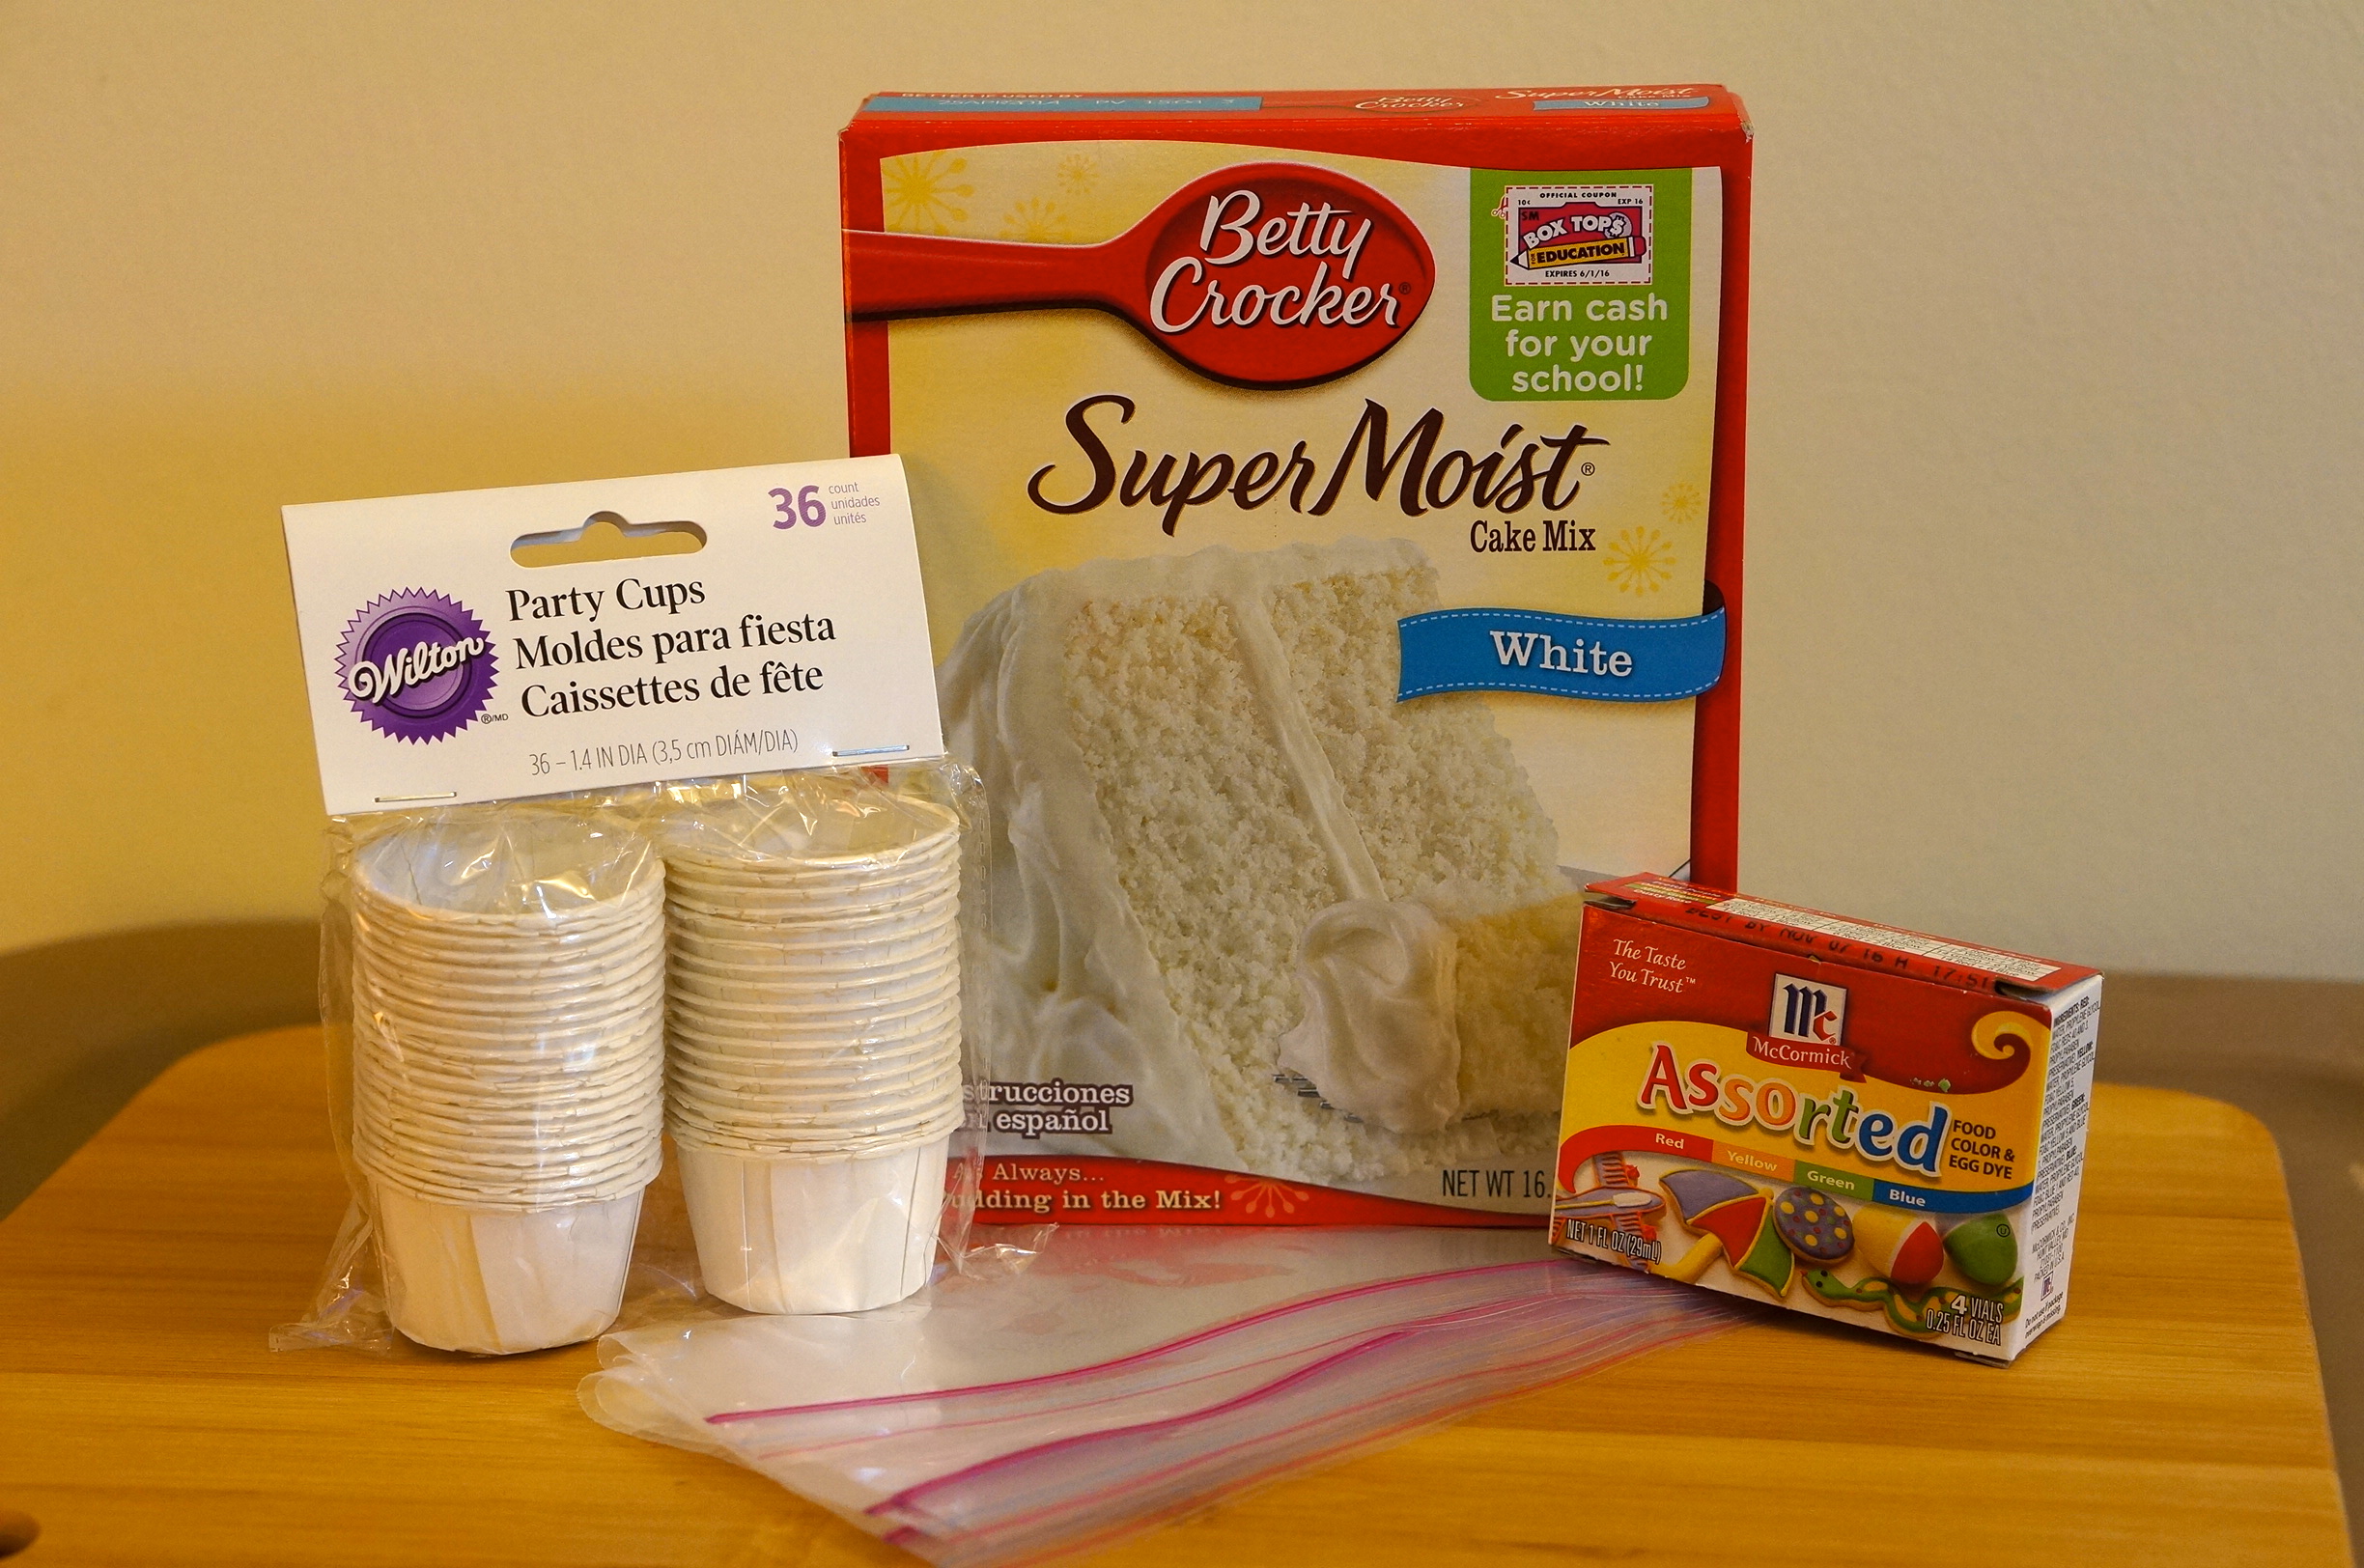
First, we gathered our ingredients:
- white cake mix
- red and blue food dye
- small white cupcake cups (the original pin used the kind that looks like ketchup cups- we found them at Michael’s Craft Supply)
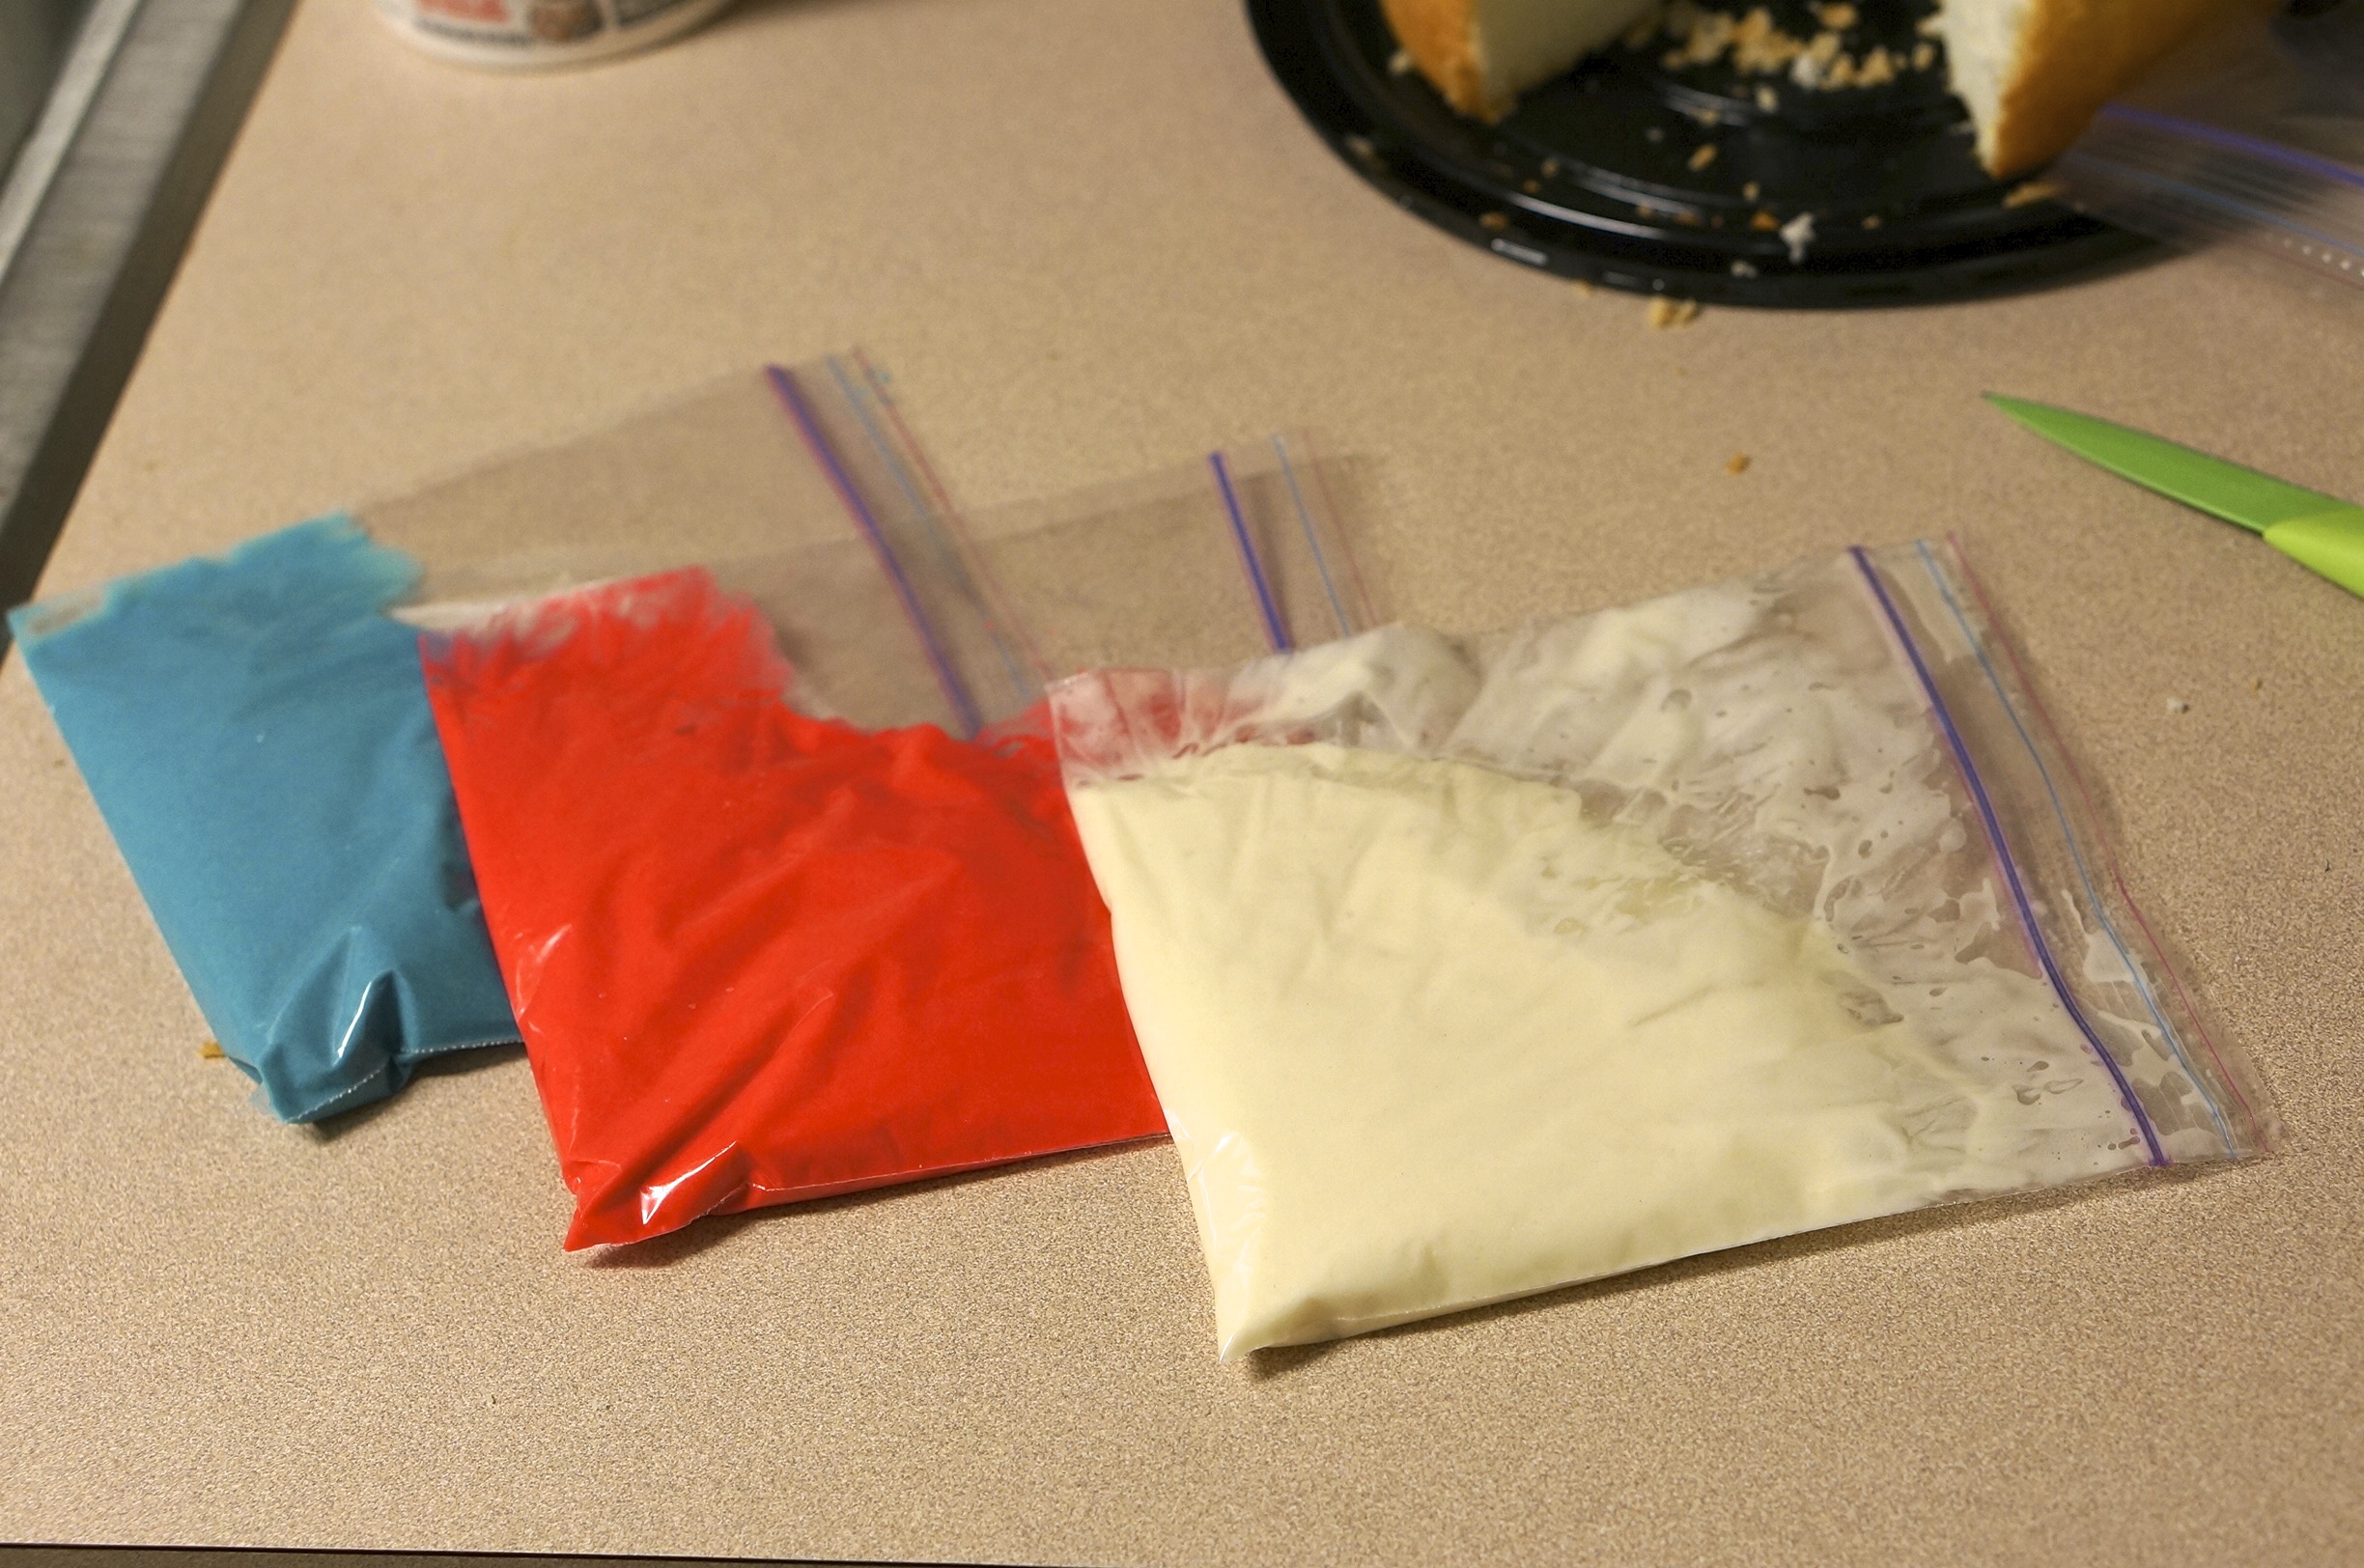
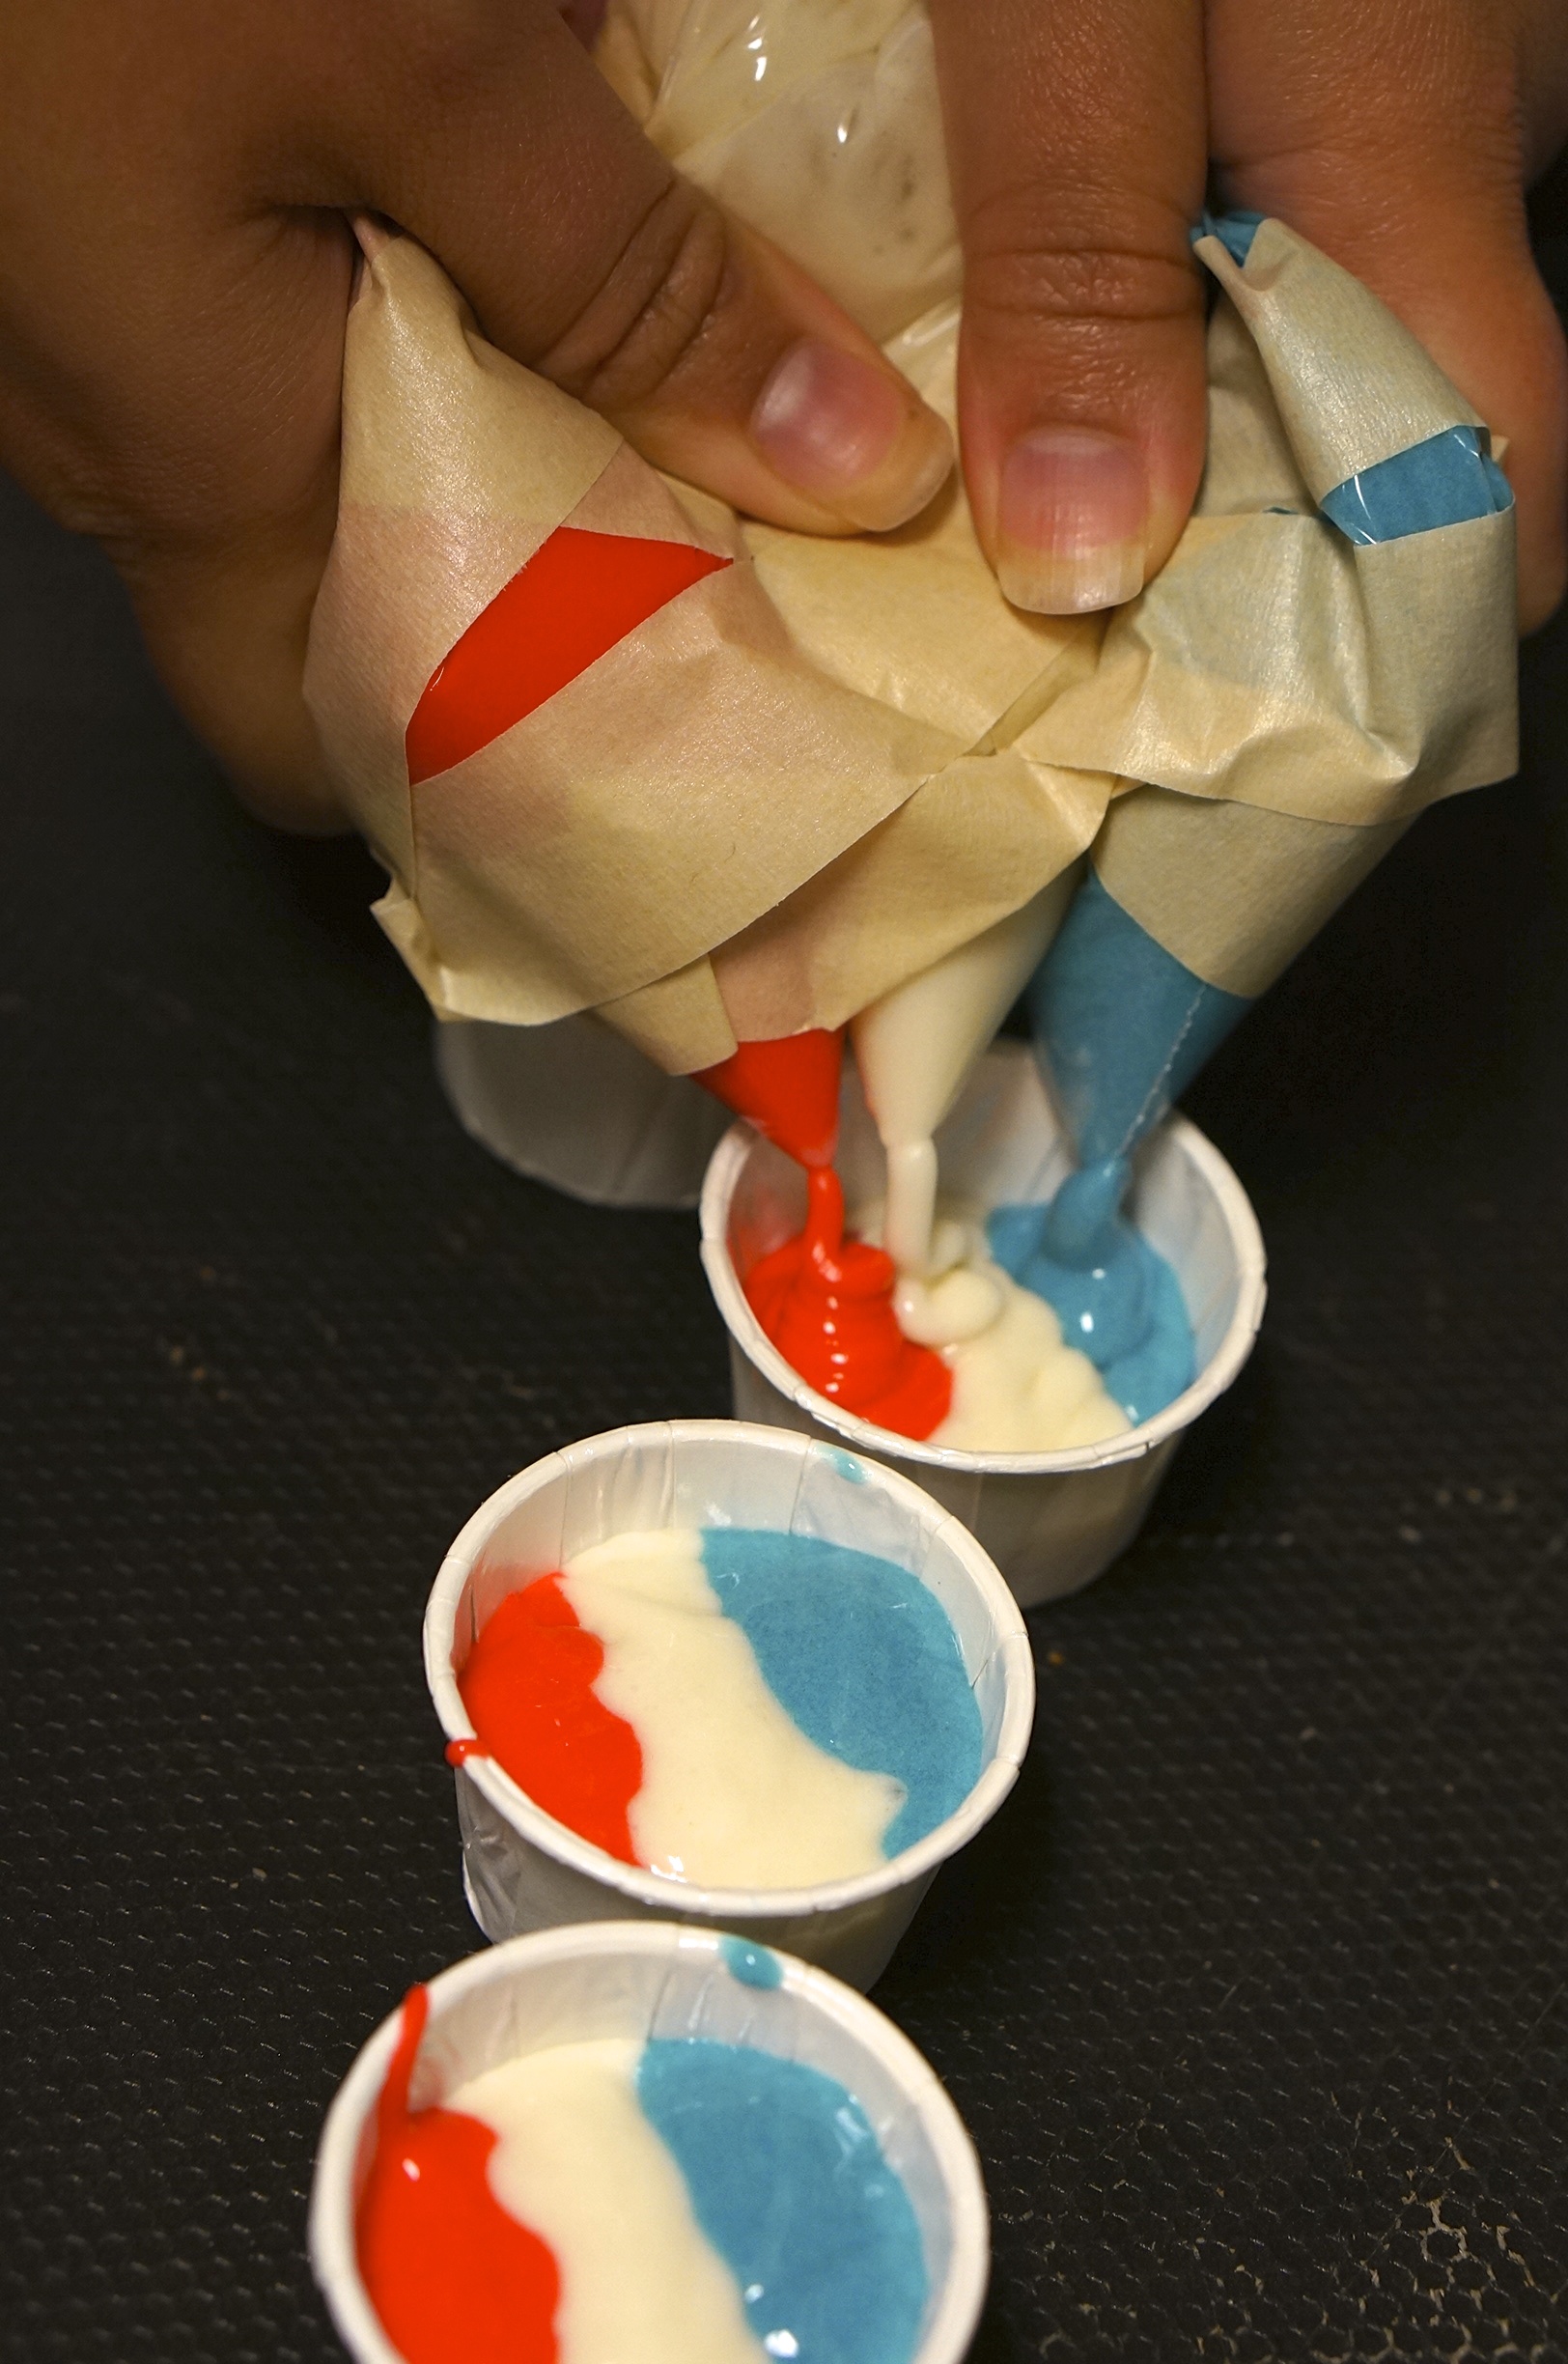
Mix your batter and separate it equally into three bowls. Dye one bowl of batter red and one bowl of batter blue. Transfer your bowls of batter into three Ziplock bags.
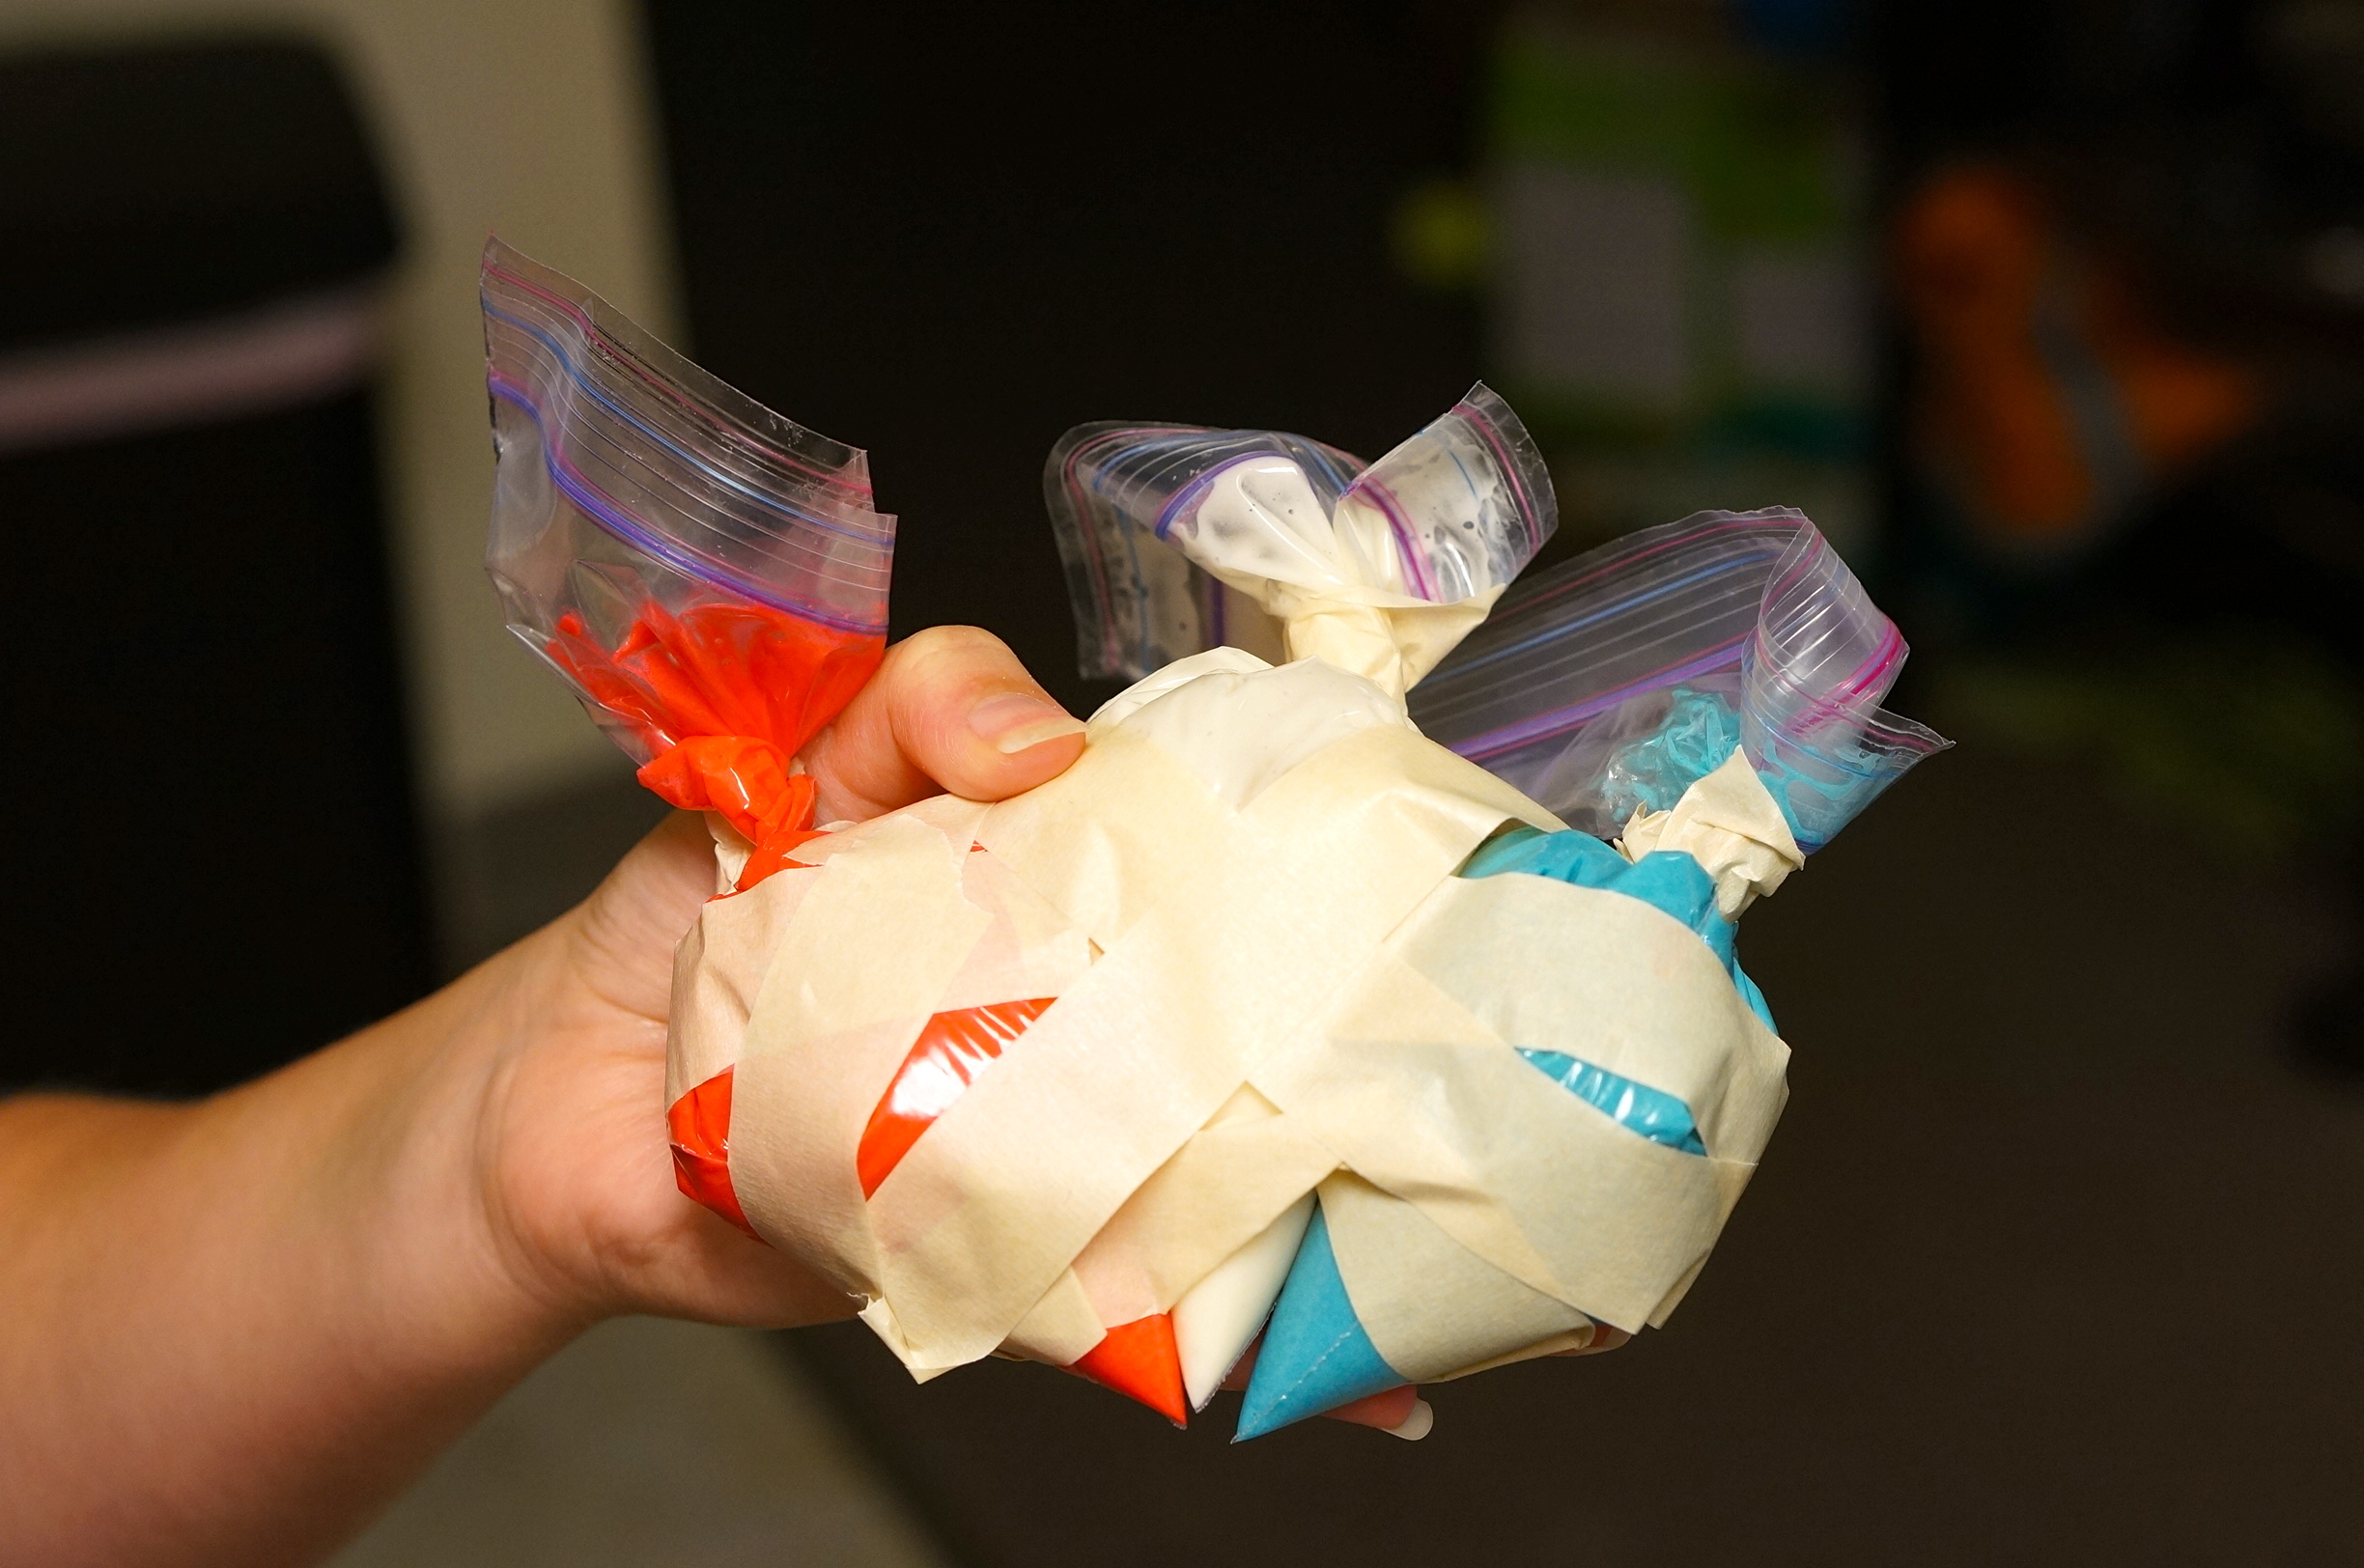
Push the batter in each bag to one corner of the bag, twist the top and tape it. Now tape the three bags together in a row with the white in the middle. Take special care to make sure the tips of the bags are close together and even.
Line up your cupcake cups in a long row right next to each other (this makes pouring the batter much easier). Now clip the ends off the corner of each batter bag and carefully squeeze the batter into each cupcake cup. Be careful- you need to squeeze each bag equally so that the colors come out into well-formed stripes. Be warned that you will need to move fairly quickly from cupcake cup to cupcake cup, as it’s difficult to stop the batter from coming out of the bags once it’s started (this is why we had you line up the cups earlier).
Bake the cupcakes according to the package directions. Once you take them out of the oven sprinkle them with sugar and you’re all done!
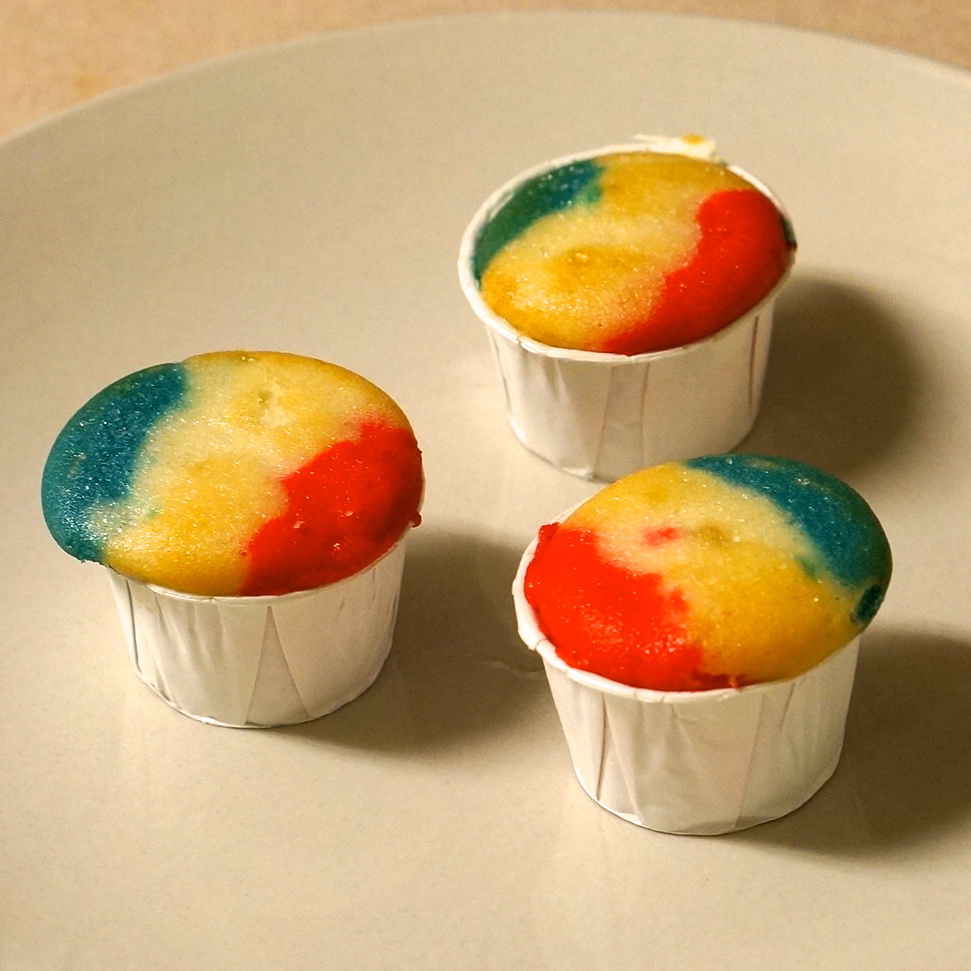
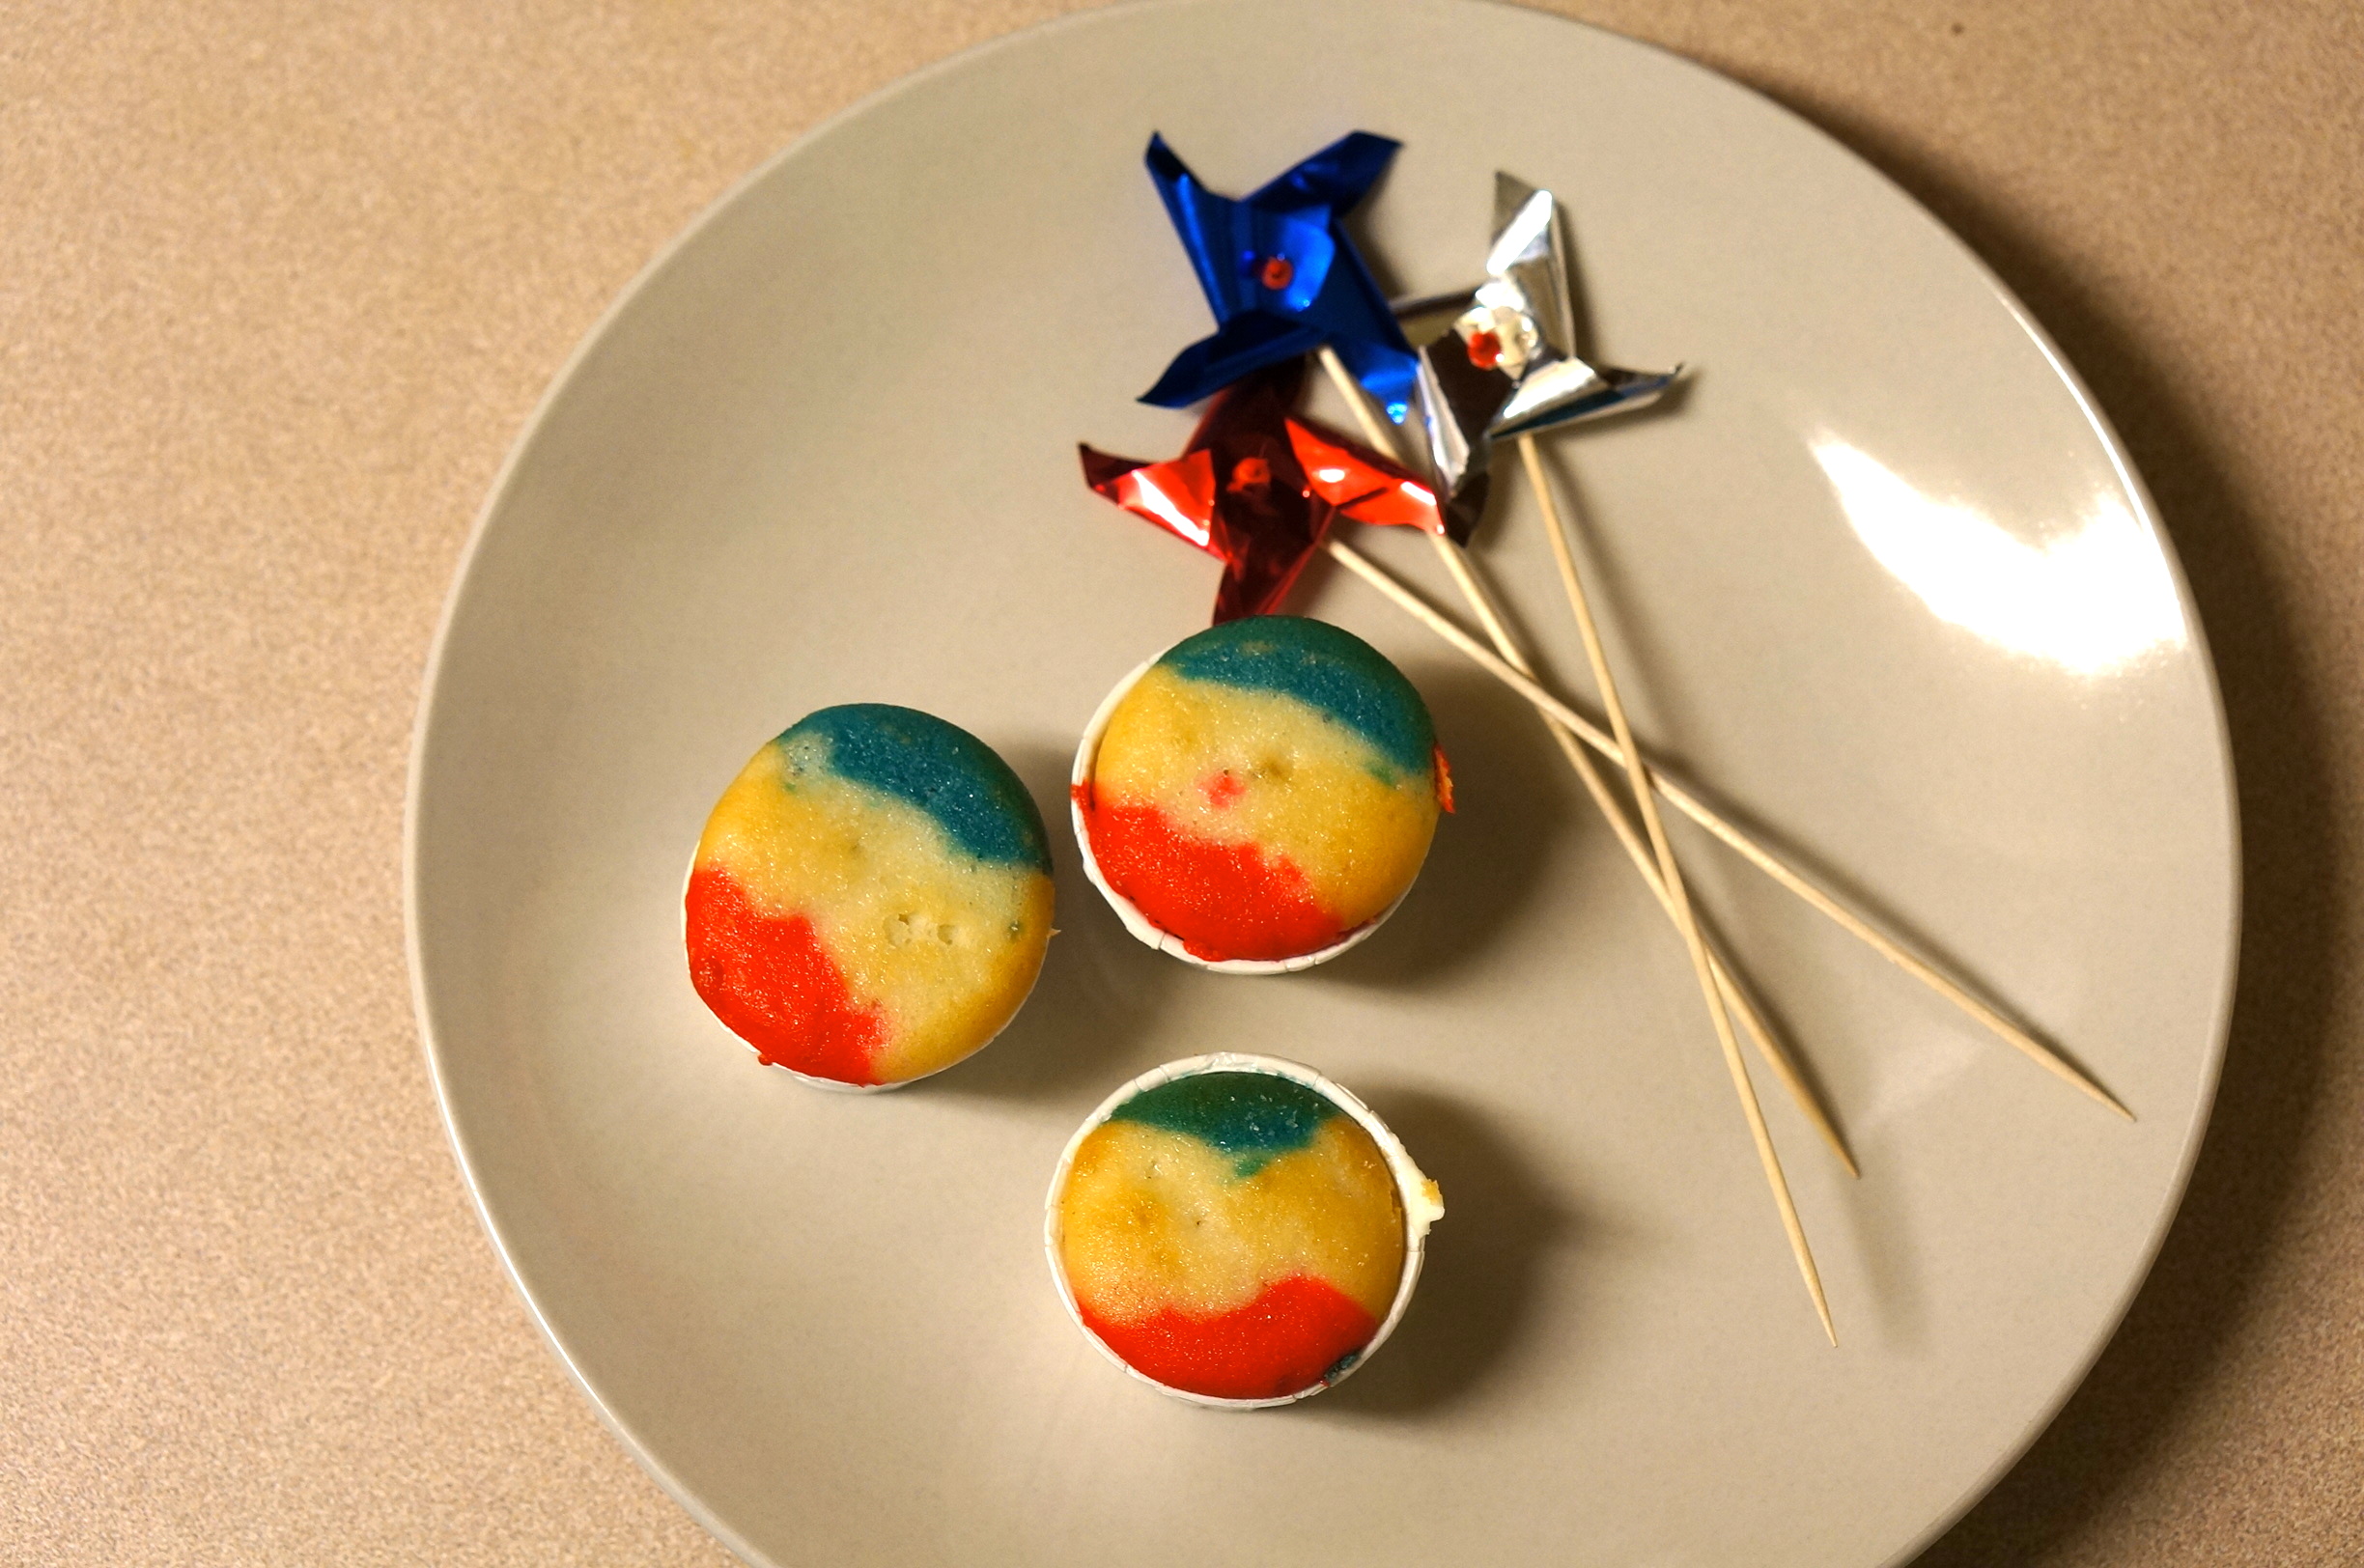
We’re sad to say that we were highly disappointed with this shenanigan. The cupcakes didn’t turn out at all like Pinterest promised they would! First of all, they didn’t poof up into perfectly rounded cupcakes (although honestly we should’ve guessed that- when does that ever happen?). Also, the sugar didn’t make our cupcakes look like ice chunks, just a little sparkly. Finally, the colors turned out way too dark on our cupcakes. We guess we could have used less food coloring in the blue and the red batter, but we have no idea how you’re supposed to stop your white cake batter from browning as it bakes.
Overall, these were not the snow cone cupcakes we were looking for. We honestly feel like we accidentally made Pepsi-inspired cupcakes. Don’t they look like the logo to you?
We don’t recommend this Pinterest project unless you are feeling particularly patriotic or have strong ties to Pepsi, in which case, go for it! But if you’re hoping for something snow-cone-inspired, you may just have to go look for the real thing!
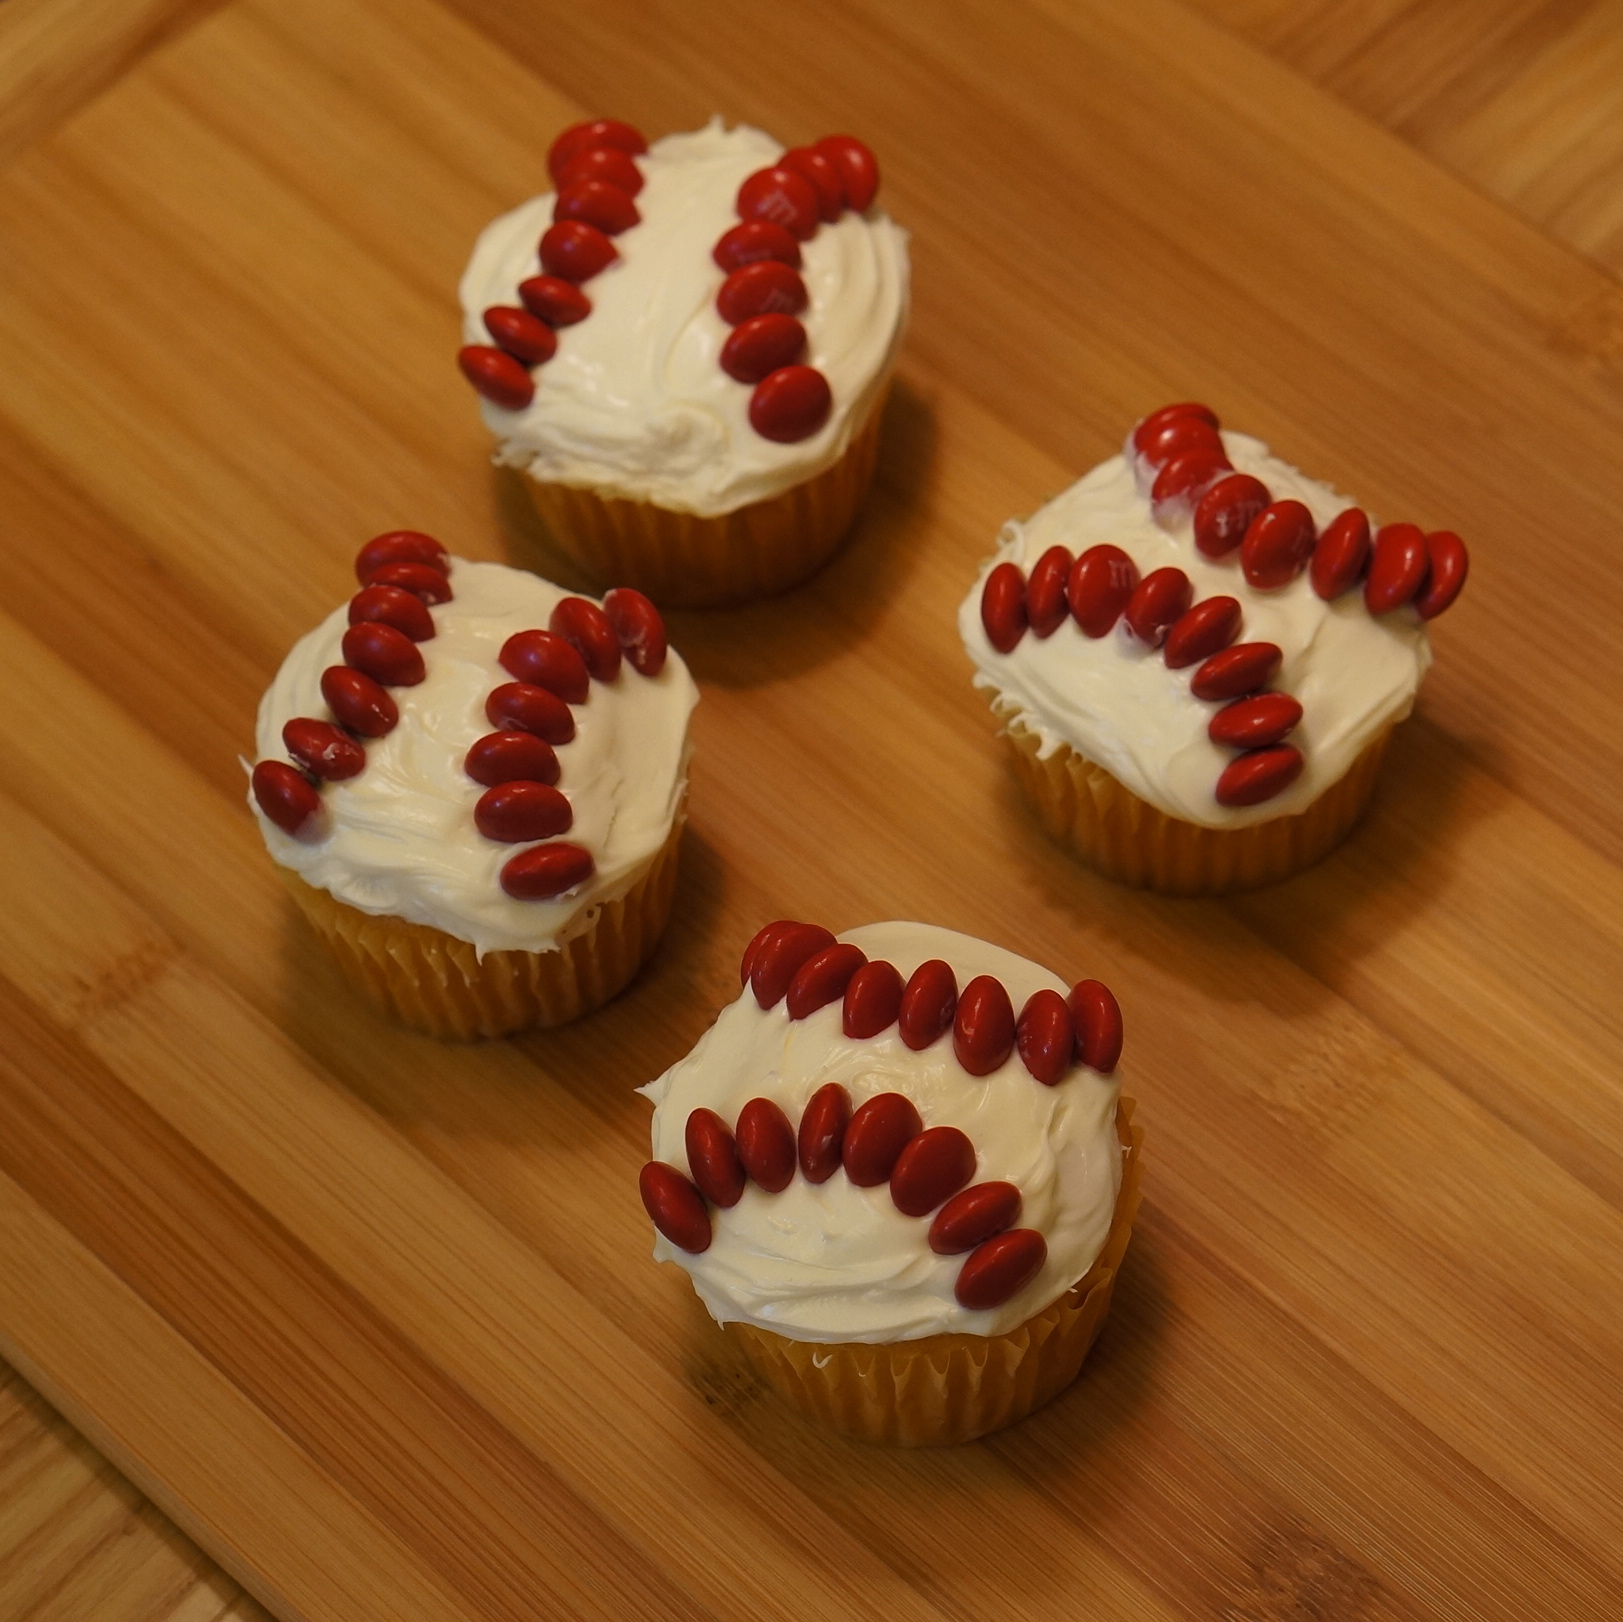
Check out some of our favorite cupcake shenanigans!



If Shenanigans says it didn’t work, then there is no chance I am going to waste my time!!
Thanks Shenanigans!!!
I hate when pinterest projects don’t work out!!!
I know! They always make it look so easy!… If you come across any Pinterest projects that you want us to try be sure to post it on our facebook page: https://www.facebook.com/WereCallingShenanigans
It might help to actually follow all the instructions from here: http://www.bakerella.com/snow-cones/
This recipe comes from the bakerella website and the ‘puffed’ top look comes from the icing and sugar on top.
Thanks for sharing- we didn’t see this version of the recipe!